Using a form to collect email addresses usually results in a higher conversion rate. Websites have been using this strategy because it is proven to work.
Nowadays, the usage of messaging apps seems to be the preferred communication channel for most clients, and is seen as a opportunity for companies to interact with their customers on a new level. Chatbots allow you to automate those communications even withour human intervention.
You can configure your chatbot to ask for an email address and to send messages to that address.
This will allow you to automate some of the most basic repetitive tasks such as sending special offers, notifications and news without the need to have a human supervising it.
There are two ways to send emails with your chatbot:
When you create a script for your chatbot you will me able to use the Email Component.
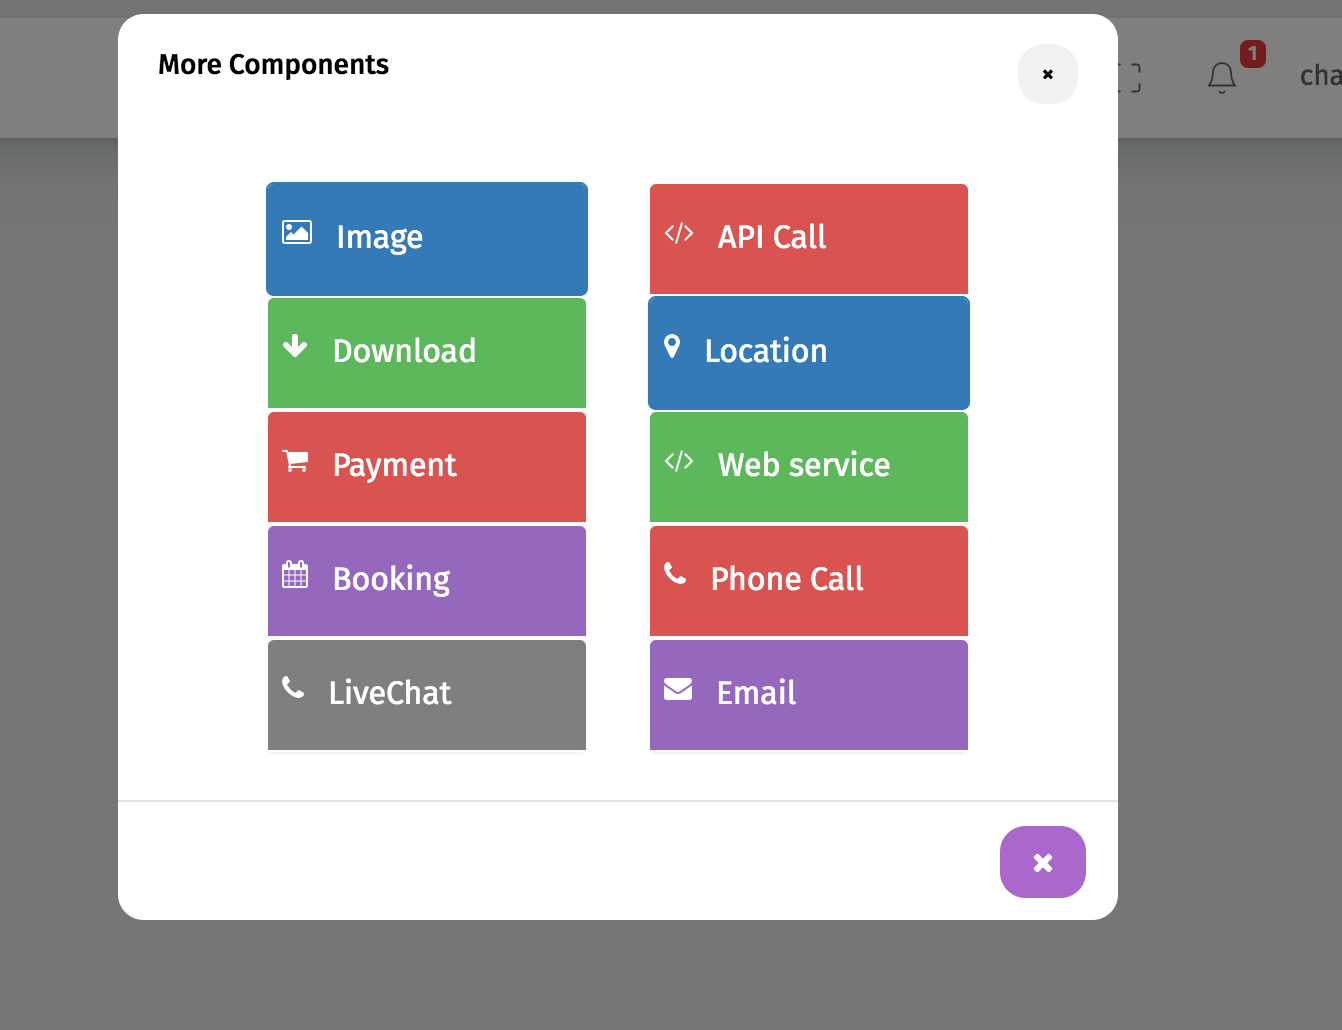
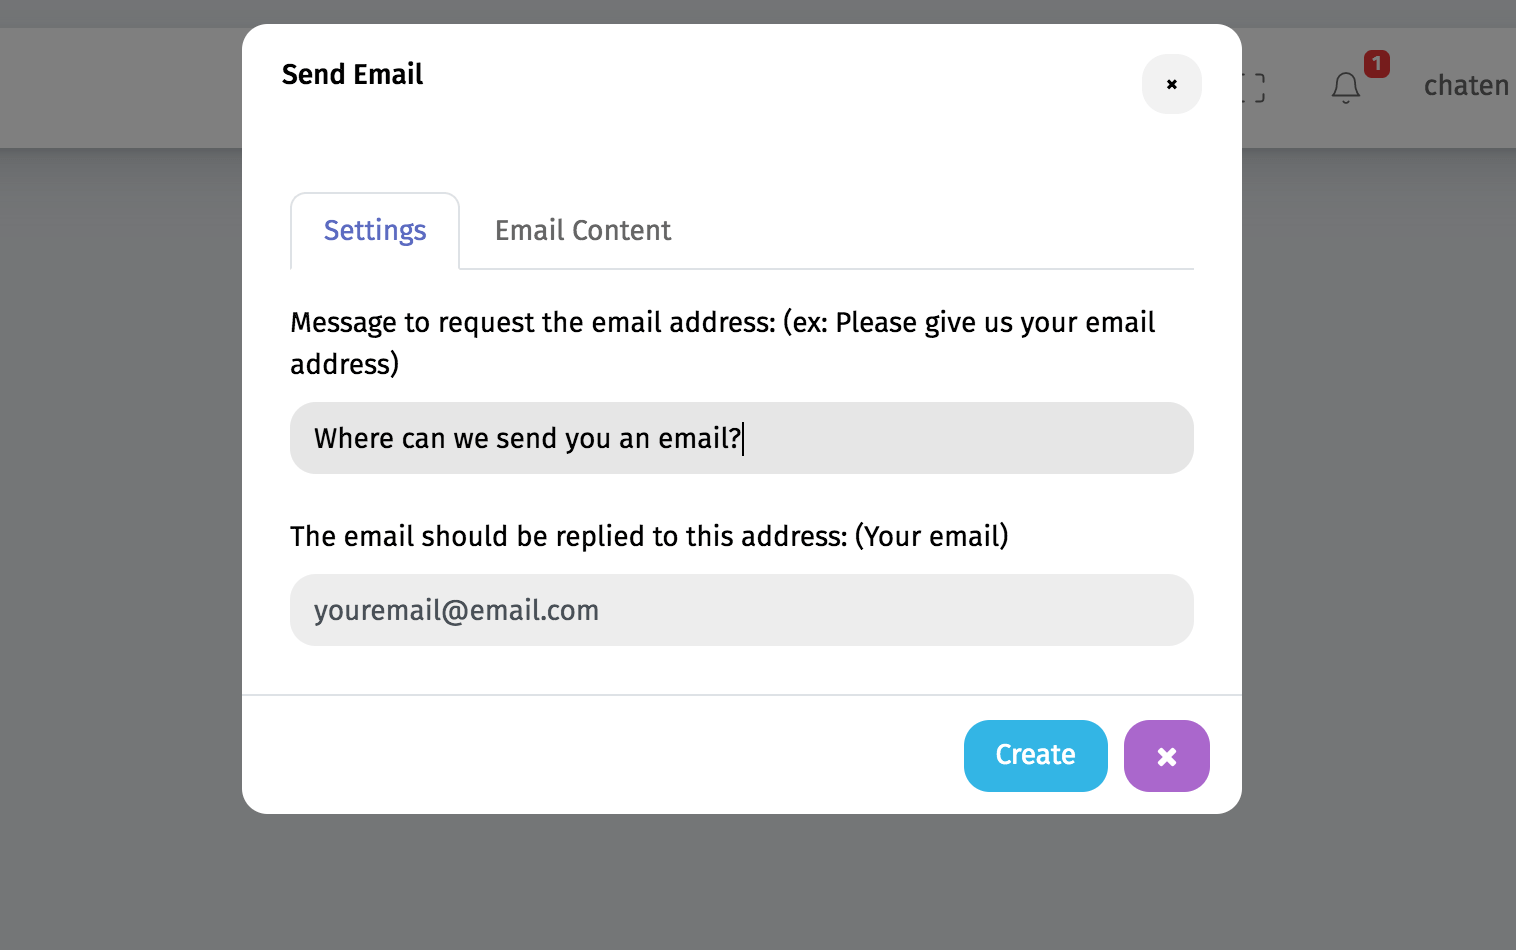
This component will ask the user for an email and then send an email to the address your user enters.
You can also set up the "reply to" email (where to reply) with your own.
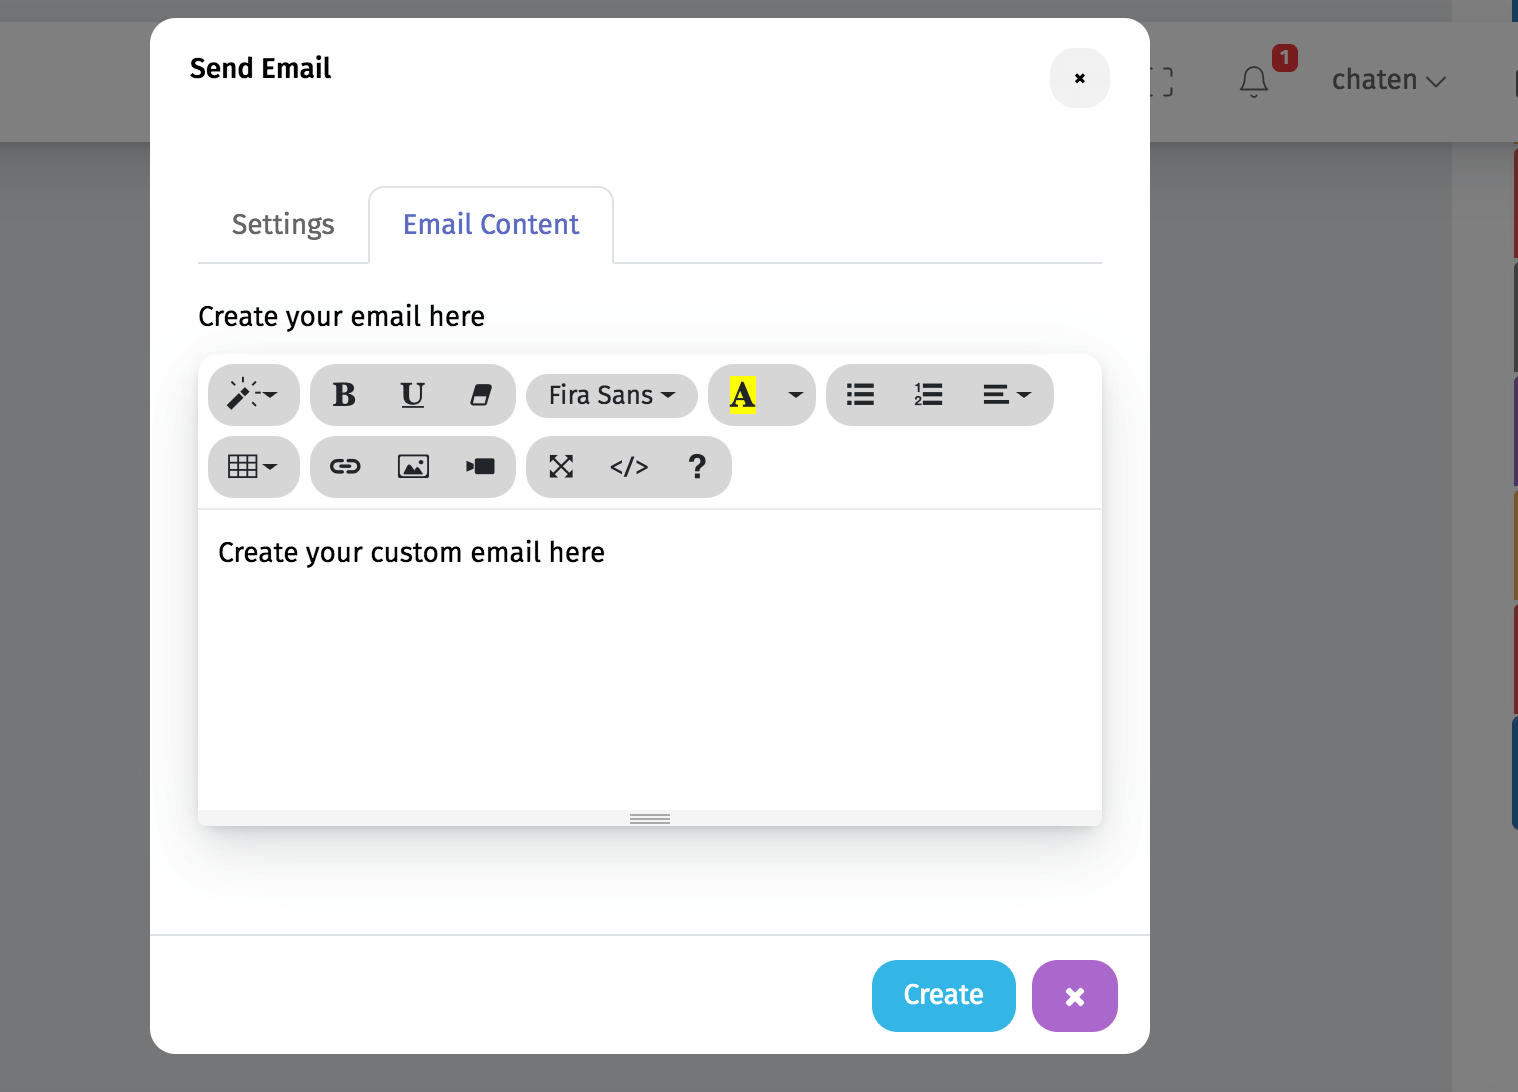
The component has an html editor where you can style and design the email you are going to send. You can use the visual or the code editor to create the email.
Whenever a user reaches this component, he will be prompted to enter his email address to receive the mesage you created on the component.
Note: Only paid accounts include this component. But you can also send emails with Sendgrid, in case you have a different account.
First you need to get a ChatCompose account. You can register here.
To capture emails you will need to create forms in your chatbot scripts. Scripts are set of previously stored messages or commands that direct a conversation towards a specific goal. You can read more on how to create a script here.
For example you can create a form in a script that asks the name and email of a user with the questions "What is your name?" and "Please give us your email".
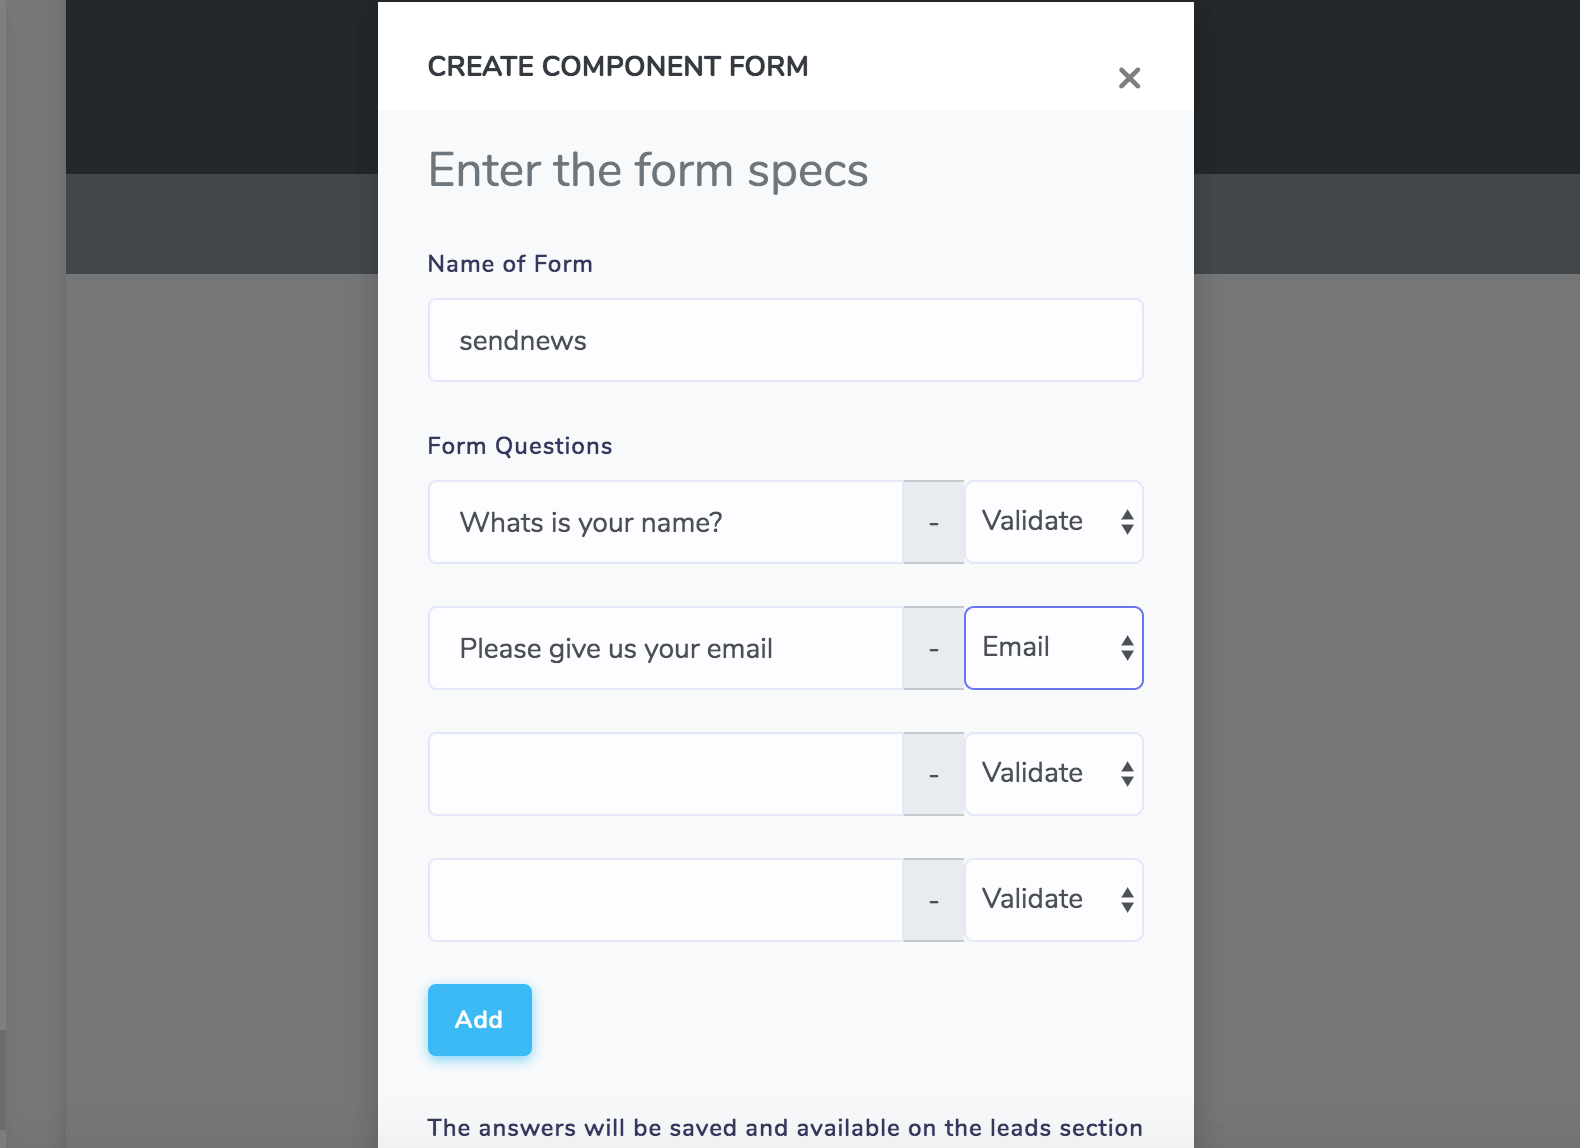
This will create a form called "sendnews". You will need to use this ID later to send emails.
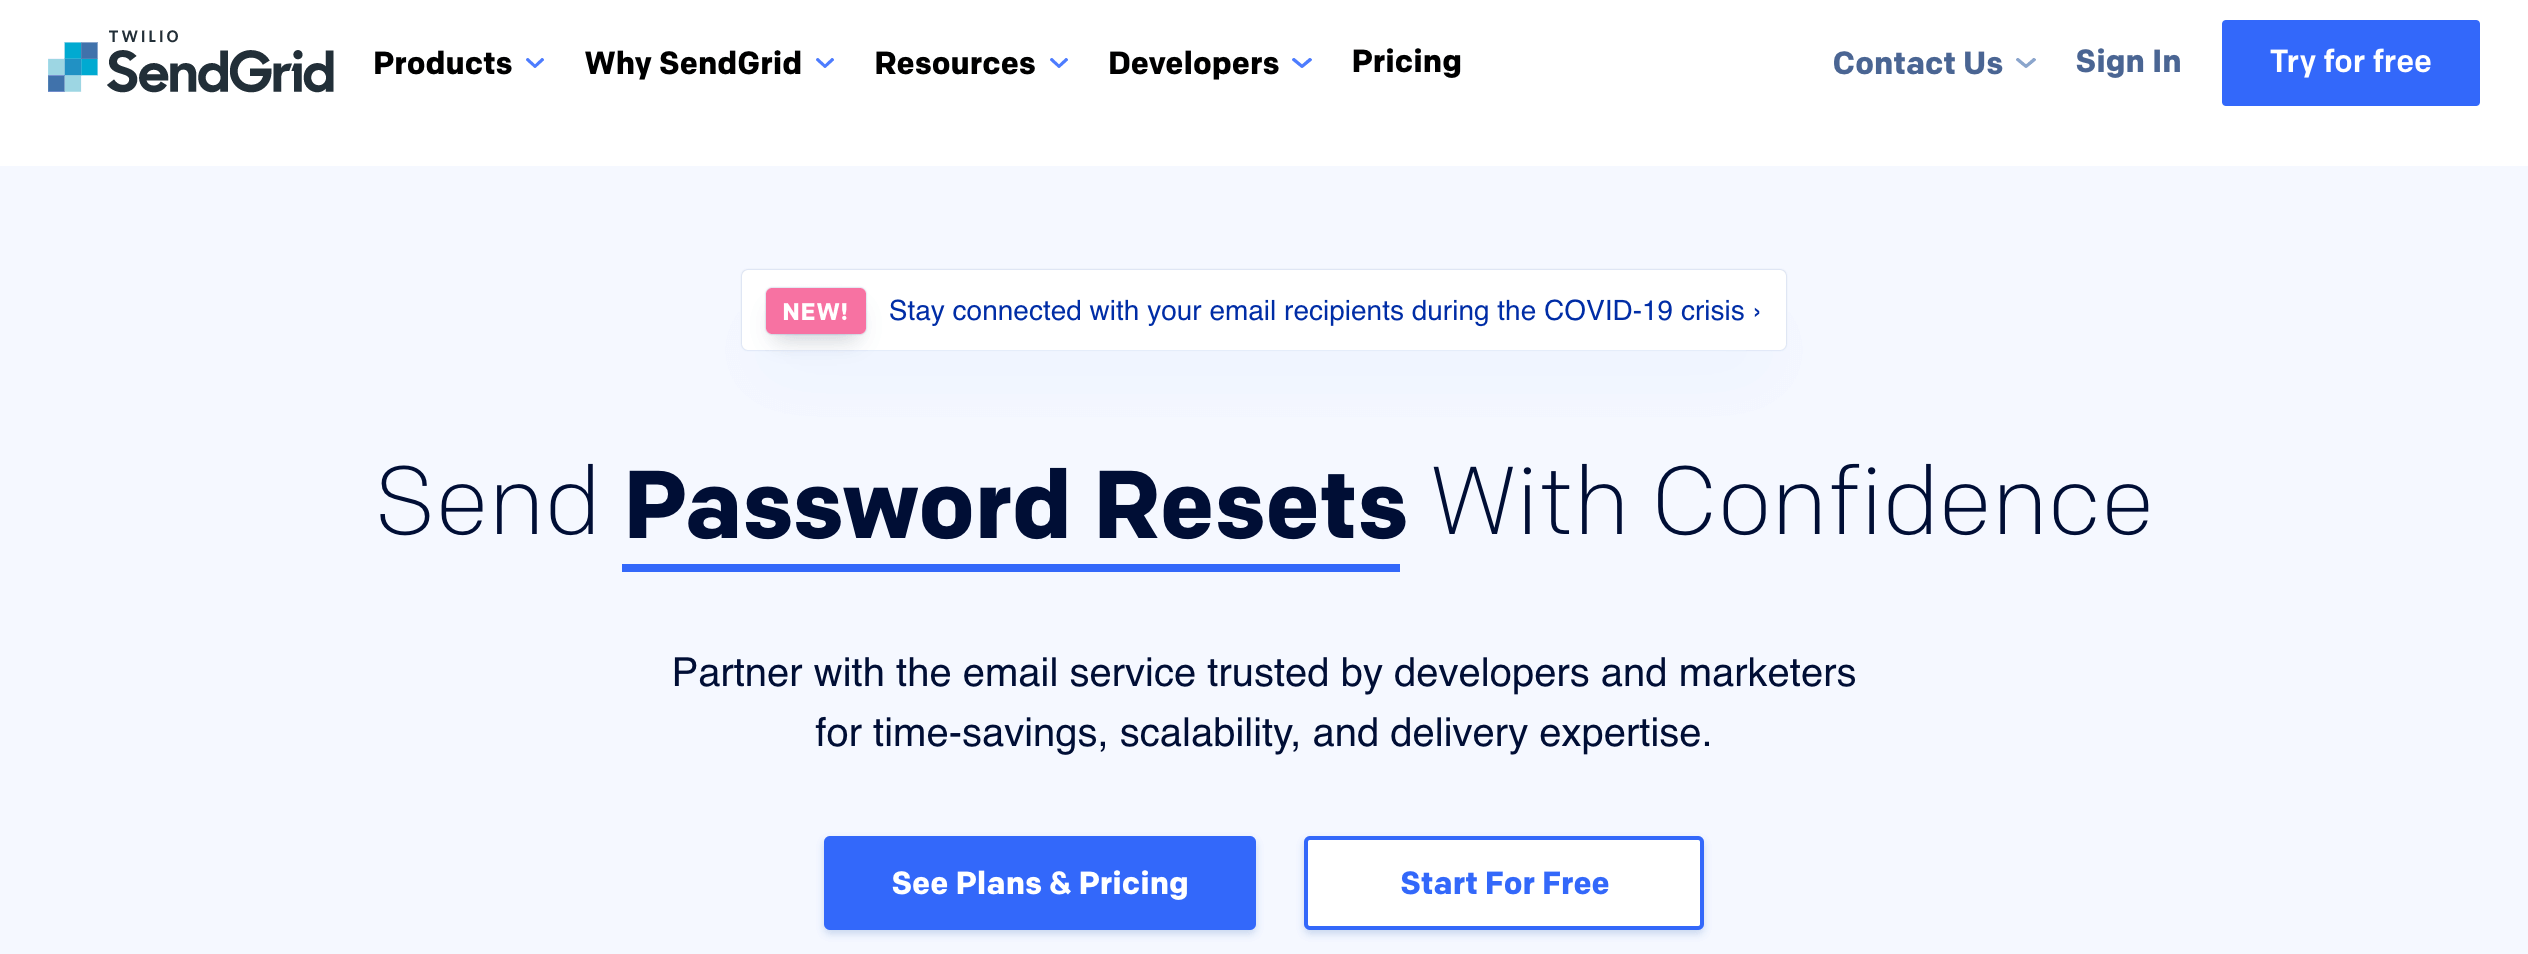
To start sending emails you will also need a Sendgrid account. You can register here. The free plan allows you to send up to 40.000 emails for one month.
After you have registered you will need to create an API key. In your Sendgrid console, navigate to Settings>Api Key.
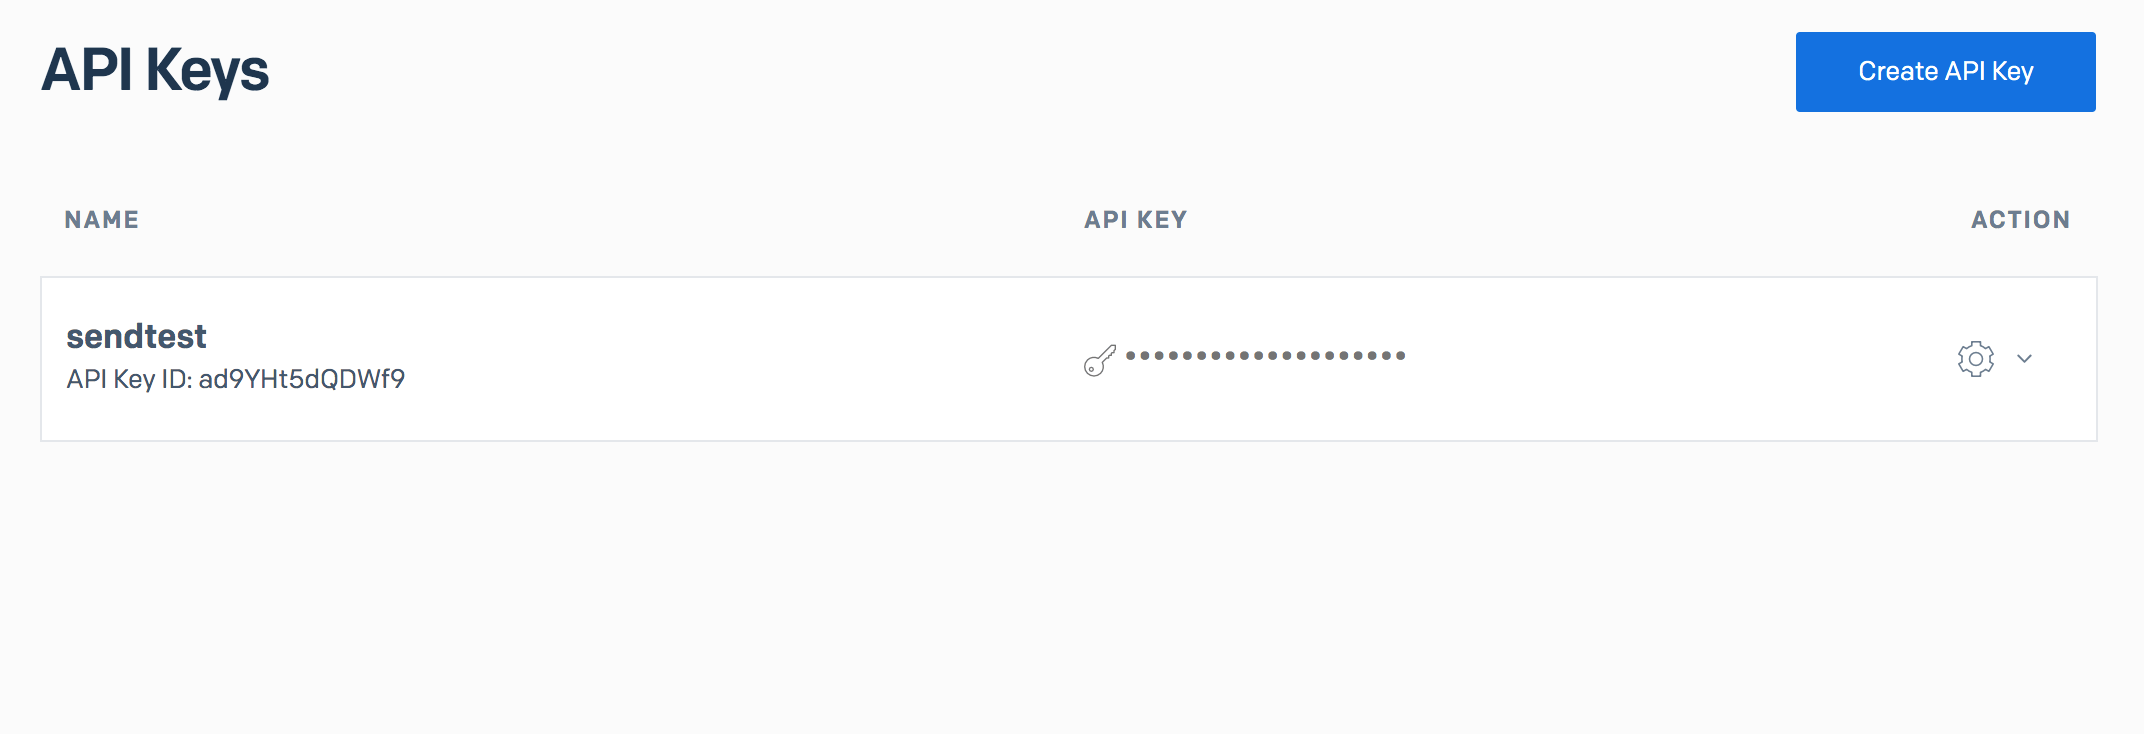
Click on "Create New" to create a new key. You will need it to integrate ChatCompose with Sendgrid.
To integrate Sendgrid with ChatCompose navigate to the Leads/Ticket section.
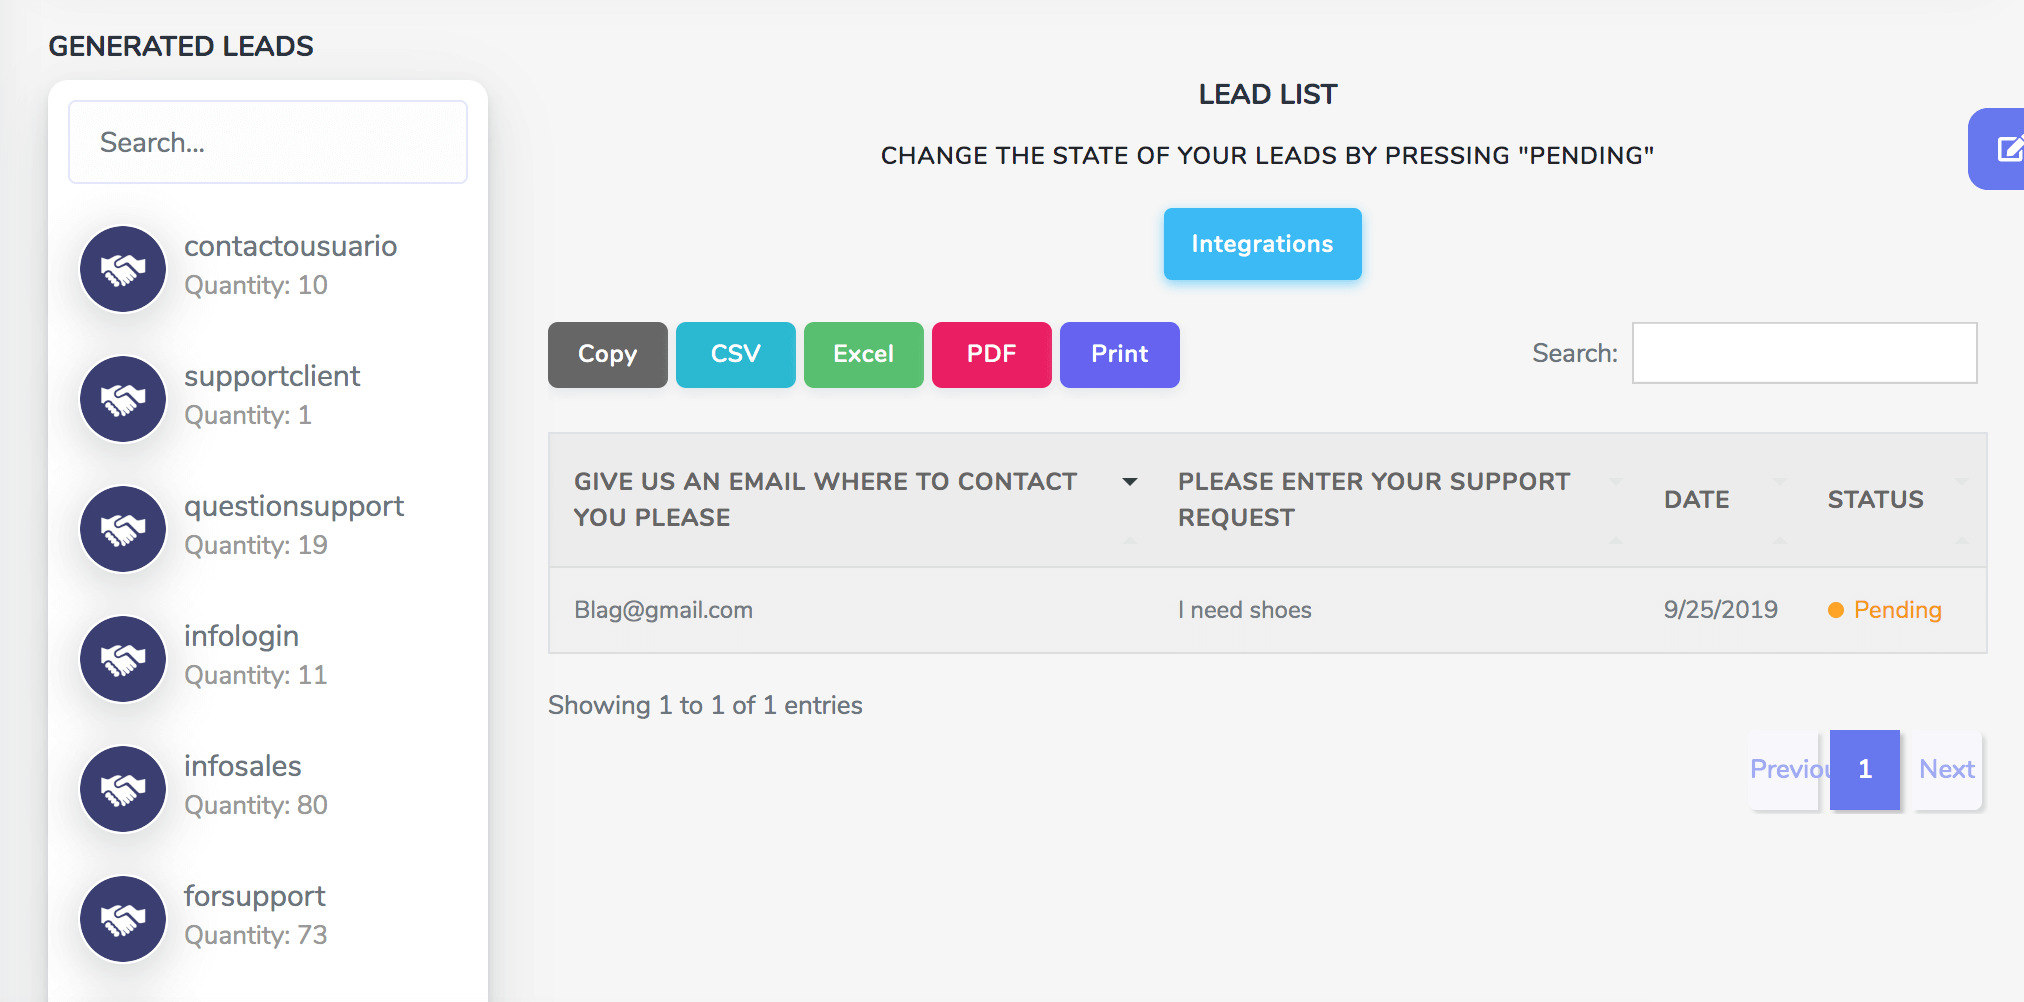
Here you will find the all the information you have captured with your forms. Click on a form to see the results. (In this case click on "sendnews").
Now press on "Integrations" to access all the available integrations for that form.
You will be able to integrate the form with CRM Software and with Sendgrid. Press on Sendgrid to continue.
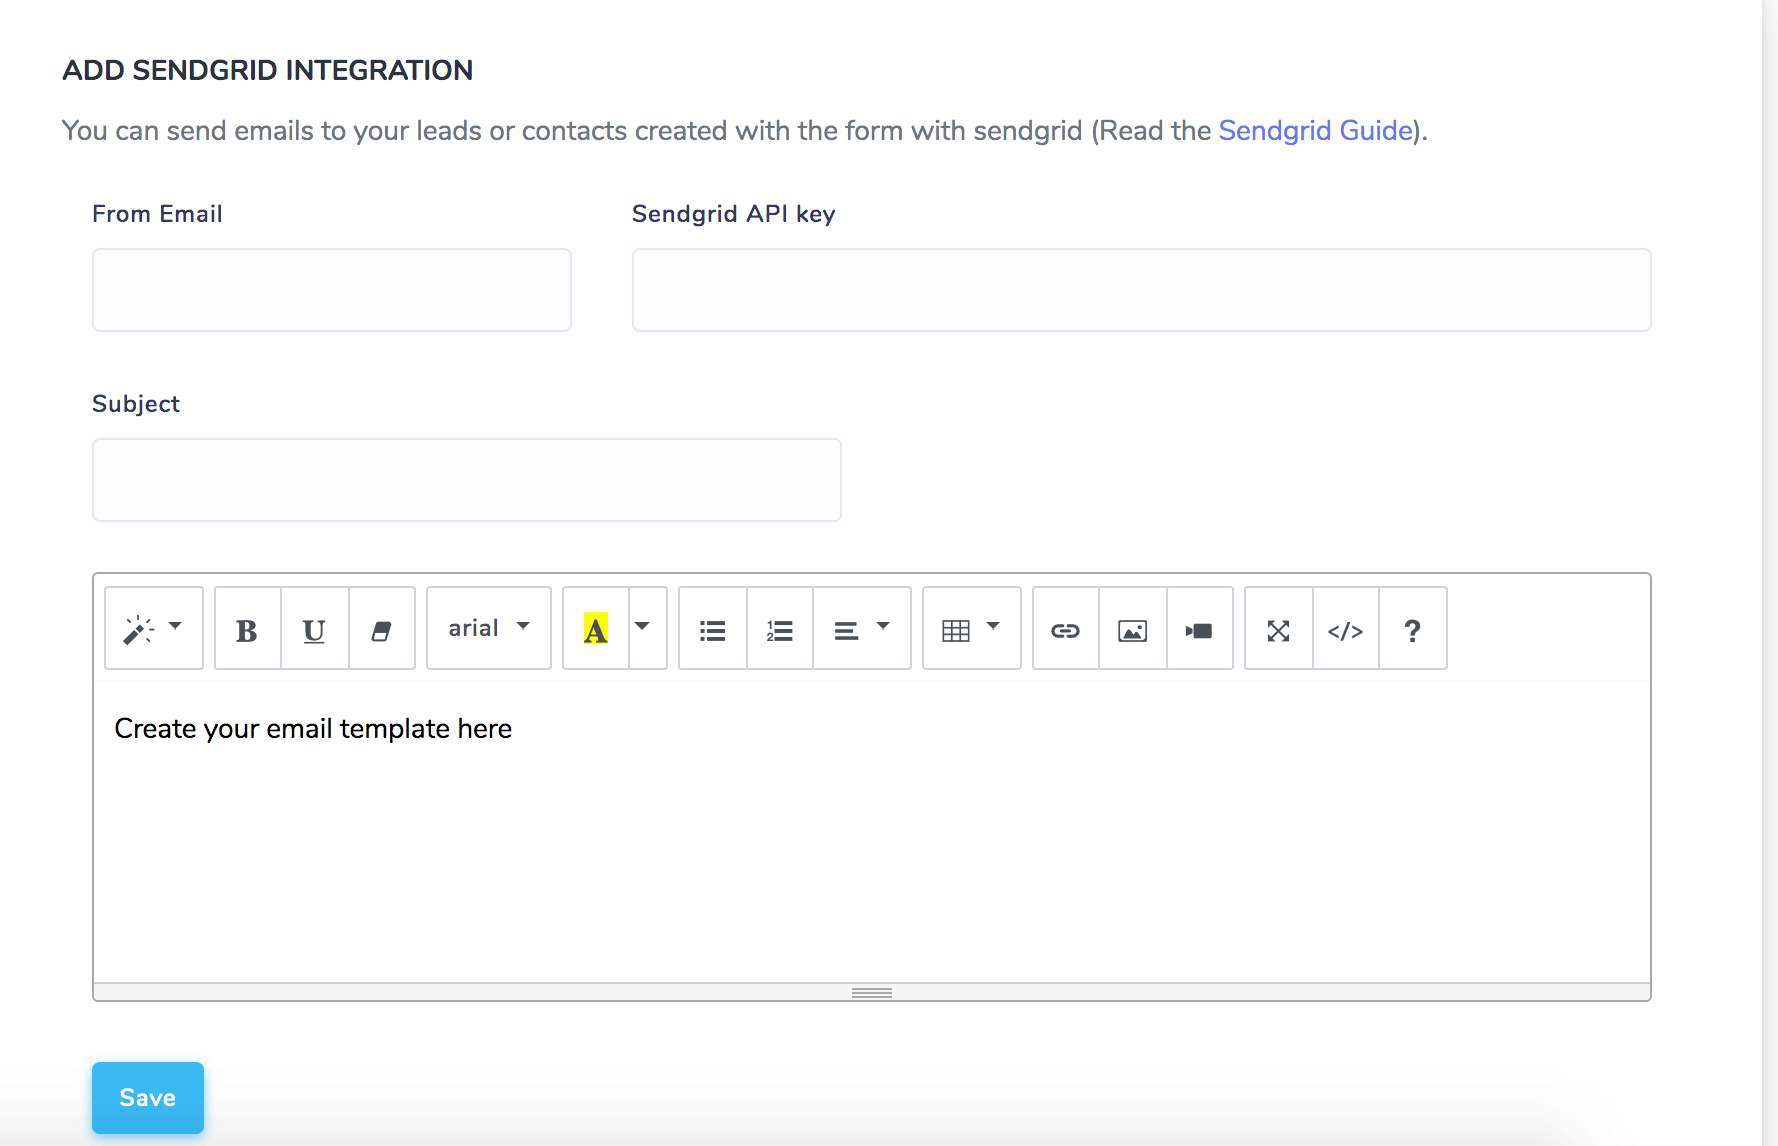
In the Sendgrid section you will need to enter:
You can design the email template with the html editor. Or you can paste html code by clicking the </> button. After you are done press Save.
You can use this function to send automated emails to your users with:
Among others. You can interact with the web chatbot to check an example.