In this guide we will show you how to connect your chatbot chatcompose to an external api.
To learn how to insert and query a database read this guide.
The API we will use in this guide is to connect our chatbot is the wikipedia API to request extracts of articles. You can see the documentation of the wikipedia api here.
Log in to your chatcompose account and navigate to Scripts> External Connection section. You will see the following:
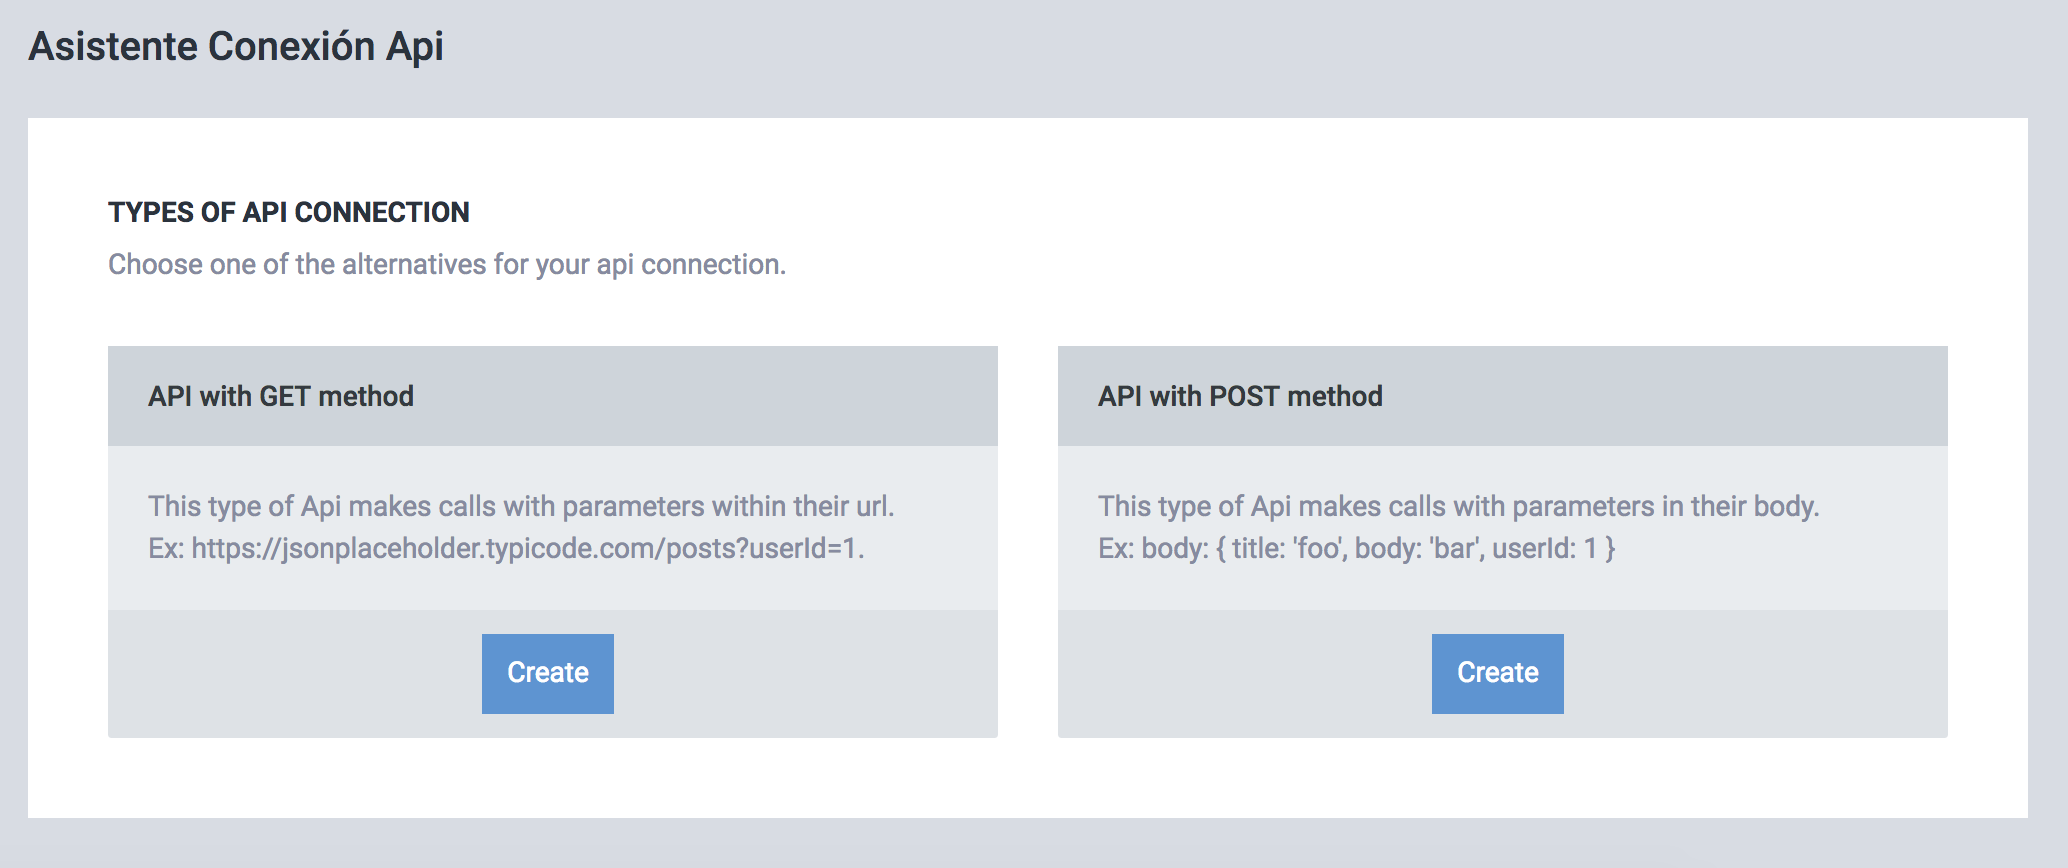
Here you can select the type of api you will implement. To connect with the wikipedia api, let's choose the api get.
You click on create and it will take you to the creation assistant of the api component. To begin, you must give your component an identifier, we will later use this identifier to install the api connection in our chatbot.
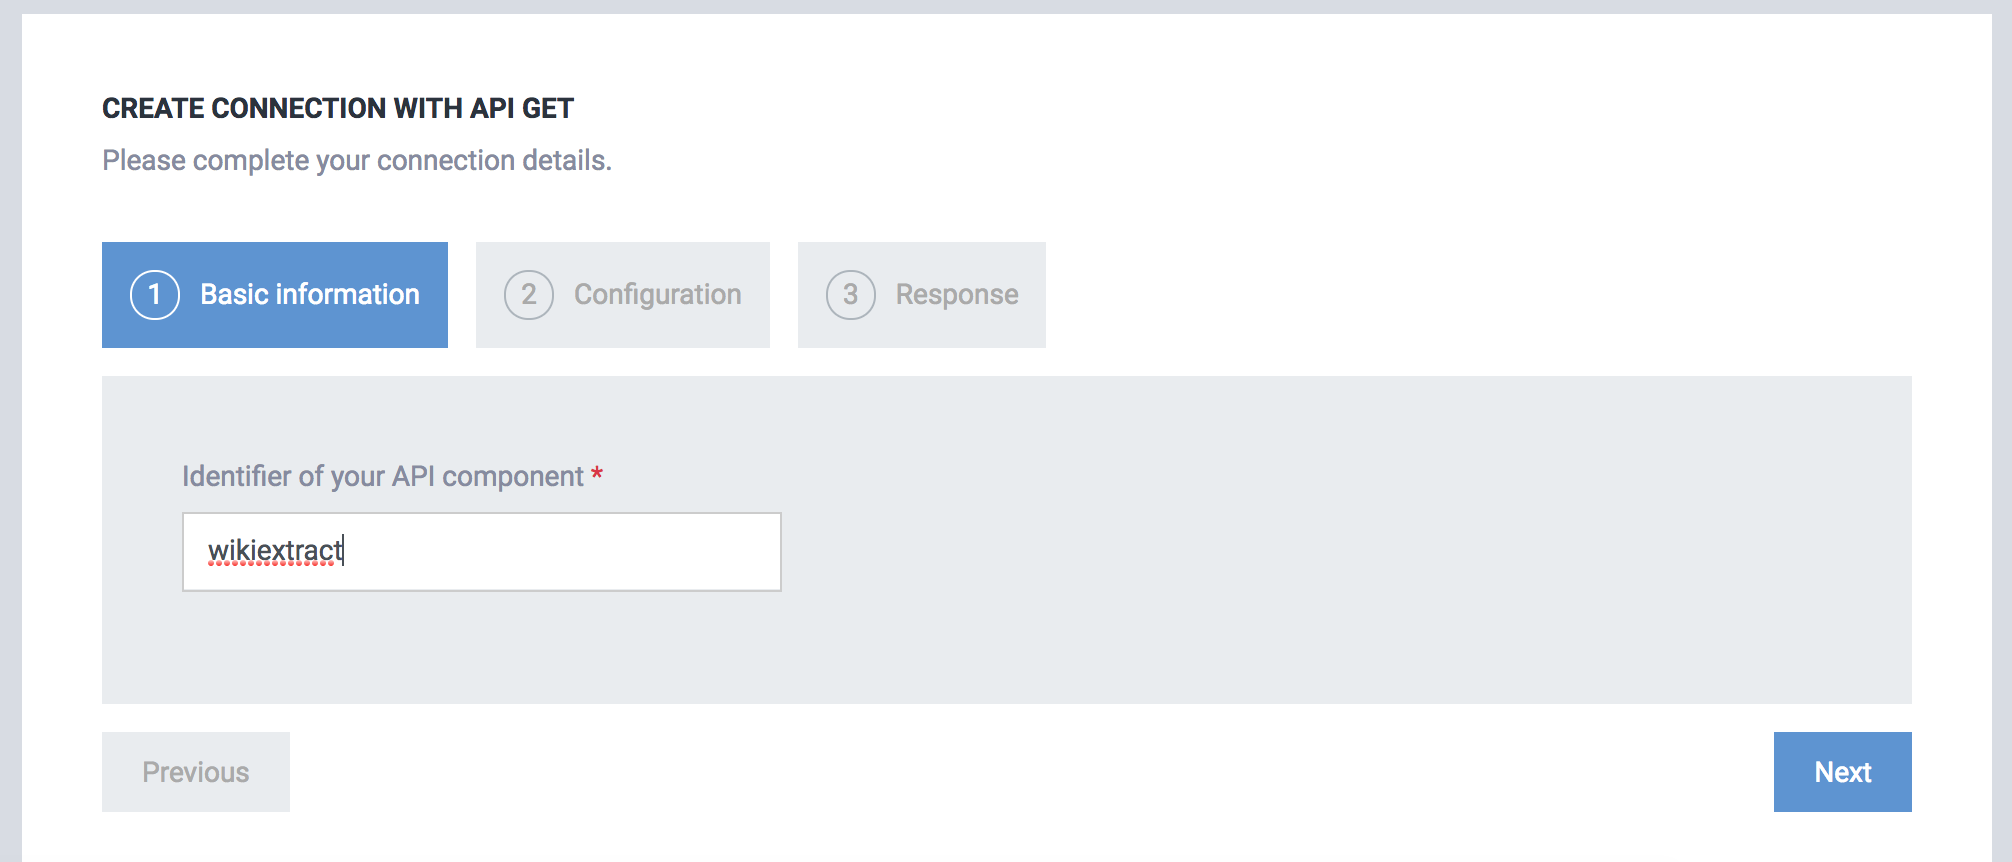
Let's call our identifier "wikiextract". We press continue. The new screen will allow us to configure the calls to the api.
The api of wikipedia allows us to make dynamic searches by changing parameters in the url, which we must know in advance before making the call to the api.
For example in:
https://en.wikipedia.org/w/api.php?format=json&action=query&prop=extracts&exintro&explaintext&exchars=175&redirects=1&formatversion=2&titles=YOURQUERYHERE&origin=*
We make the query in the placeholder YOURQUERYHERE. We can ask the user for this value and then we use it to make the call to the api.
We fill the configuration with the data:
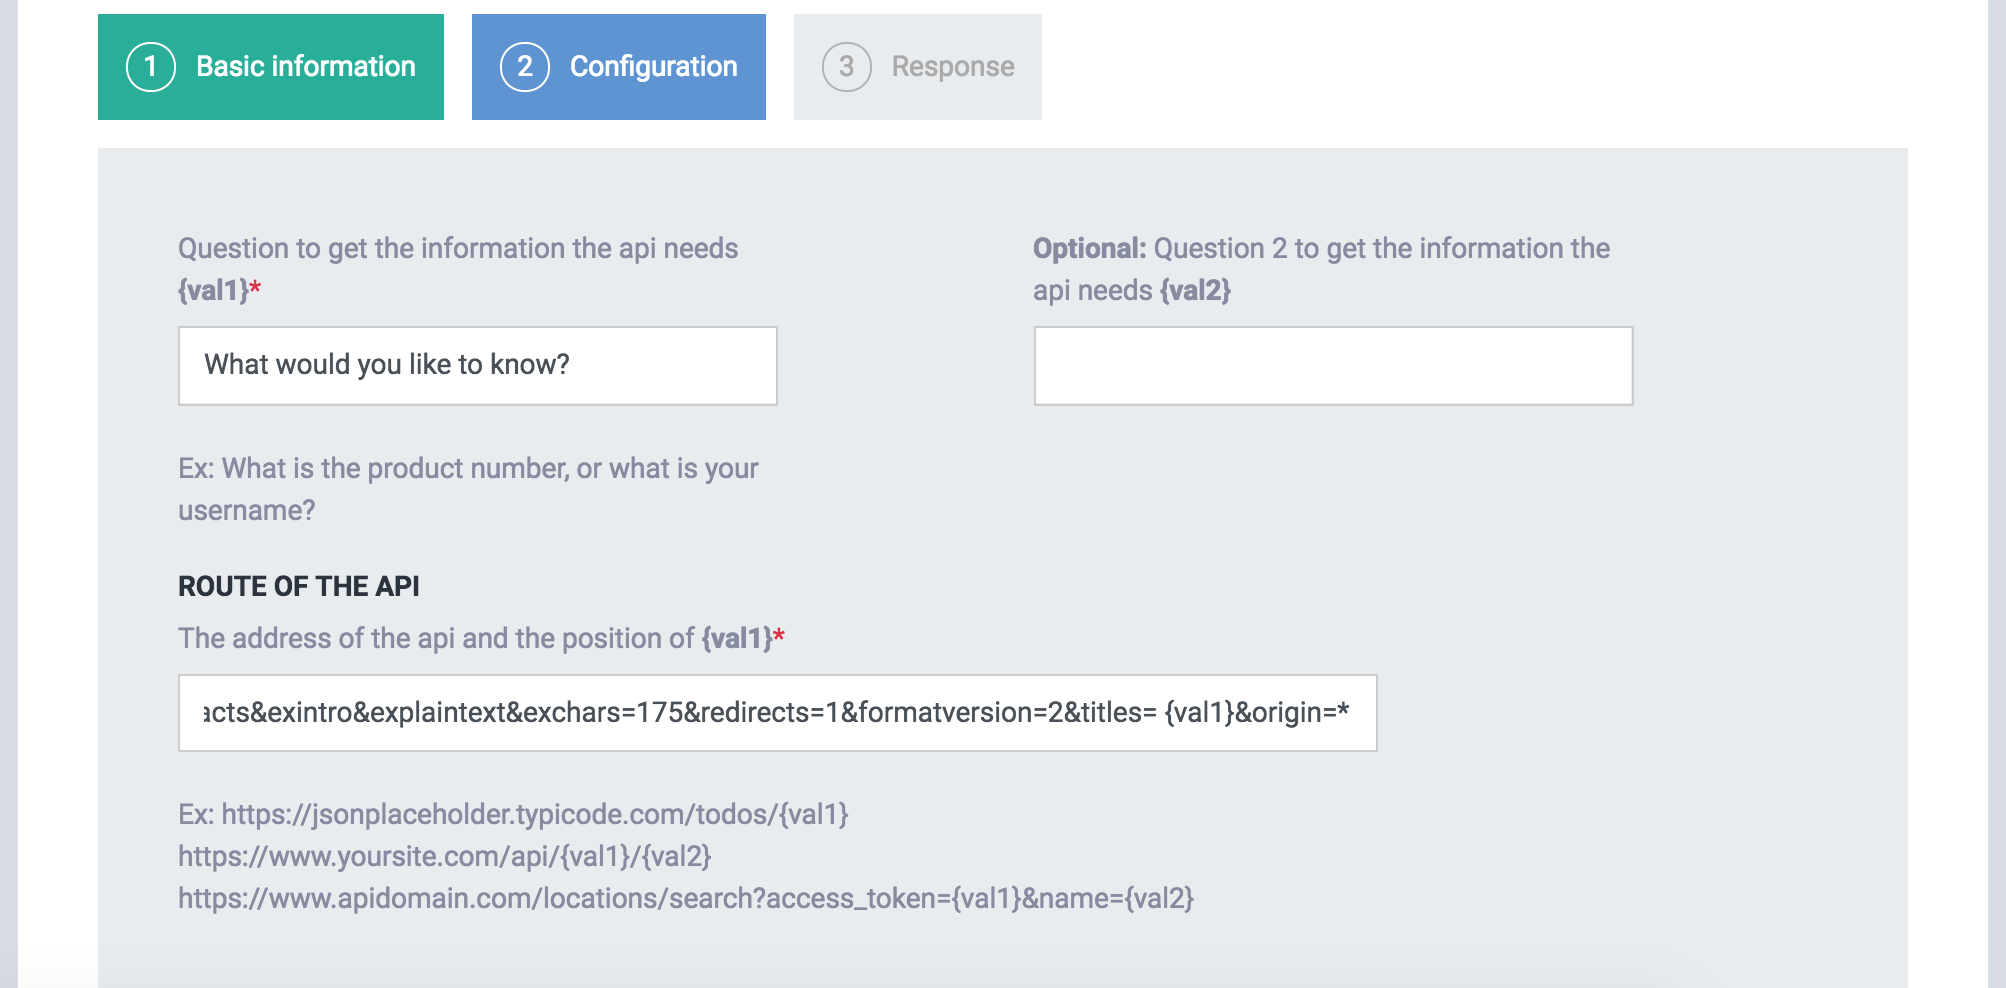
The field "Question to get the information the api needs {val1}" serves to ask the user a question about what he wants to search and enter it in the api. This value is then entered into the api route:
https://en.wikipedia.org/w/api.php?format=json&action=query&prop=extracts&exintro&explaintext&exchars=175&redirects=1&formatversion=2&titles={val1}&origin=*
In this way we enter what the user writes as an answer in the api, inside the space {val1}.
You can notice, we entered nothing on question 2 (optional). This api does not require it so we will not use it. Question 2 can be used to request a second parameter from the user and use it in the api.
Some apis can be configured with more than one parameter, for example in:
https://es.wikipedia.org/w/api.php?format=json&action=query&prop=extracts&exintro&explaintext&exchars=YOURLENGTHHERE&redirects=1&formatversion=2&titles=YOURQUERYHERE&origin=*
You can also ask how long the user wants the extract with YOURLENGTHHERE.
Once the api is configured, we press Next. The new screen will show you the Response options.
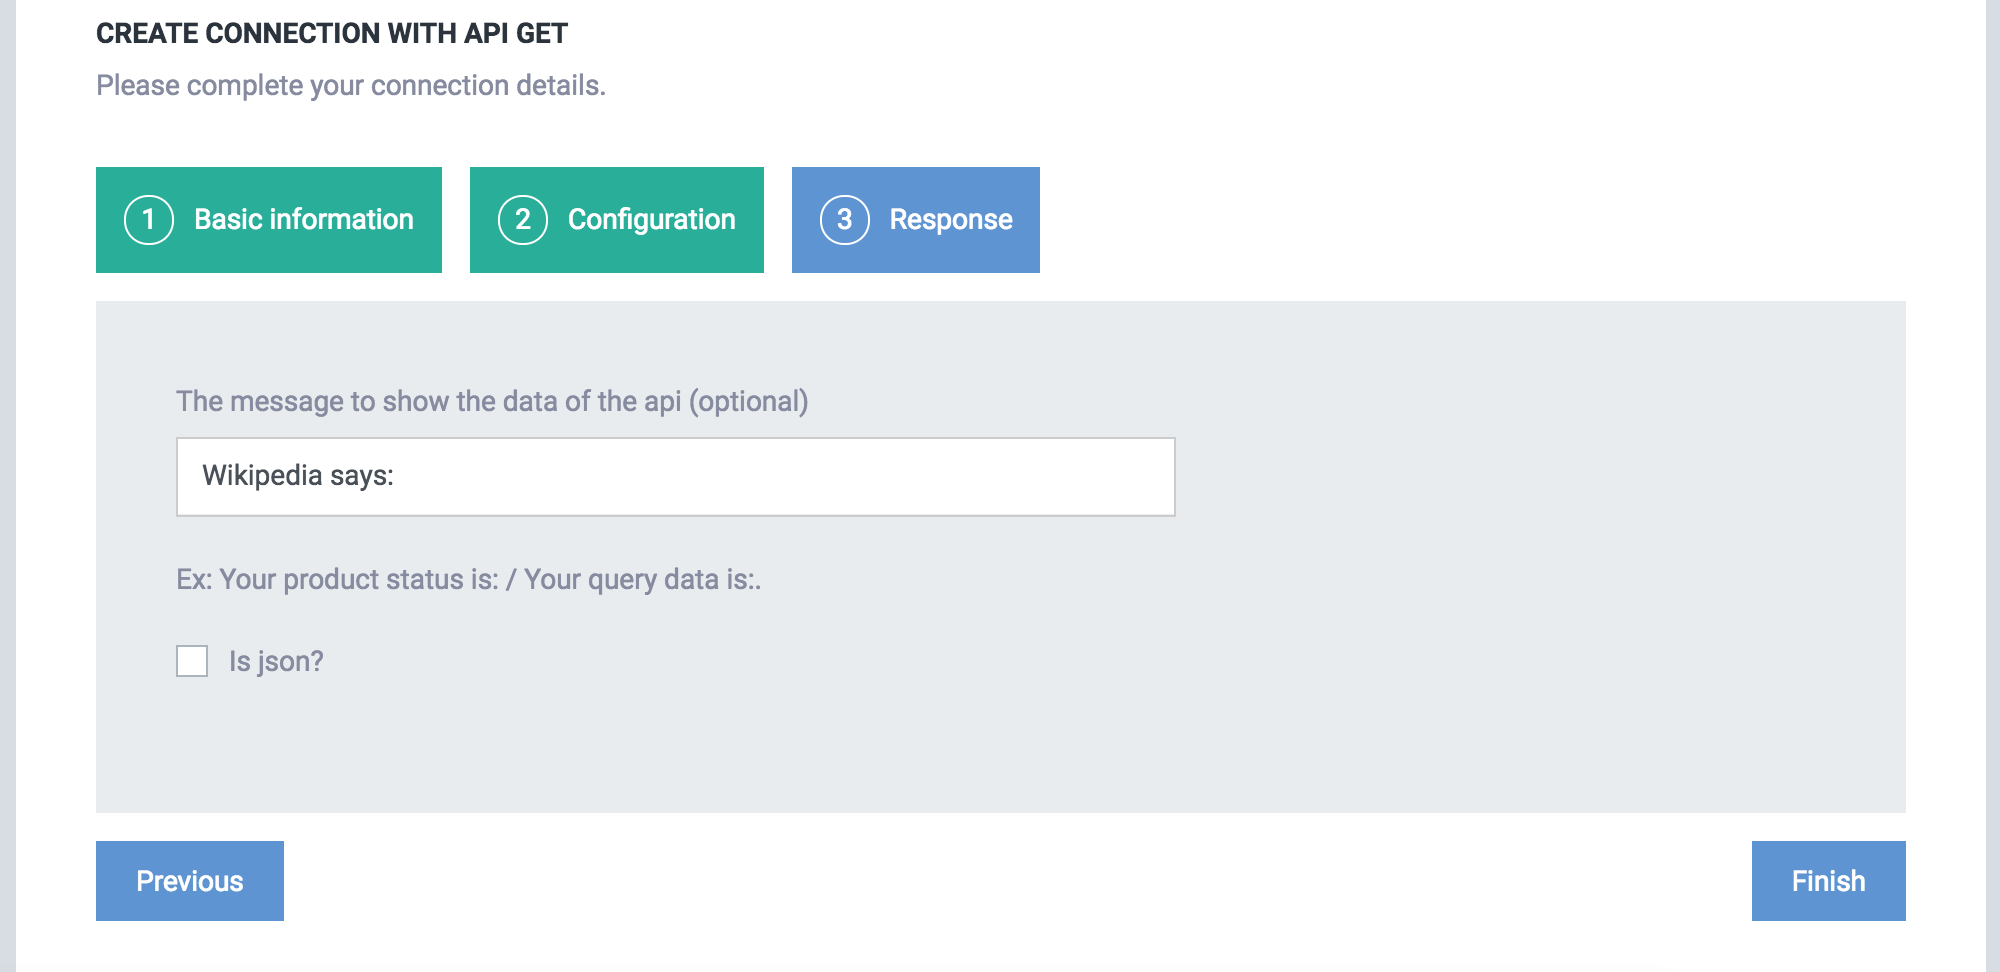
In this case, we will add an additional message in the response of the api. This field is optional, so you can leave it blank.
In case the answer of the api is in json (the majority uses json) we click on "Is json". Some APIs respond in plain text, in those cases you can leave this checkbox unchecked and the answer of the api will be displayed without problems.
Clicking on "Is json" will show the option to define the json path. Json format is structured, so we can define exactly what value in json we want.
A query to the wikipedia api at
https://en.wikipedia.org/w/api.php?format=json&action=query&prop=extracts&exintro&explaintext&exchars=175&redirects=1&formatversion=2&titles=chatbot&origin=*
Will output:
{
   "batchcomplete":true,
   "query":{
      "normalized":[
         {
            "fromencoded":false,
            "from":"chatbot",
            "to":"Chatbot"
         }
      ],
      "pages":[
         {
            "pageid":148349,
            "ns":0,
            "title":"Chatbot",
            "extract":"A chatbot (also known as a smartbots, talkbot, chatterbot, Bot, IM bot, interactive agent, Conversational interface or Artificial Conversational Entity) is a computer program or..."
         }
      ]
   }
}
If you find it hard to read, you can browse the json with this tool.
From this answer we only want the "extract" field, so we write the path to that field in json. For this case, the path would be query.pages.0.extract. The zero is due to extract being inside an array in the zero position.

After completing the route, we press save. The assistant will return READY with the id of the component.
Now we have created our first api component with ChatCompose.
IMPORTANT: Some APIs will not allow access from a foreign origin. To enable cross origin set up the response headers to "Access-Control-Allow-Origin: *".
To install the component in our chatbot, you can assign the component with your id (wikiextract in this case) to appear at the beginning of the conversation with the chatbot in Settings> General, in a specific page in Settings> Pages. Remember to select "wikiextract" from the list as the initial component.
You can also assign the connection component api in the Database section. There you can put it in response to a specific question or command, for example "search in wikipedia".
If you already know how to create scripts with components, you can also assign an api component as part of a more elaborate script .
You can test the component by clicking on the chatbot on the right.
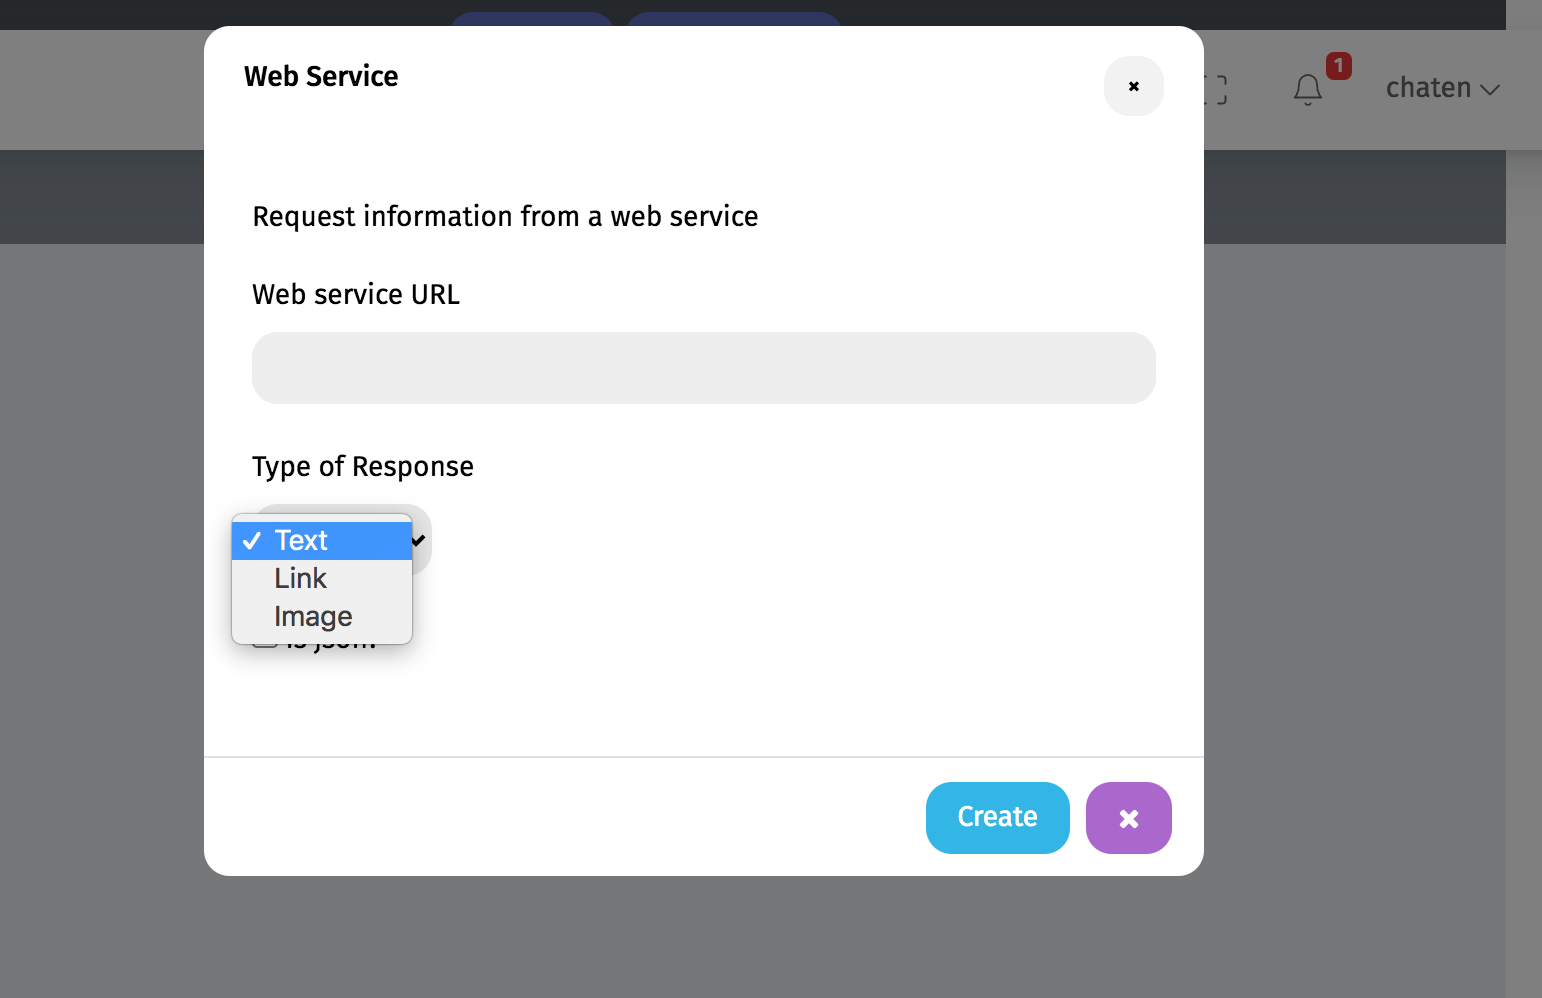
You can also call simple web services by using the web service component. This component will call a url and show the response in the appropriate format (text, file or url).
To create a web service component select More>Web Service inside your script creation iterface.
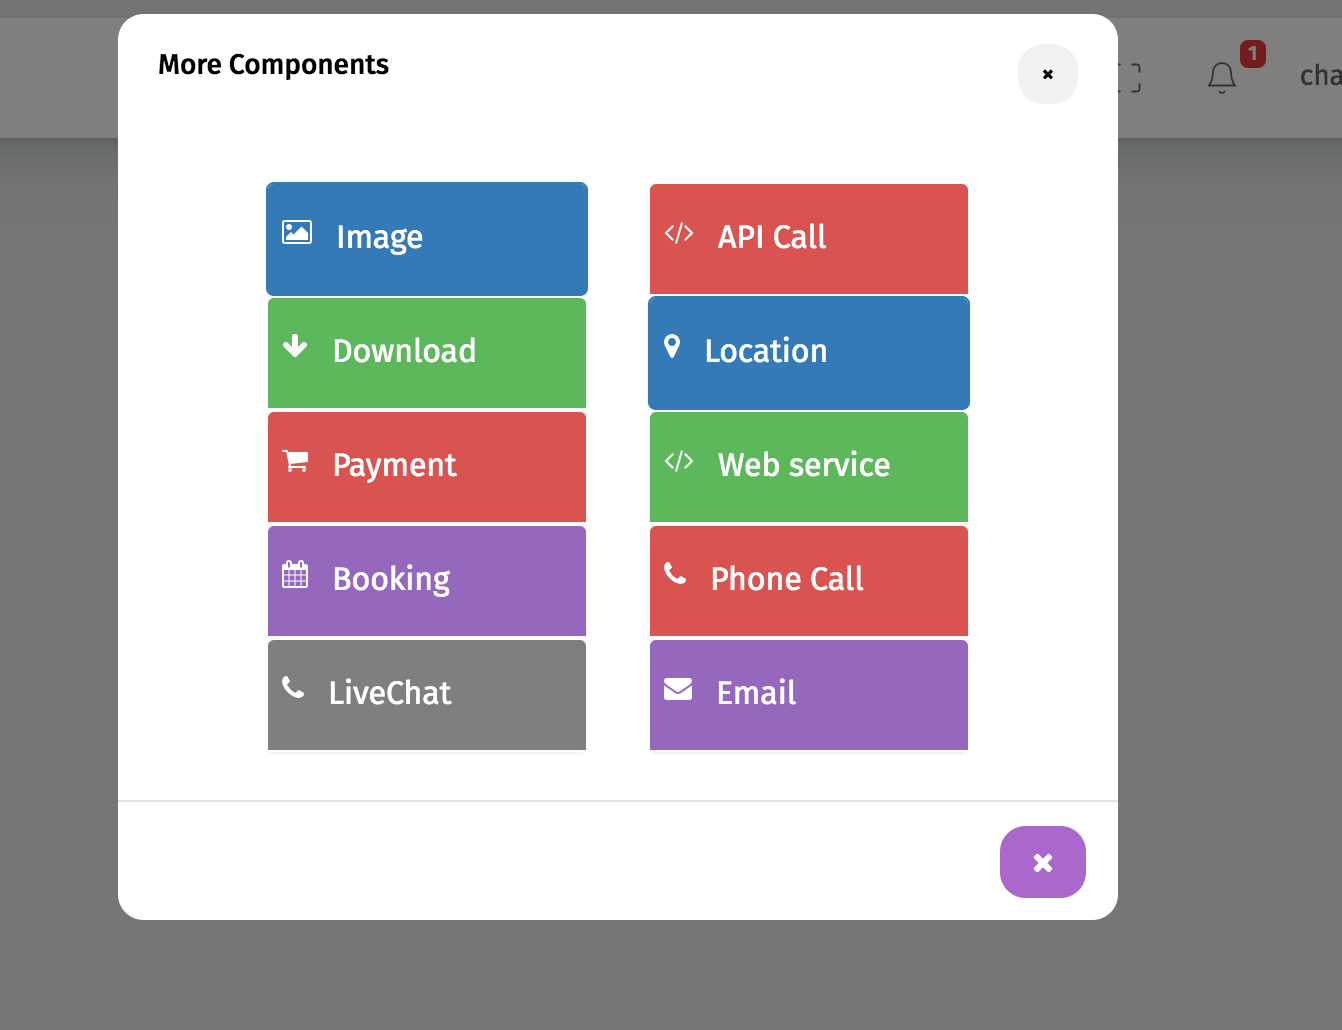
This will open the configuration for the component. Enter the url, the type of response you want to show (image, text, url) and the json route, if applies.
This alternative will only show the response of the url, the user does not need to enter any information.