Chatbots offer a multitude of benefits for both customers and organizations. These conversational programs simplify engagement by making clients more comfortable, providing valuable information instantly, which can help streamline any kind of process, including sales.
Every modern company that has started the digitization process, has developed a website. Going one step further means making that website truly an efficient center of sales support, product presentation and customer service.
This is precisely what chatbots can do on a website, they are in charge of providing all the necessary help with timely and immediate attention 24/7. And they also offer the opportunity to redirect users to an agent through live chat or online chat.
Keep in mind that your potential customers don't want to spend hours checking the website to find something. So a bot can be installed there to offer information and support whenever necessary.
We can't completely remove the human factor from the equation (at least not for now). Because machines, despite advanced algorithms, cannot do everything that a human can do.
That's why at a certain point in any sales or support conversation, customers ask to speak to a human agent.
Our platform offers the Live Chat option, so that users, whenever they want, can interrupt the conversation with the bot and request the help of a human agent. Let's see how you can install it.
This is a step by step guide to install a live or online chat on your website:
Go to the Apps section and then unfold the Live Chat options. In this case select the Web option.
By default it will be off, so you must click on the "On" button. When you are not available to answer questions you can turn it off again.
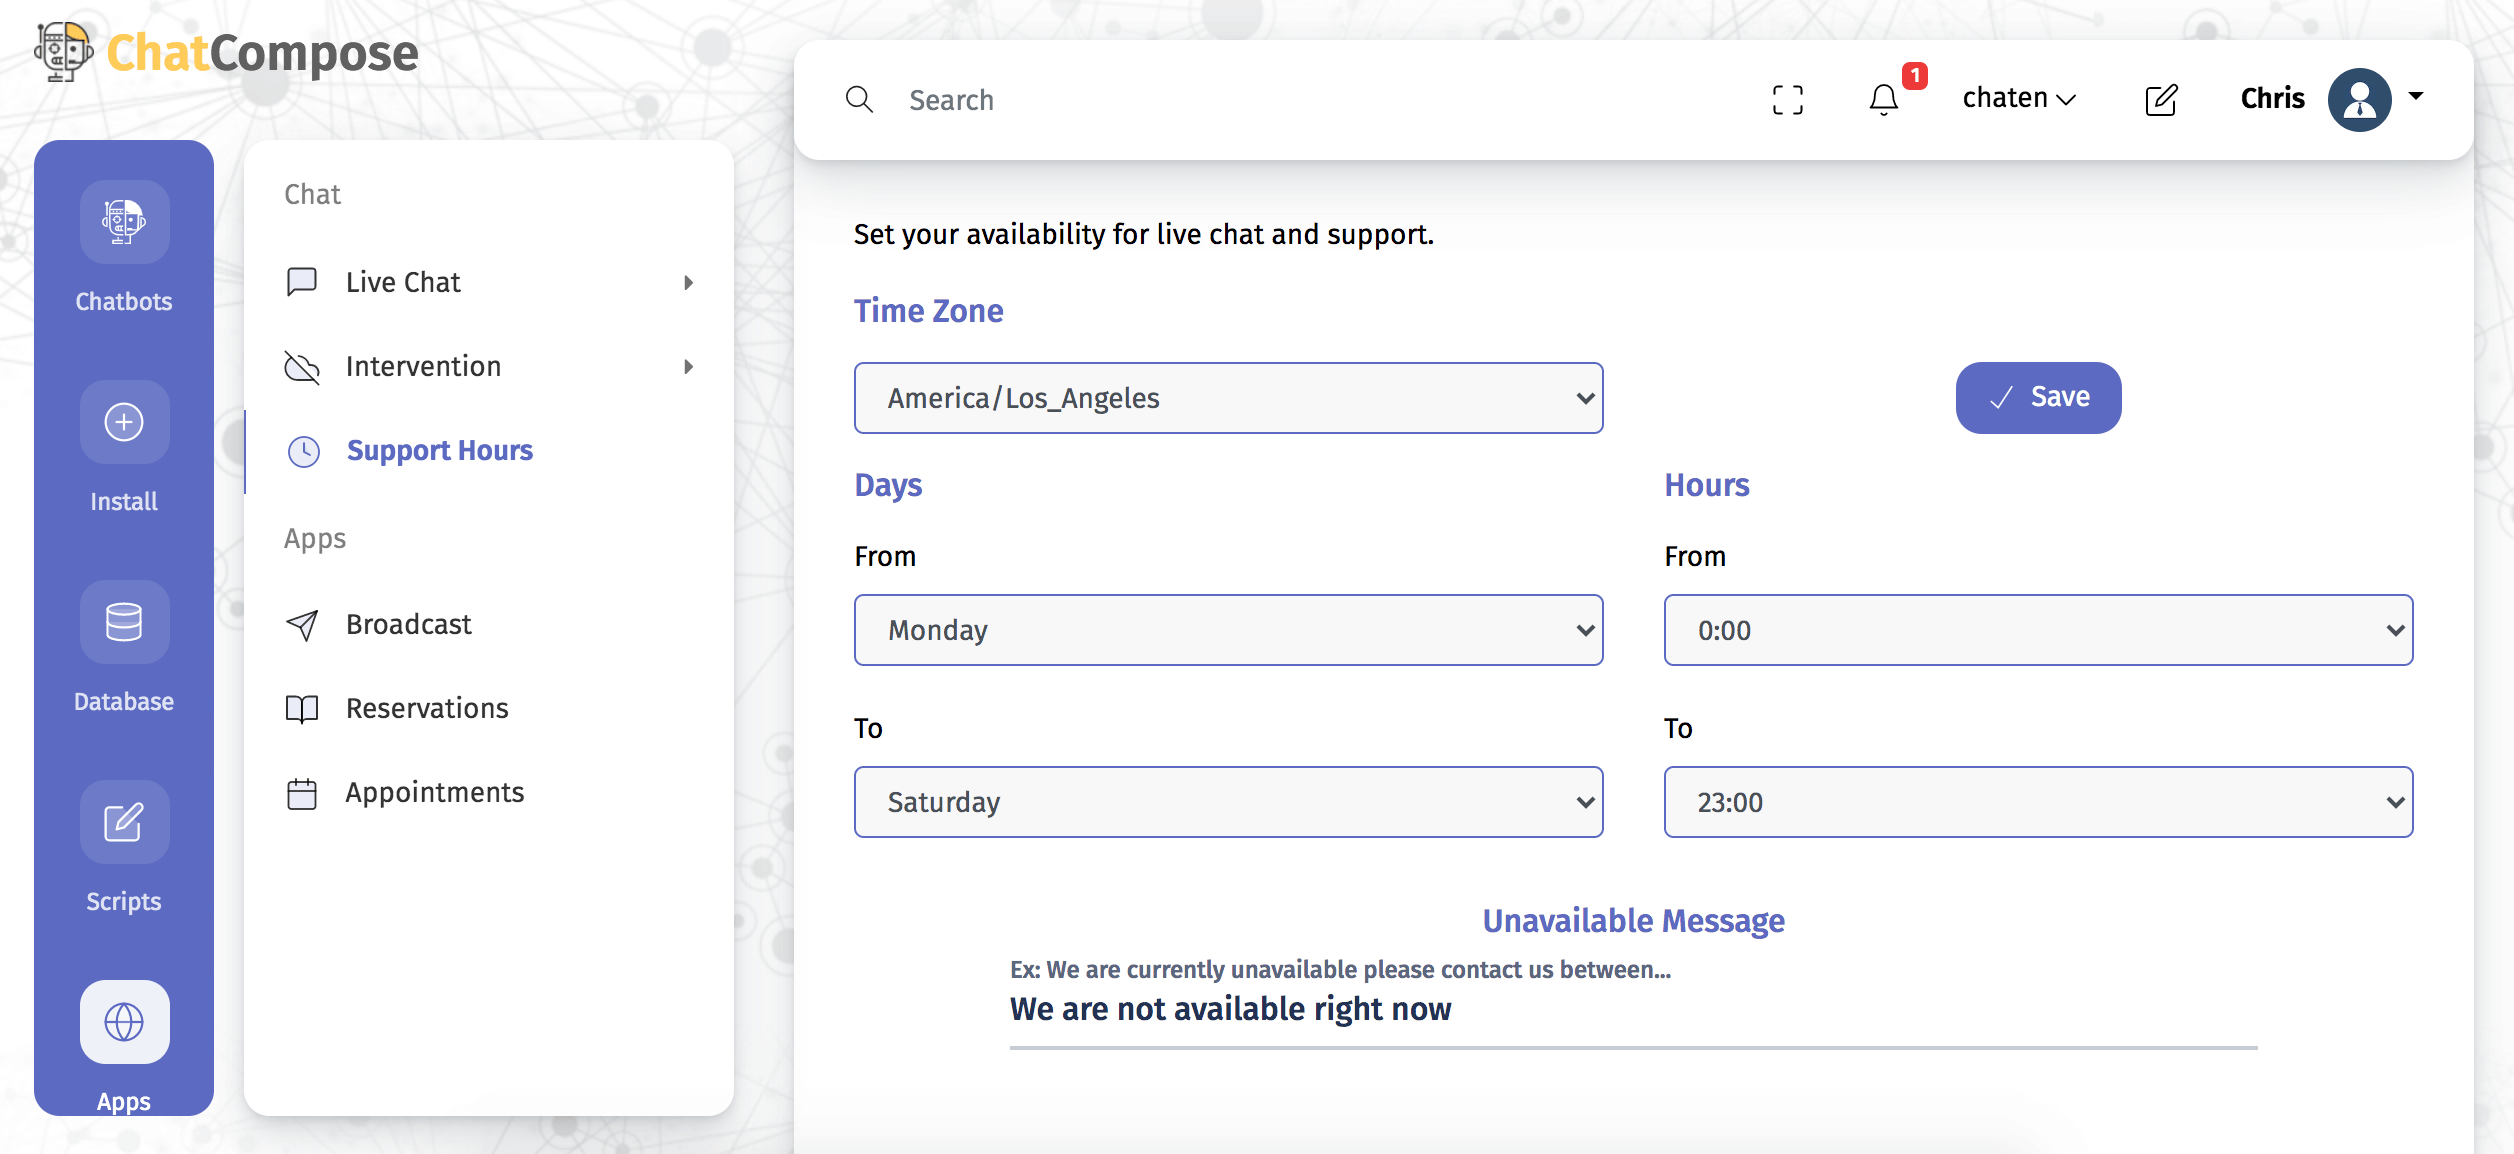
Alternatively, you can also configure your availability in the "Support Hours" section. Select a range of days and hours, your time zone and save. You can also set a message to let your users know you are not available.
The components within the platform are intended to increase functionality. The component for using live chat is called "humansupport".
You can implement live chat as a starting component, as a component for a specific page, as an answer to a question, or as part of a script. Let's look at each case.
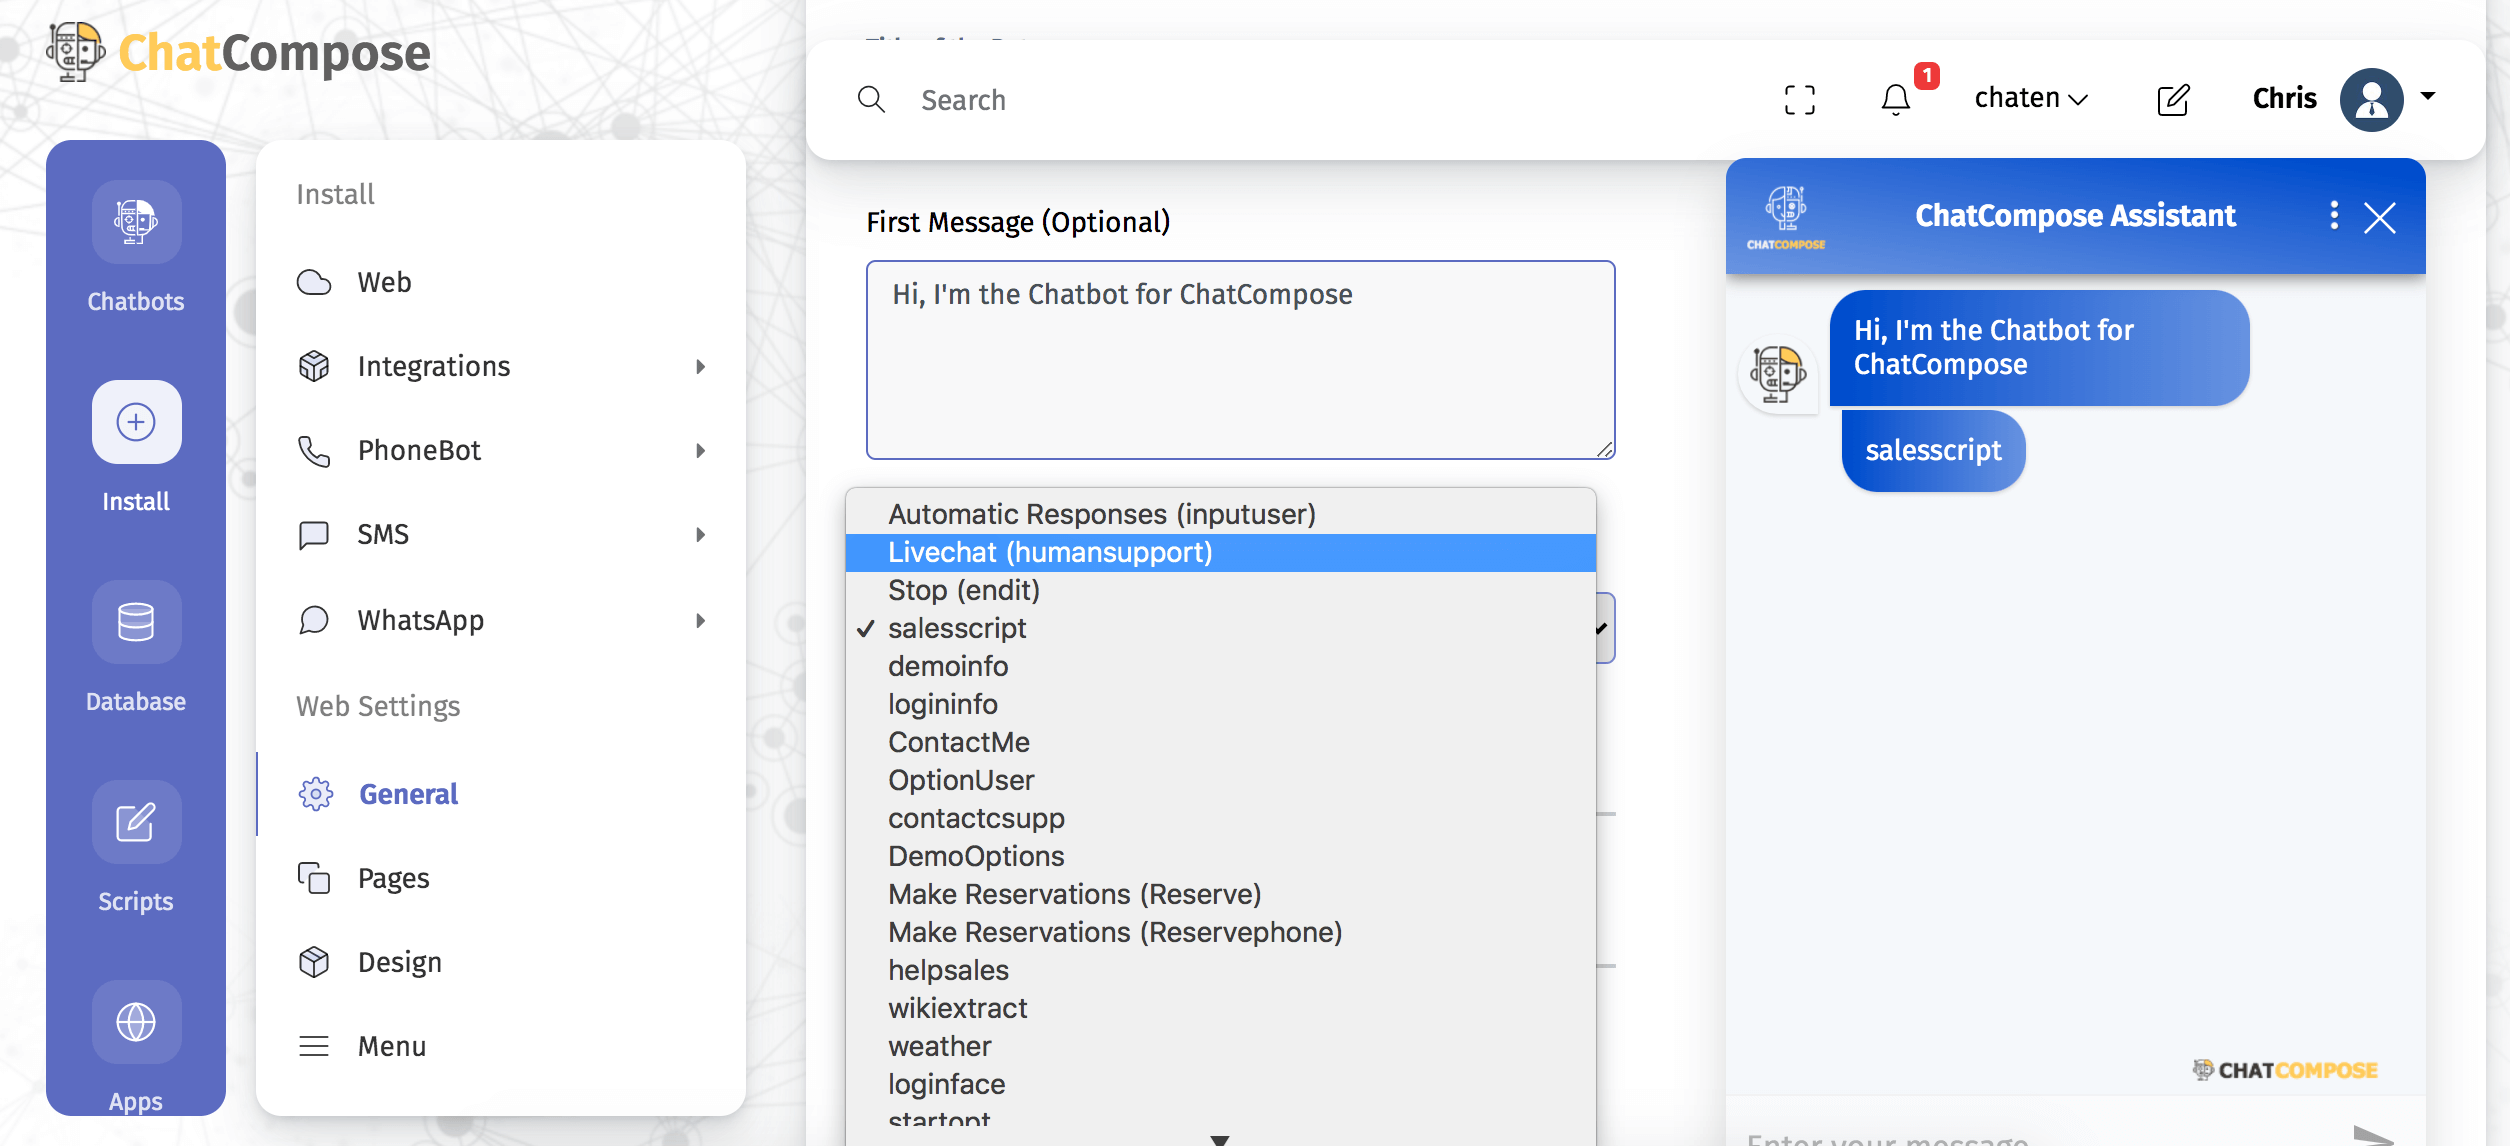
As an initial component: Navigate to Install> Web Configuration> General, and in the "Initial Script" box select the "humansupport" component.
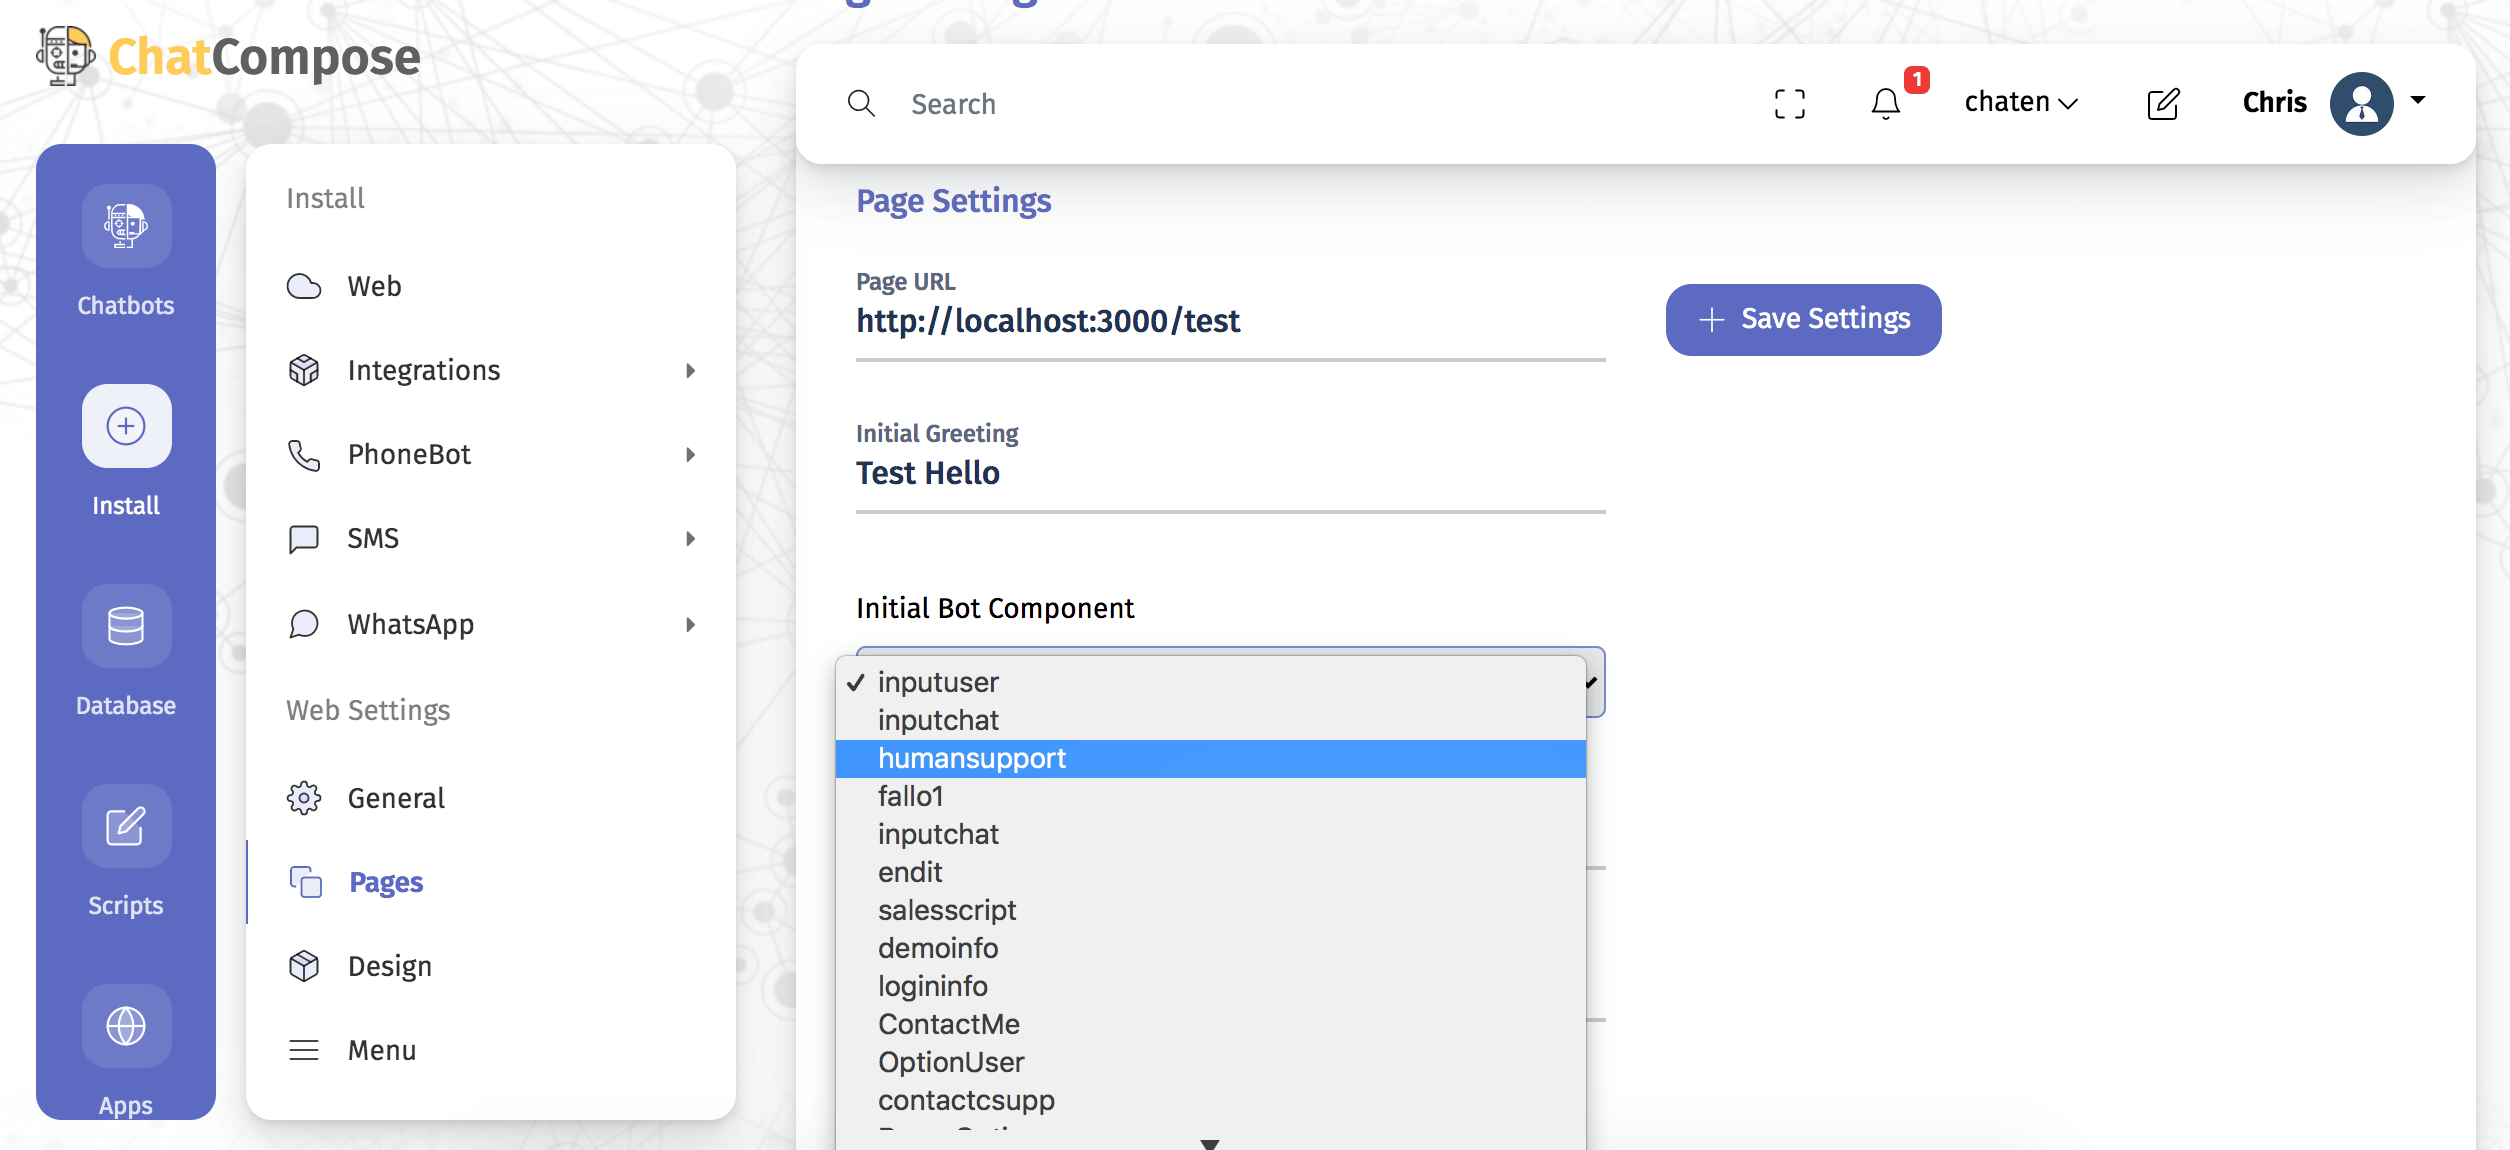
As a component for a specific page: Navigate to Install> Web Settings> Pages, to create, modify and delete your various settings for your individual pages. Click on "Create New" and fill out the form, including the full url of your page. Fill in the rest of the fields and save.
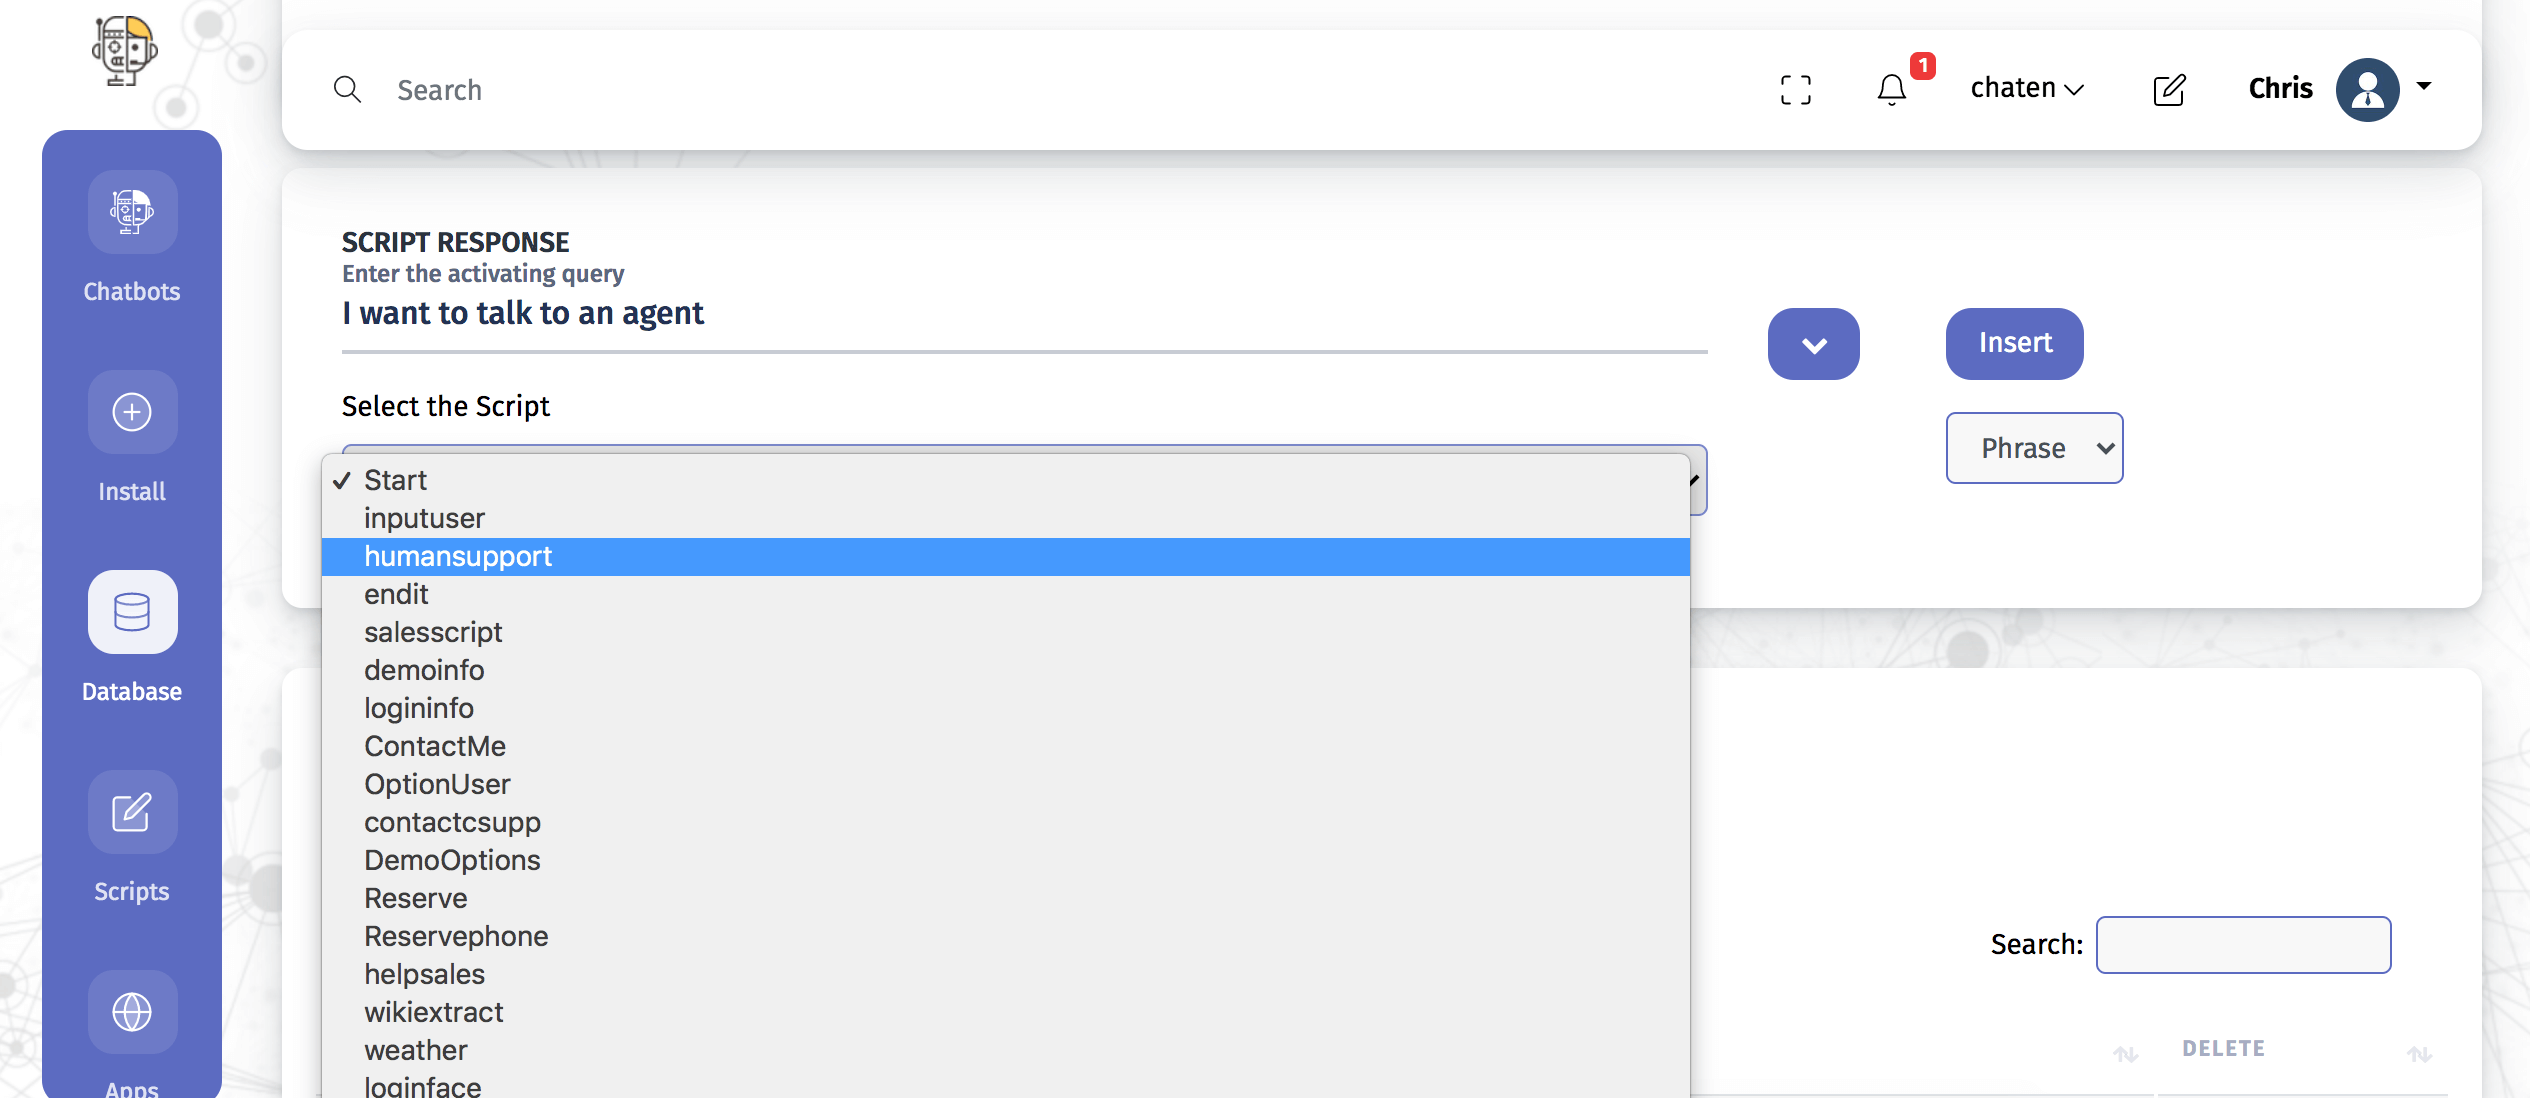
In response to a message: In Database> Responses> Add Response you can configure live chat as a response to a message requesting human support.
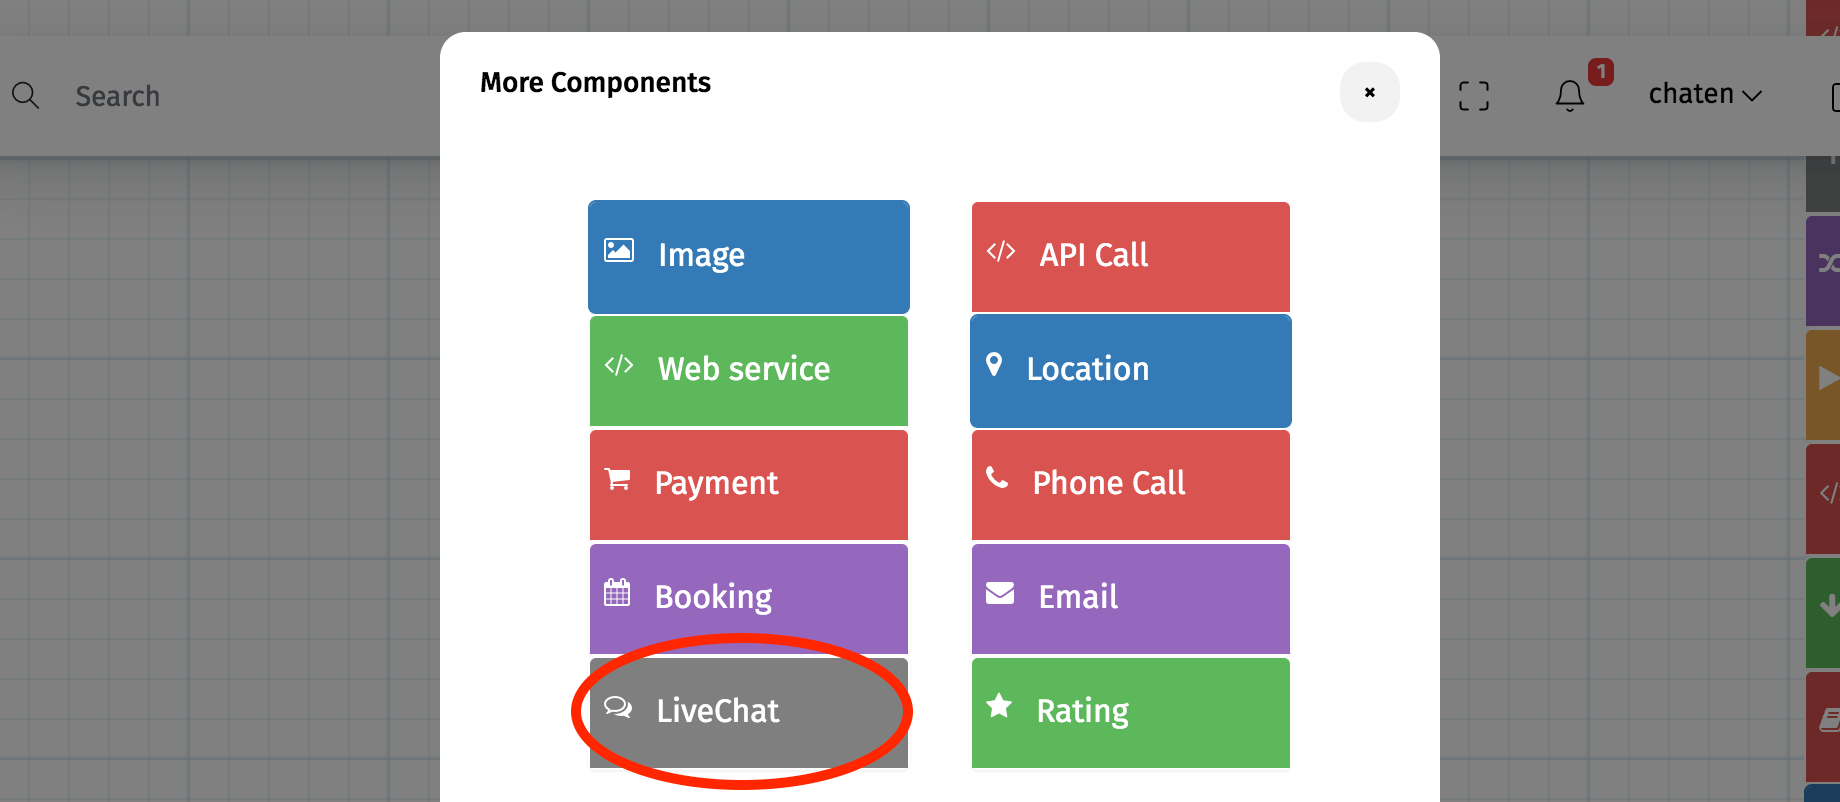
As part of a script: You can place the live chat at the point of the conversation that you want. Once you are creating or editing a script, check the component menu, click on "More", which will show you the LiveChat component.
Once you have defined the way and place in which you will present your online chat, you should install the bot on your website so you can start chatting with users.
Navigating to Install> Web, you will find three options you can follow. You have the Web installation, Wordpress and Joomla.
Website: We provide you with a code that you can implement by adding it to the HTML of your page before closing the tag </body>. You will only see the changes on your site, once you clear the cache or use incognito mode.
WordPress: You only have to install our plugin on your website created with WordPress. To do this, we share a plugin from our site, that you can upload in the Plugins> Add new> Upload plugin section.
Once the plugin is installed, you must provide your user ID from your active ChatCompose account. After entering the ID, save the changes and both the chatbot and the live chat option should be available as you configured them.
Joomla: We also facilitate this installation with a plugin. We provide the file for you to install on your Joomla site in Extensions> Manage> Install. Navigate to Extensions> Plugin and search for "chatcompose", there you can activate the plugin or edit it. Here you will also have to give your User ID and then save the changes.
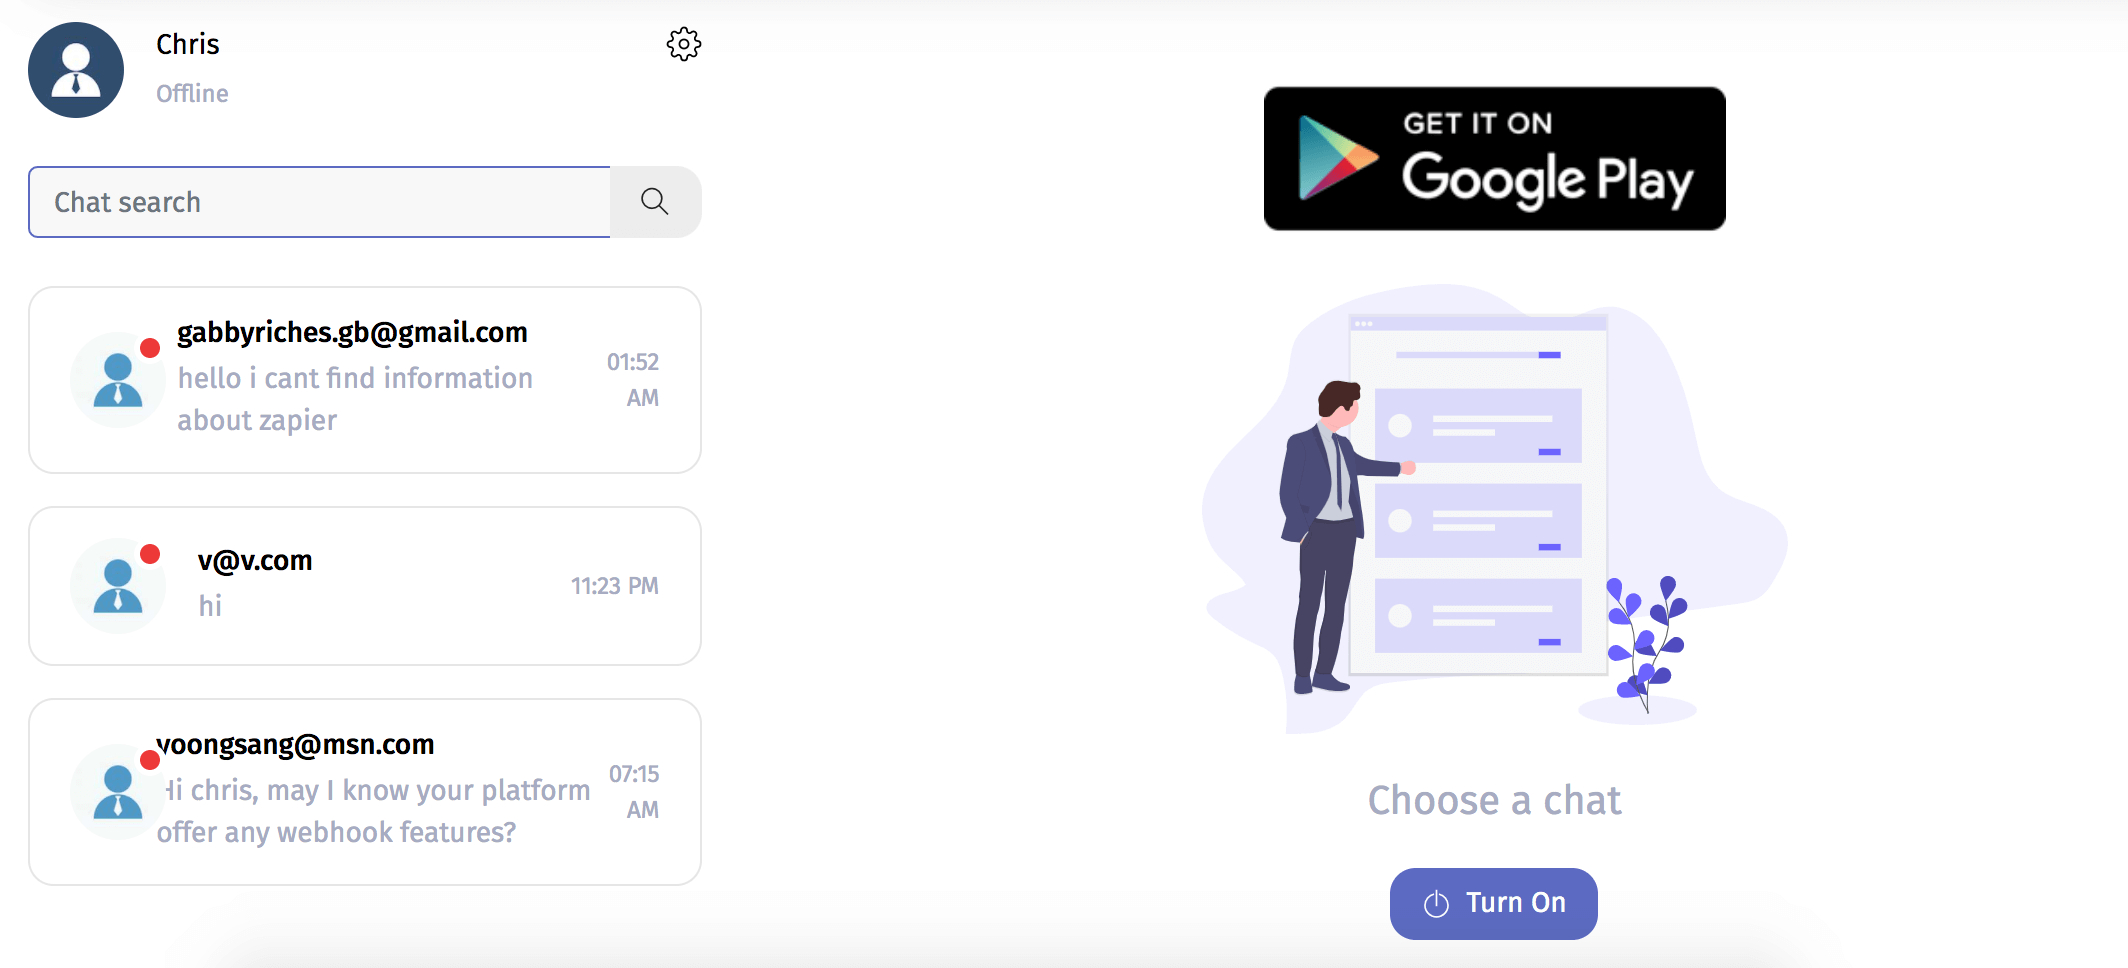
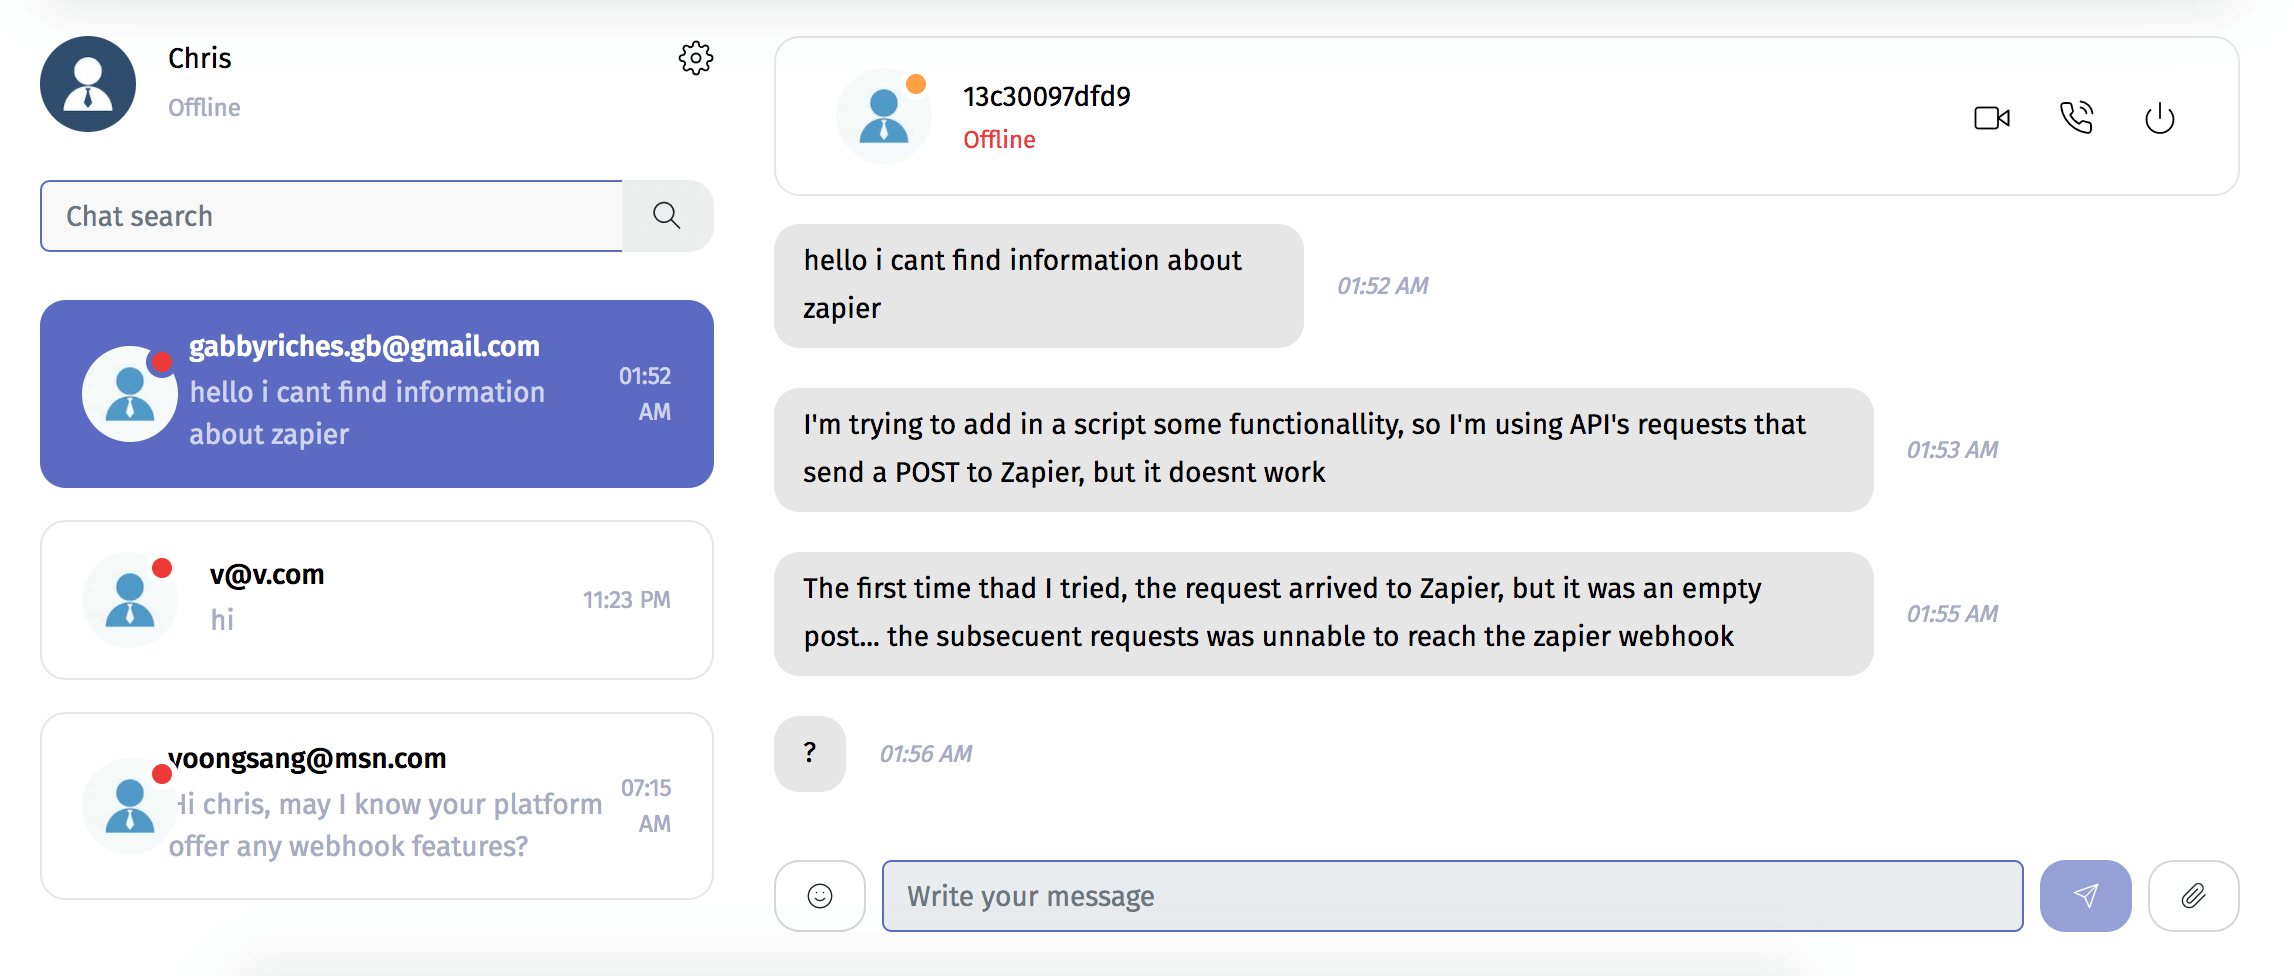
Every time a user asks to speak to support you will receive an email, you can follow the link or enter Apps> Live Chat> Web from the platform to answer the questions.
In addition to installing live chat on your website, you can also use it on other channels such as Facebook, WhatsApp, Telegram, and WeChat.
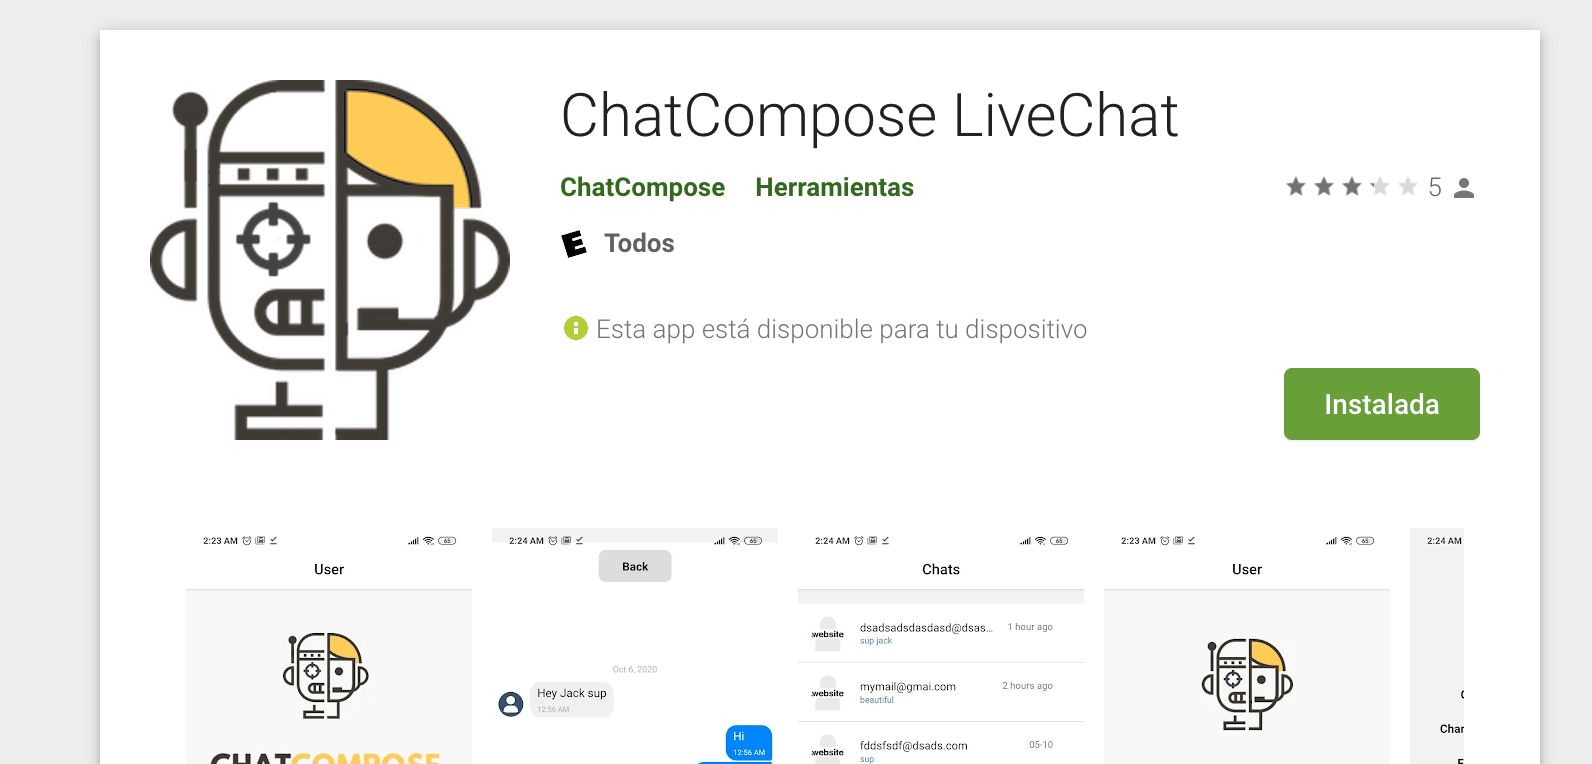
And to make managing your support requests easier, you can download the ChatCompose LiveChat app on Google Play. That way you will receive automatic notifications when a user writes and you can reply from your mobile.