LINE was created after the 2011 earthquake in Japan to deal with communication problems in the country. The great advantage it had at that time was that it required less data to send messages, since communication networks were damaged after the earthquake.
As time went by, LINE evolved and began to integrate more services for users: games, video, calls, photography, drawing, design, selfies or even a calculator. In total, they have about 65 applications that integrate into their App.
It is a fast, versatile App with all the features of similar messaging Apps, but totally free and with no threat of becoming paid. It also offers free calls and some games that can be downloaded separately. It also features the use of Stickers, an enhanced version of emoticons.
You can find the official tutorial on how to create a channel here.
First of all create a developer account here. Yo will also need to have a LINE account.
Once registered select "Create a new provider" and give it a name.
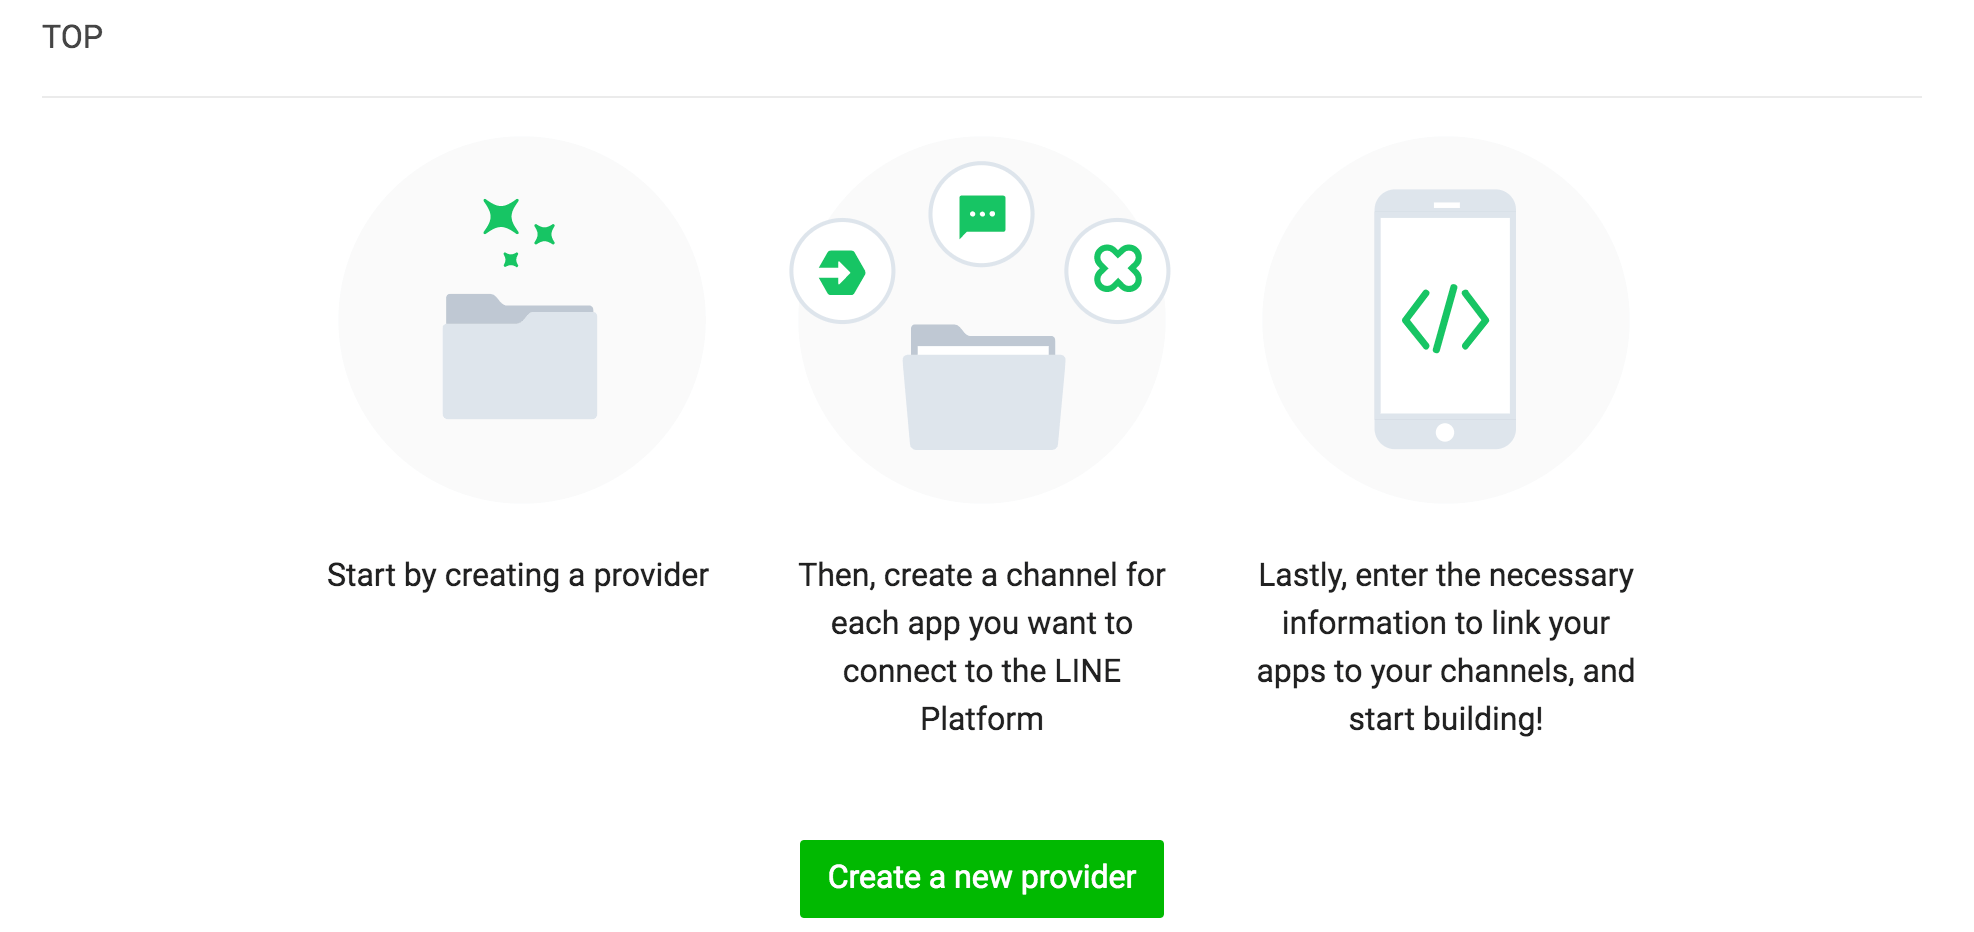

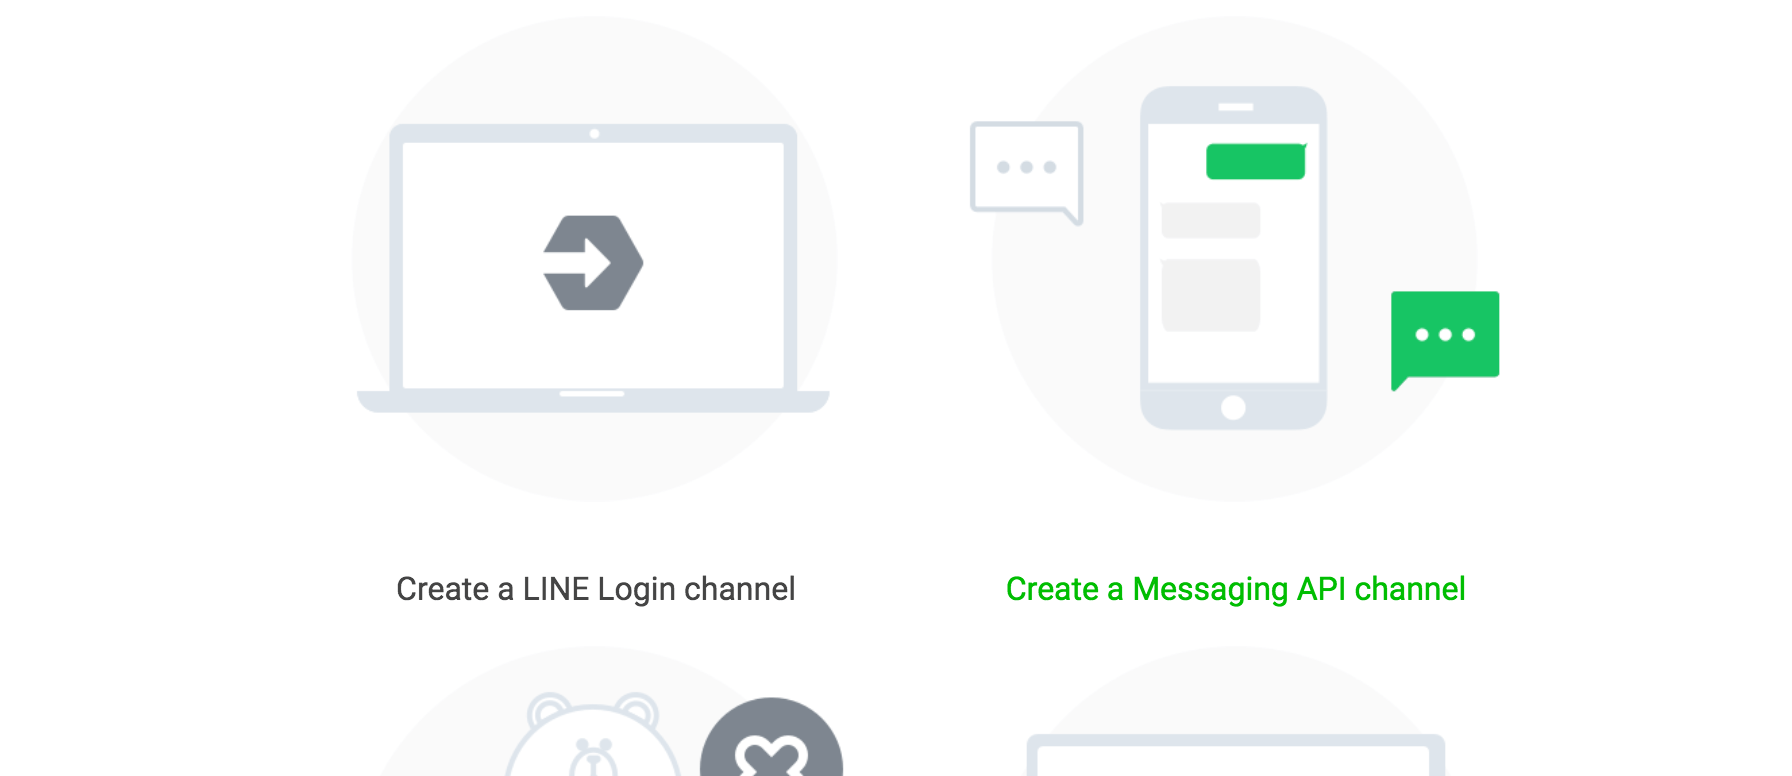
For the next step click on "Create a messaging API channel". Here you will be able to link your chatbot with LINE.
Enter the description for your chatbot and any other information you want to display.
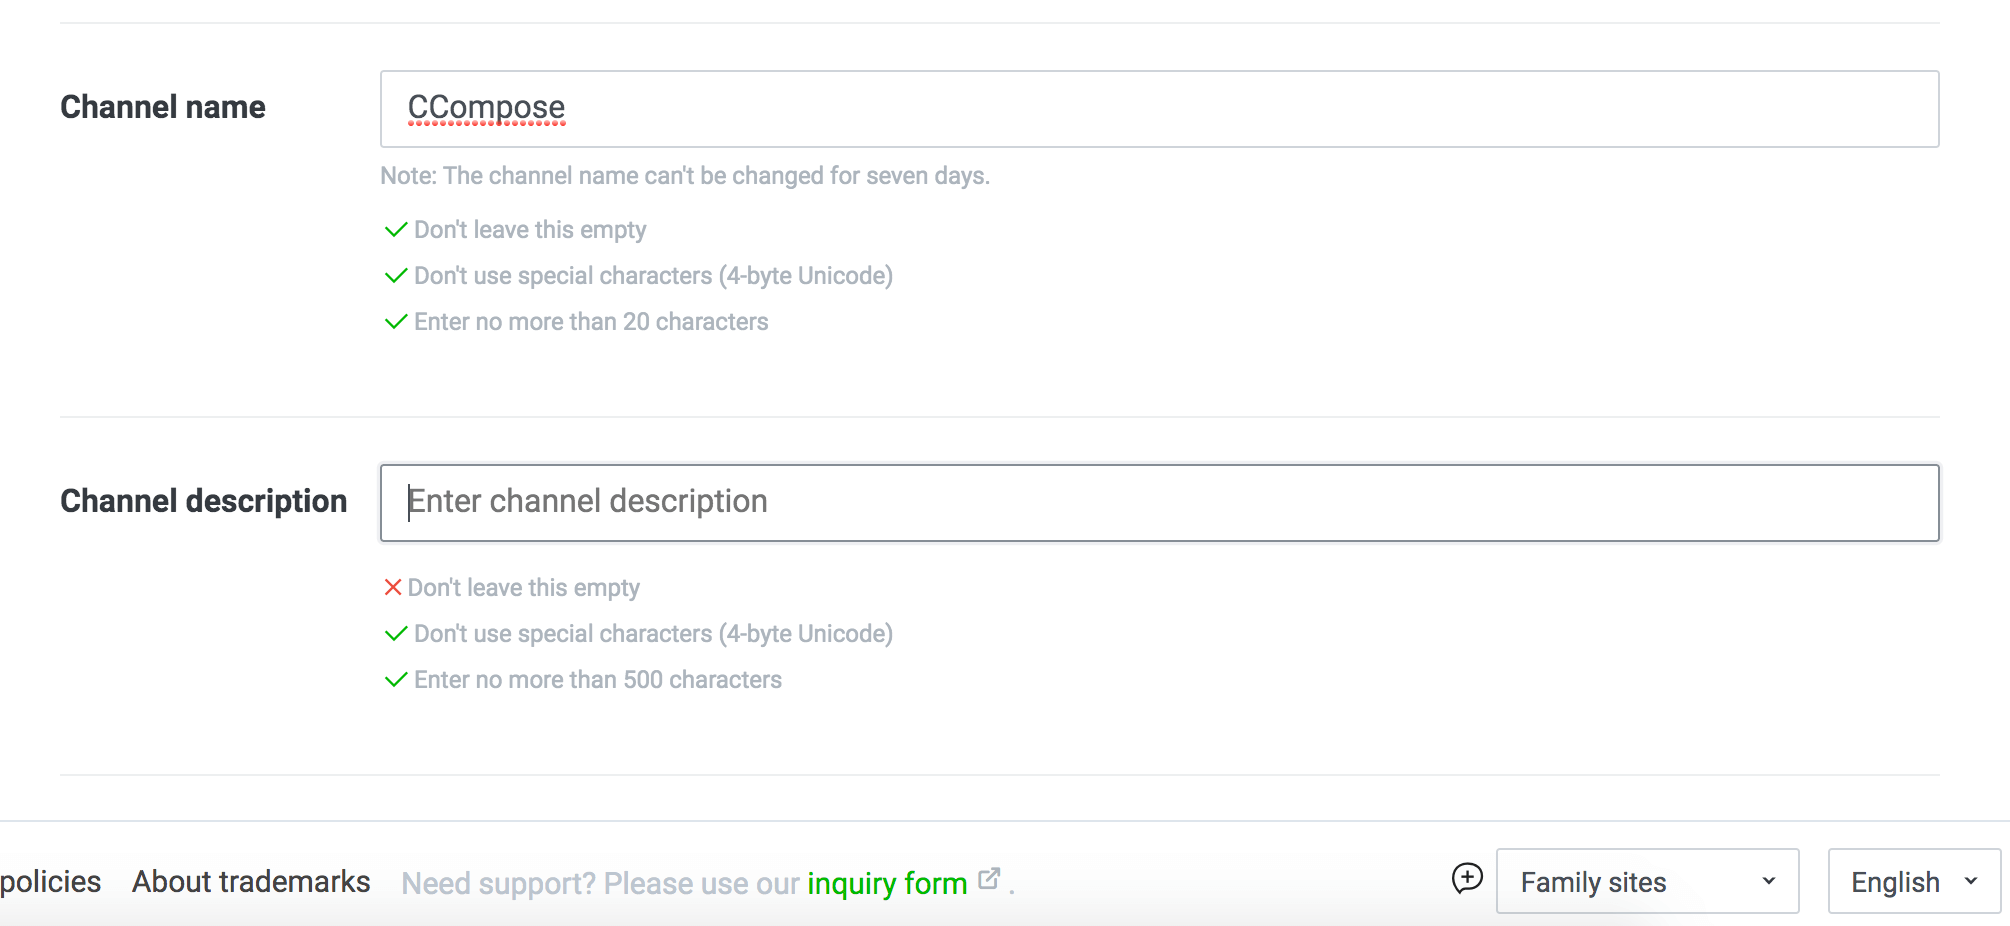
Fill all the required fields and press "Create".
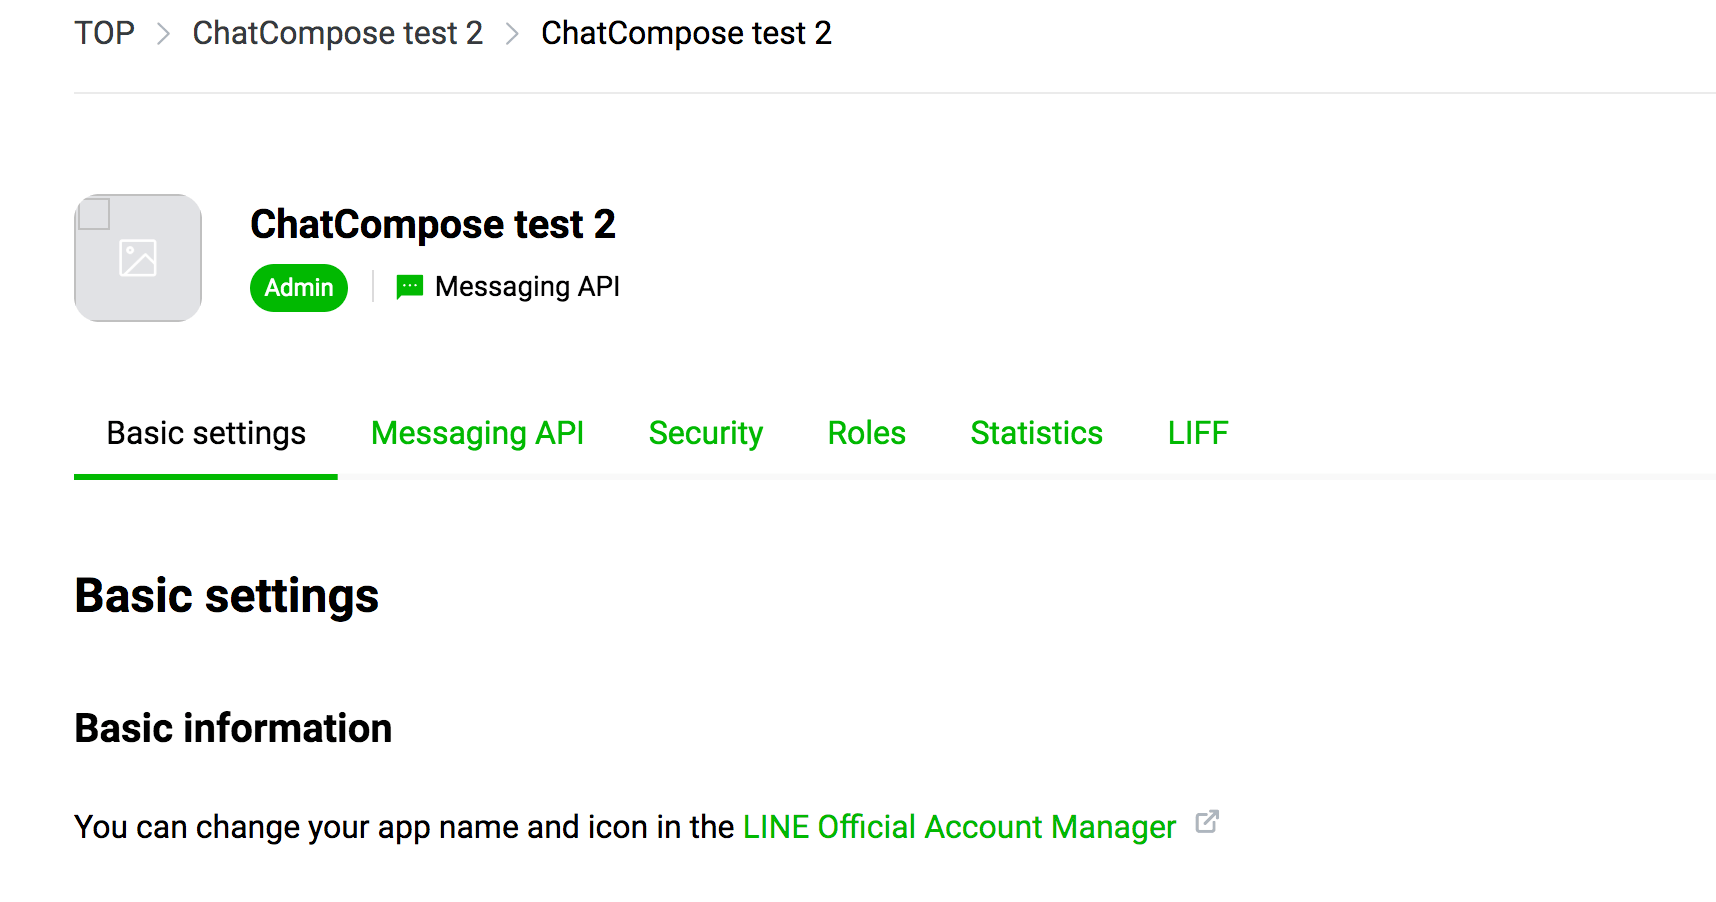
In the next page you will be able to edit your channel details and get your "Channel secret" key.
Scroll to the bottom of the page and copy the key, we will need it for the next steps.
For the next step, navigate to the "Messaging API" tab of the page.
Here we will be able to set a "Webhook URL", and create an access token.
First of all scroll to the bottom to the "Channel access token" section.
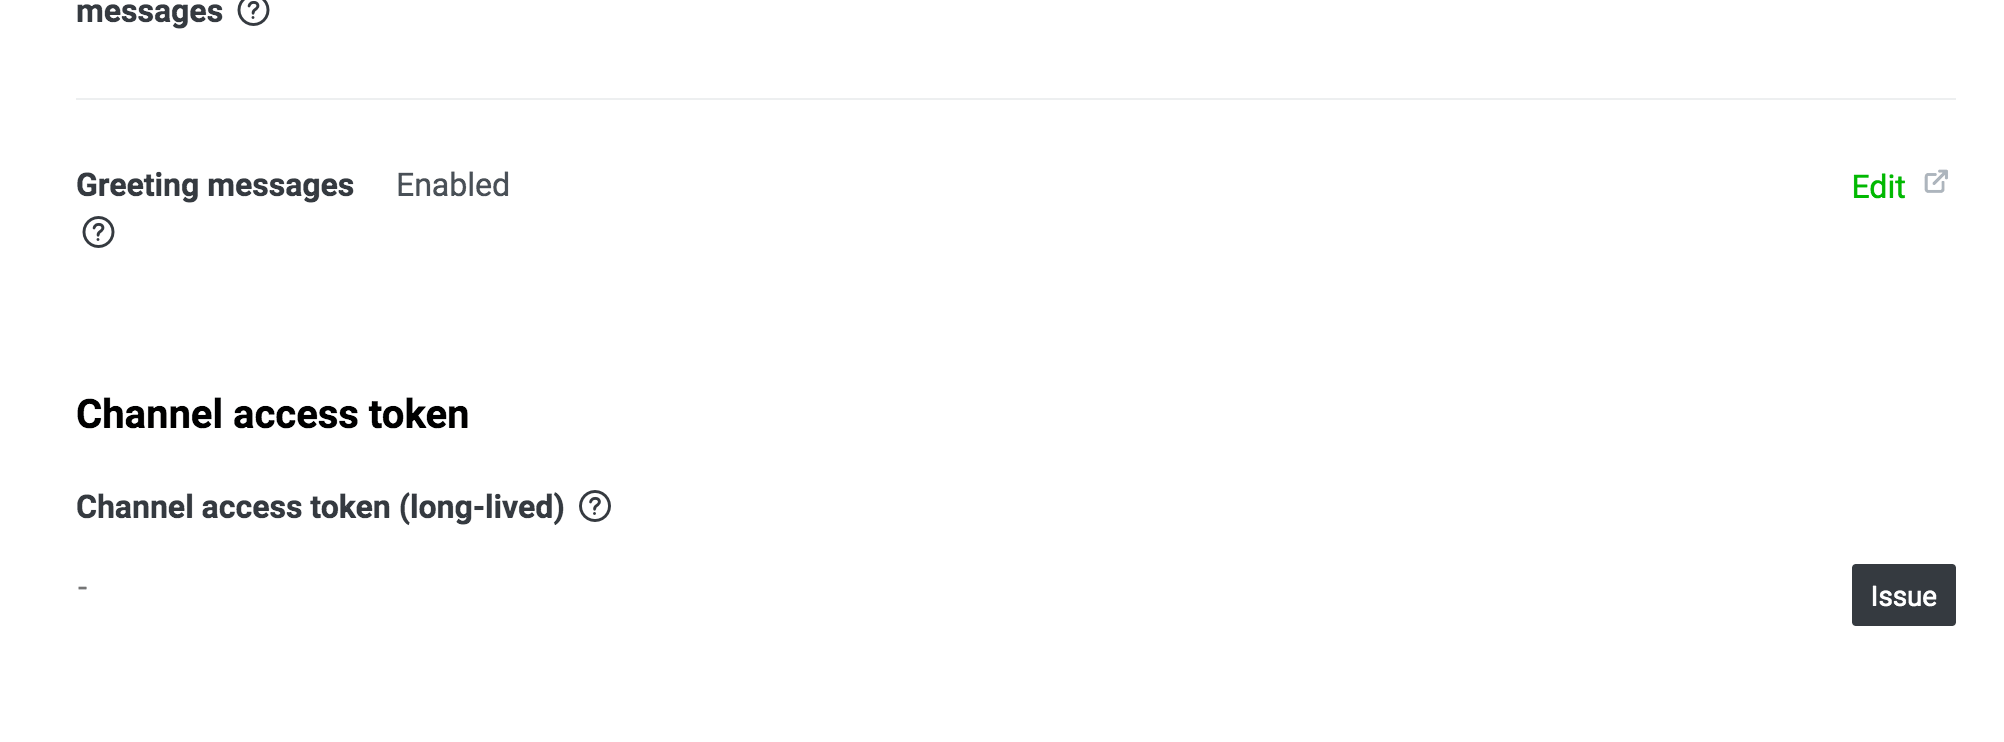
Press "Issue" to create a your Channel access token. We will also need this key.
Once you have copied both the "Channel access token" key, and the "Channel secret" key we can enter those values into the platform.
Please login to your ChatCompose account, navigate to "Integrations" and click on "LINE". You will be taken to the LINE configuration page.
Here you can enter the two keys we copied from the previous steps. Copy them to the correspondig fields and save.
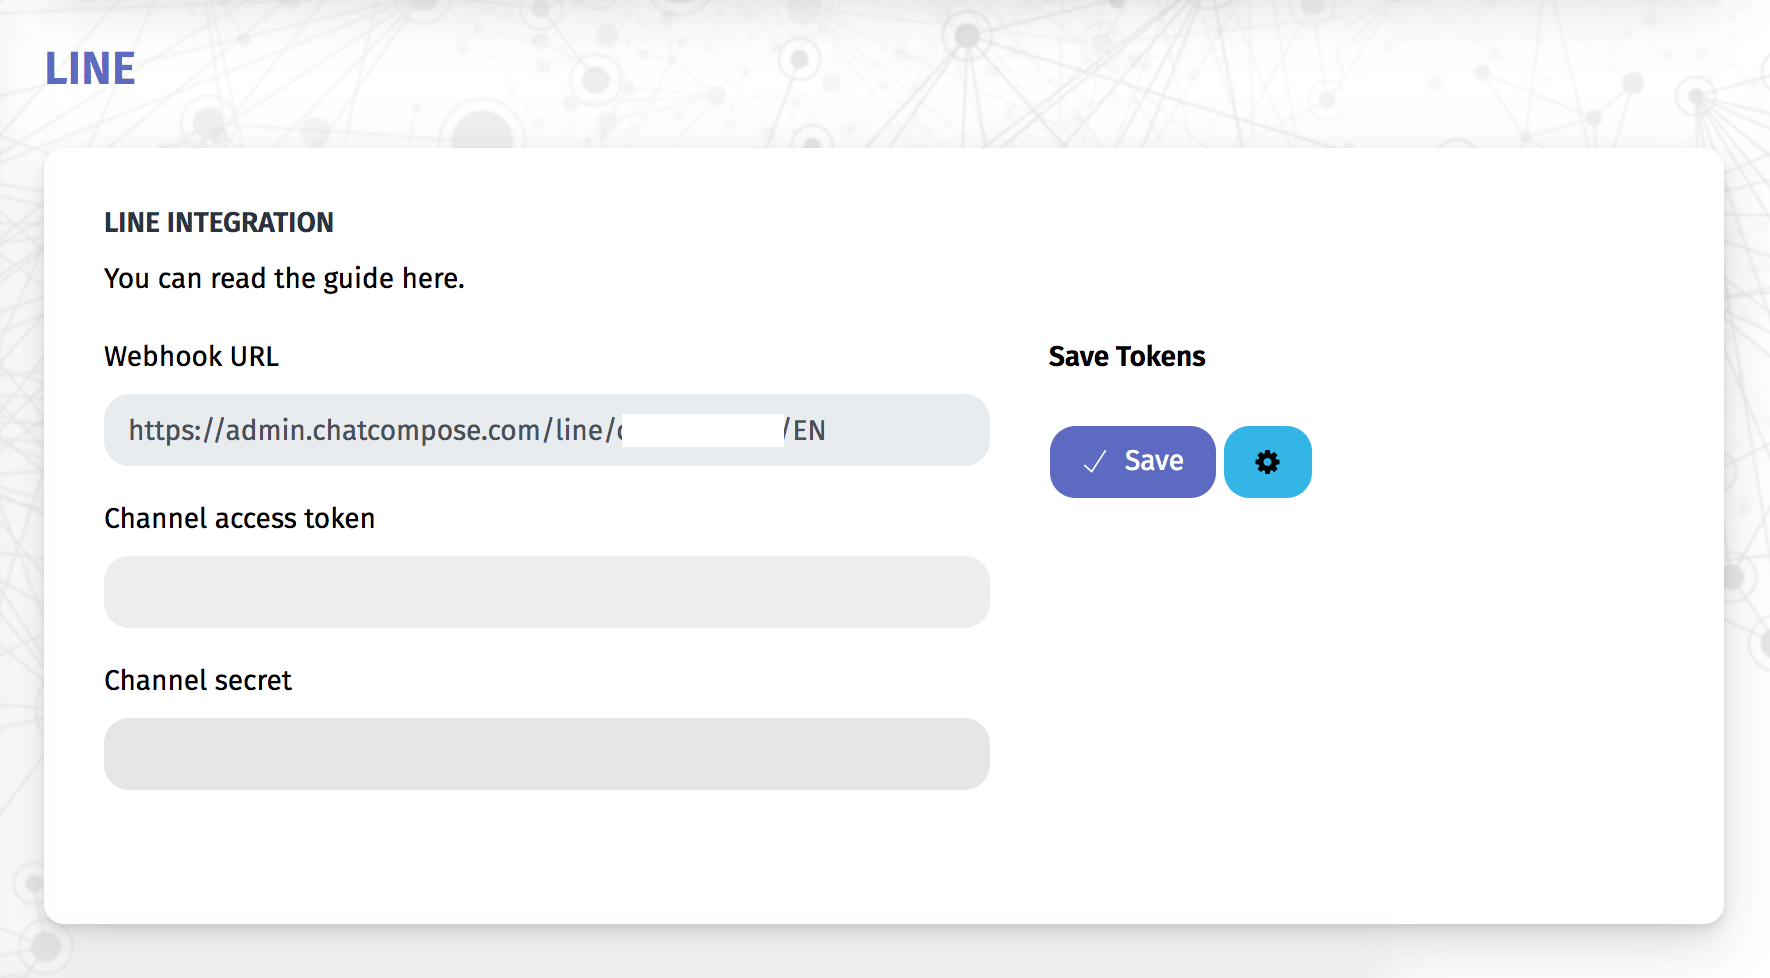
You will also need to use the Webhook url provided in this page. Copy it.
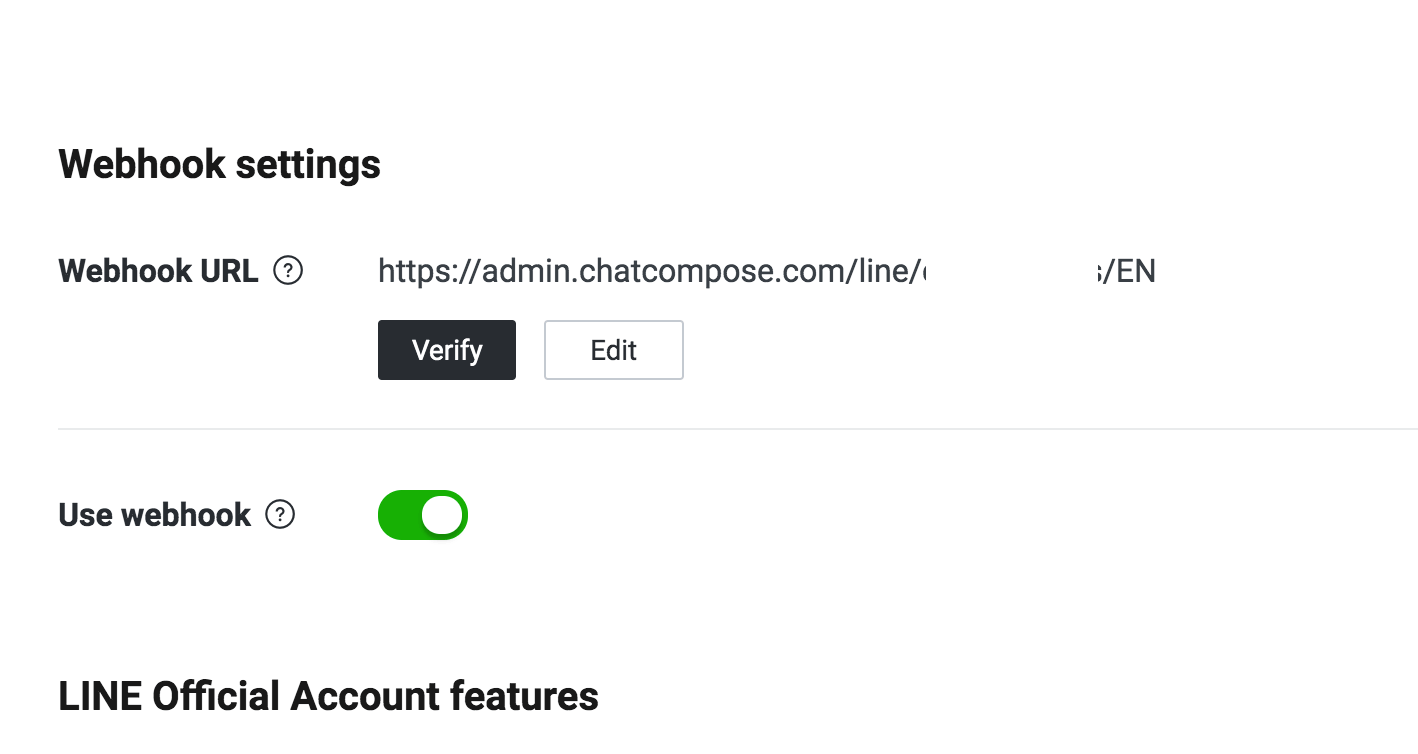
Back in the LINE Console, let's go to the Webhook settings at the "Messaging API" tab.
Enter the webhook we provide in the console and press Save. Make sure to verify it afterwards. Also enable the webhook.
By default, LINE will provide their own responses when someone adds your channel and sends a message.
Since we will use ChatCompose to handle those tasks, we can delete the default values.
At "Messaging API", you will find the "LINE Official Account features" section. Edit them.
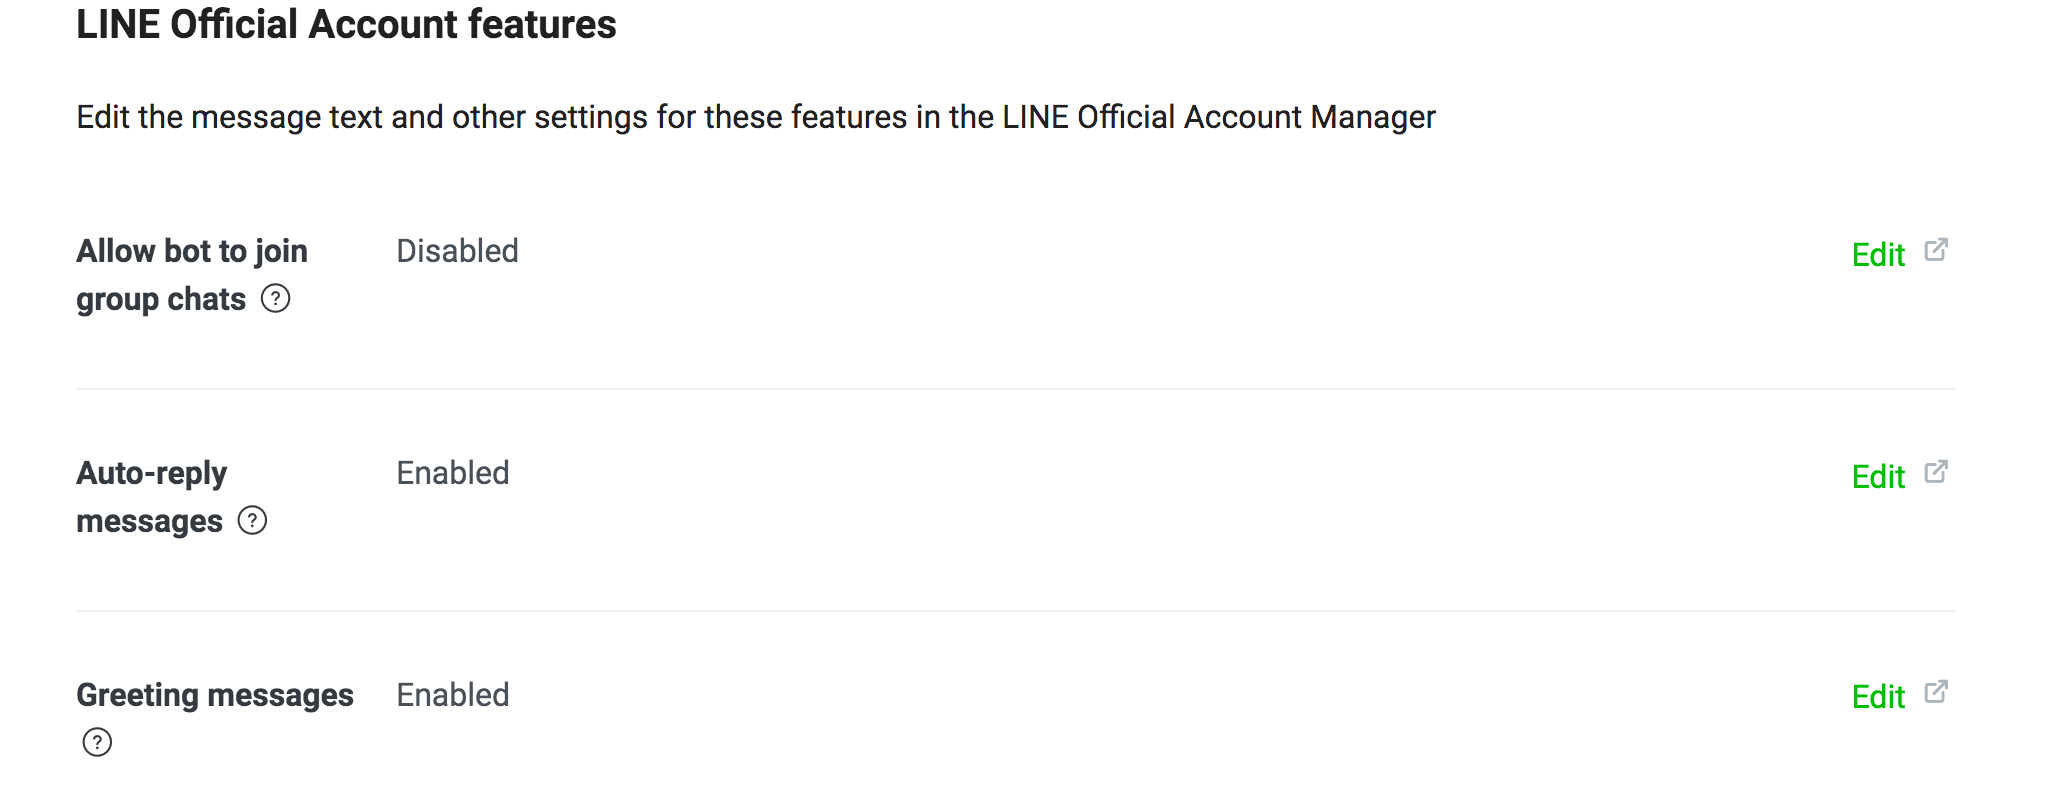
Disable "Auto-reply messages" and "Greeting messages", and enable "Webhooks" by pressing the edit button.

Initial Configuration
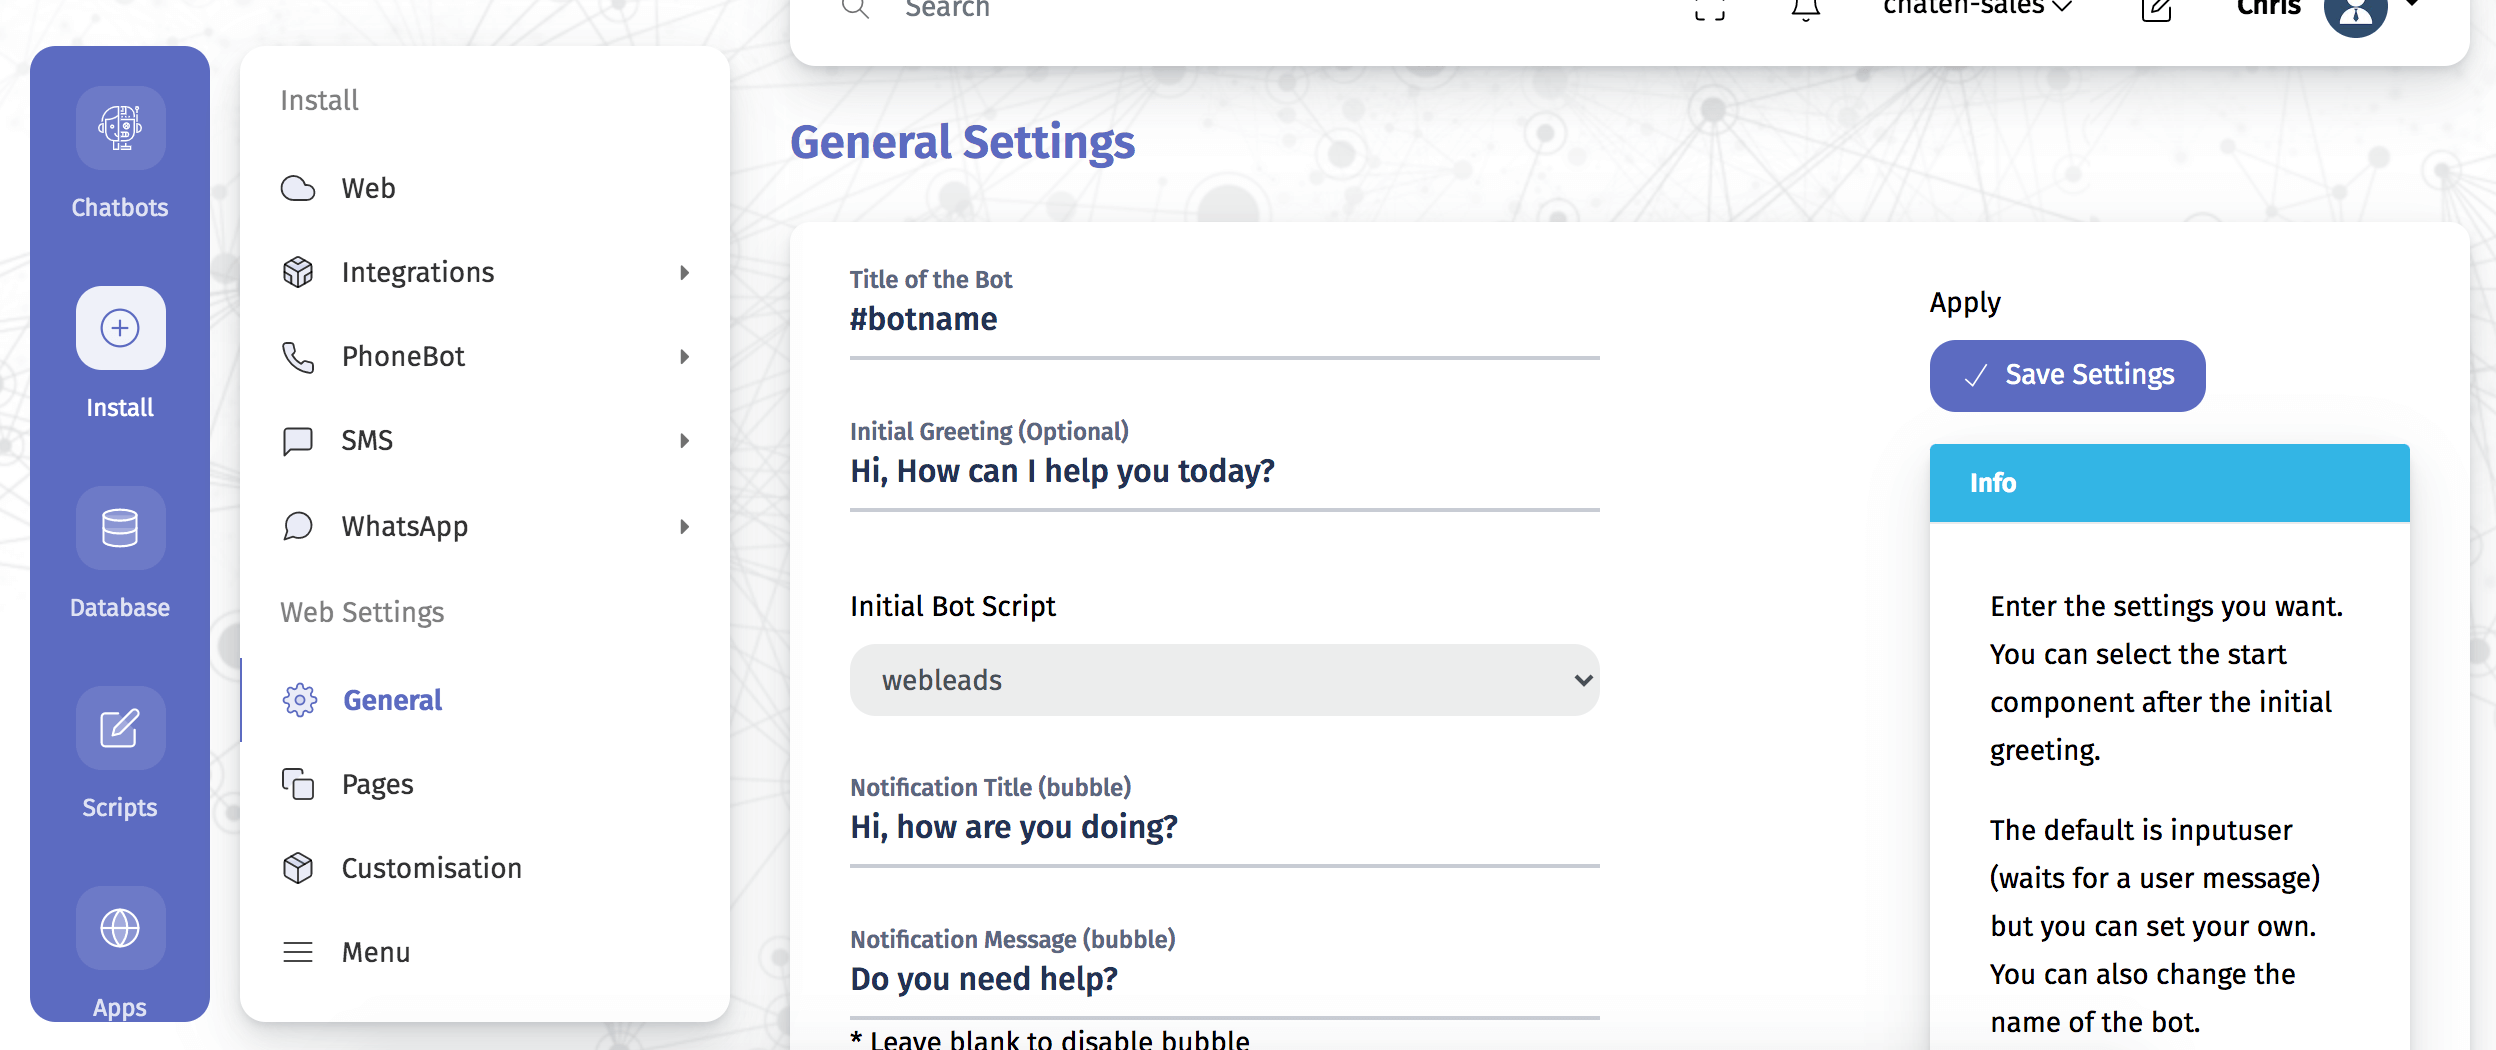
You can also set the initial message and script for your chatbot by going to Install>General. Write your initial message and select your initial script. These will show whenever a new user adds your chatbot.
In the "Messaging API" tab you will also find a QR code. Scan it with your LINE mobile app to add the channel.
You should get the initial message or script of your chatbot.
LINE can only show 20 characters from your option component. So make sure you label your options with less than 20 characters.
LINE will only be able to display your image, document and video components for the following extensions: JPG, JPEG, PNG, PDF, MP3 and MP4.
No HTML components are allowed. LINE is not a browser so it will not be able to render any HTML code.