Google has rebranded G Suite to Google Workspace for business customers, making Google Chat an integral experience to Workspace, which provides a means of communications with colleagues and clients.
Google Chat makes it easy to collaborate with your team and to communicate with potential clients. You can add Chat to your Gmail inbox and get all the features of Chat directly in Gmail, or you can install it as part of your Business Profile to respond to potential clients that wish to communicate through Google Maps and other Google Apps.
You can create a chatbot for Google Chat in case you need to automate some tasks or conversations with your internal users or clients. For example you can create a chatbot for your users to open support requests or for onboarding.
For clients you can create a chatbot to answer frequently asked questions, to capture leads or to provide general information about your company or services.
To create a chatbot you will need to use some APIs from Google, so you will need to register to Google Cloud Platform, and create a Project.
You will also need a ChatCompose account. You register here. Feel free to read the guides on how to create a chatbot with the platform.
Set up a project for your bot in the Google API Console and enable the Google Chat API.
Create a new project (or select an existing one) and add a service account to it. Give the service account the Project Owner role (if not given by default). More information here.
Enable the API
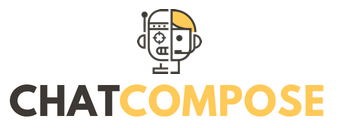
Open your project in the API Console. In the list of APIs, click the Chat API.
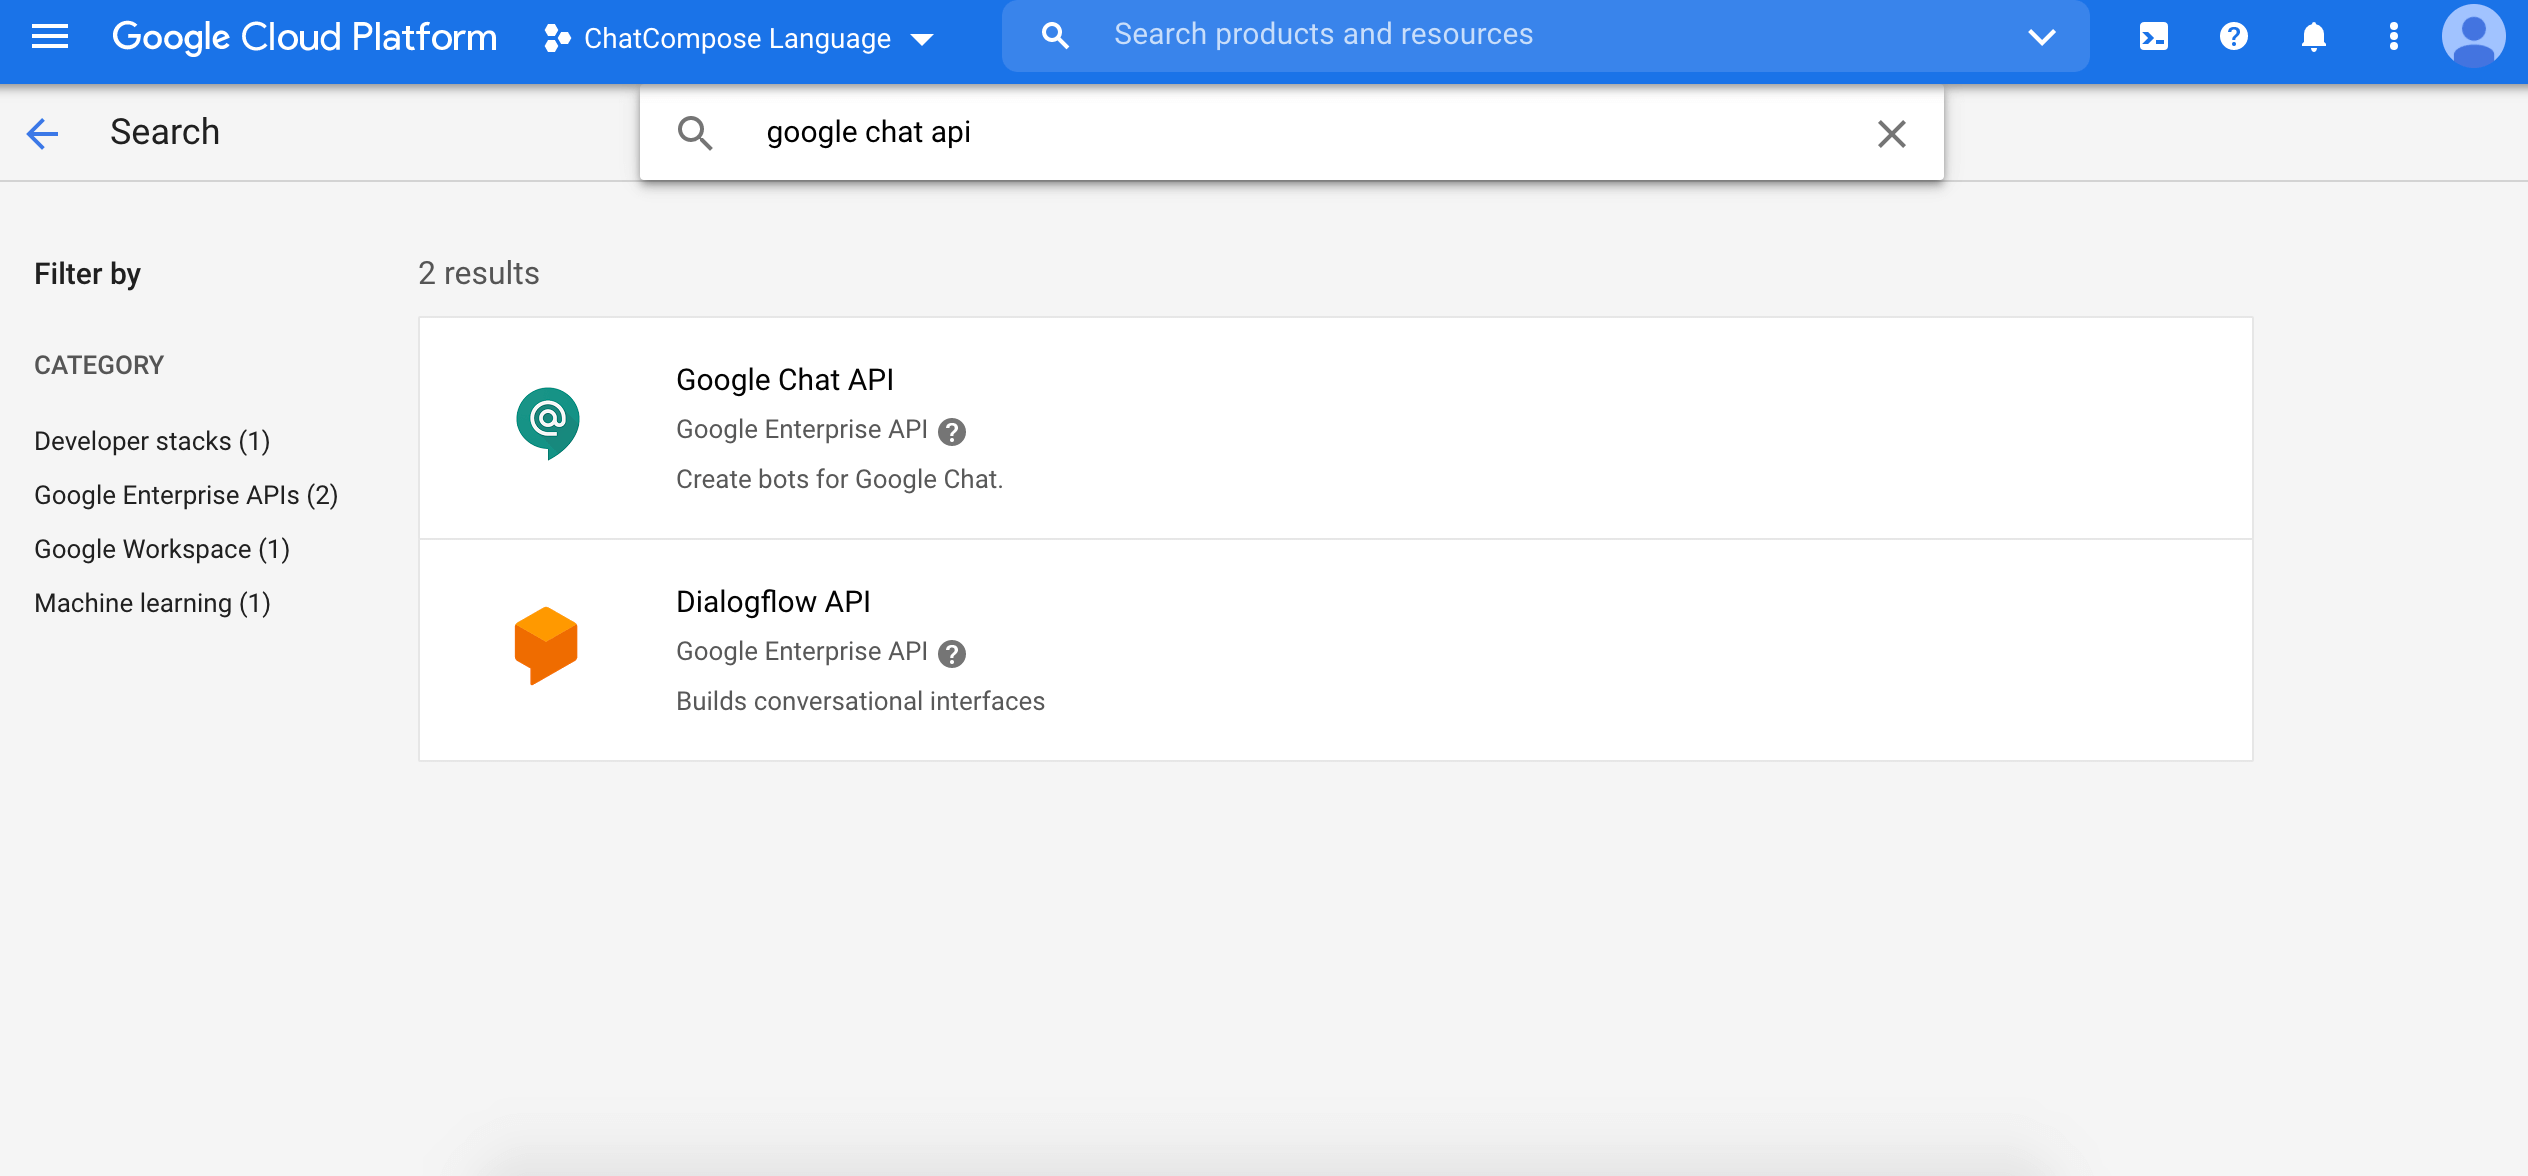
Once the API has been added. Click Manage.
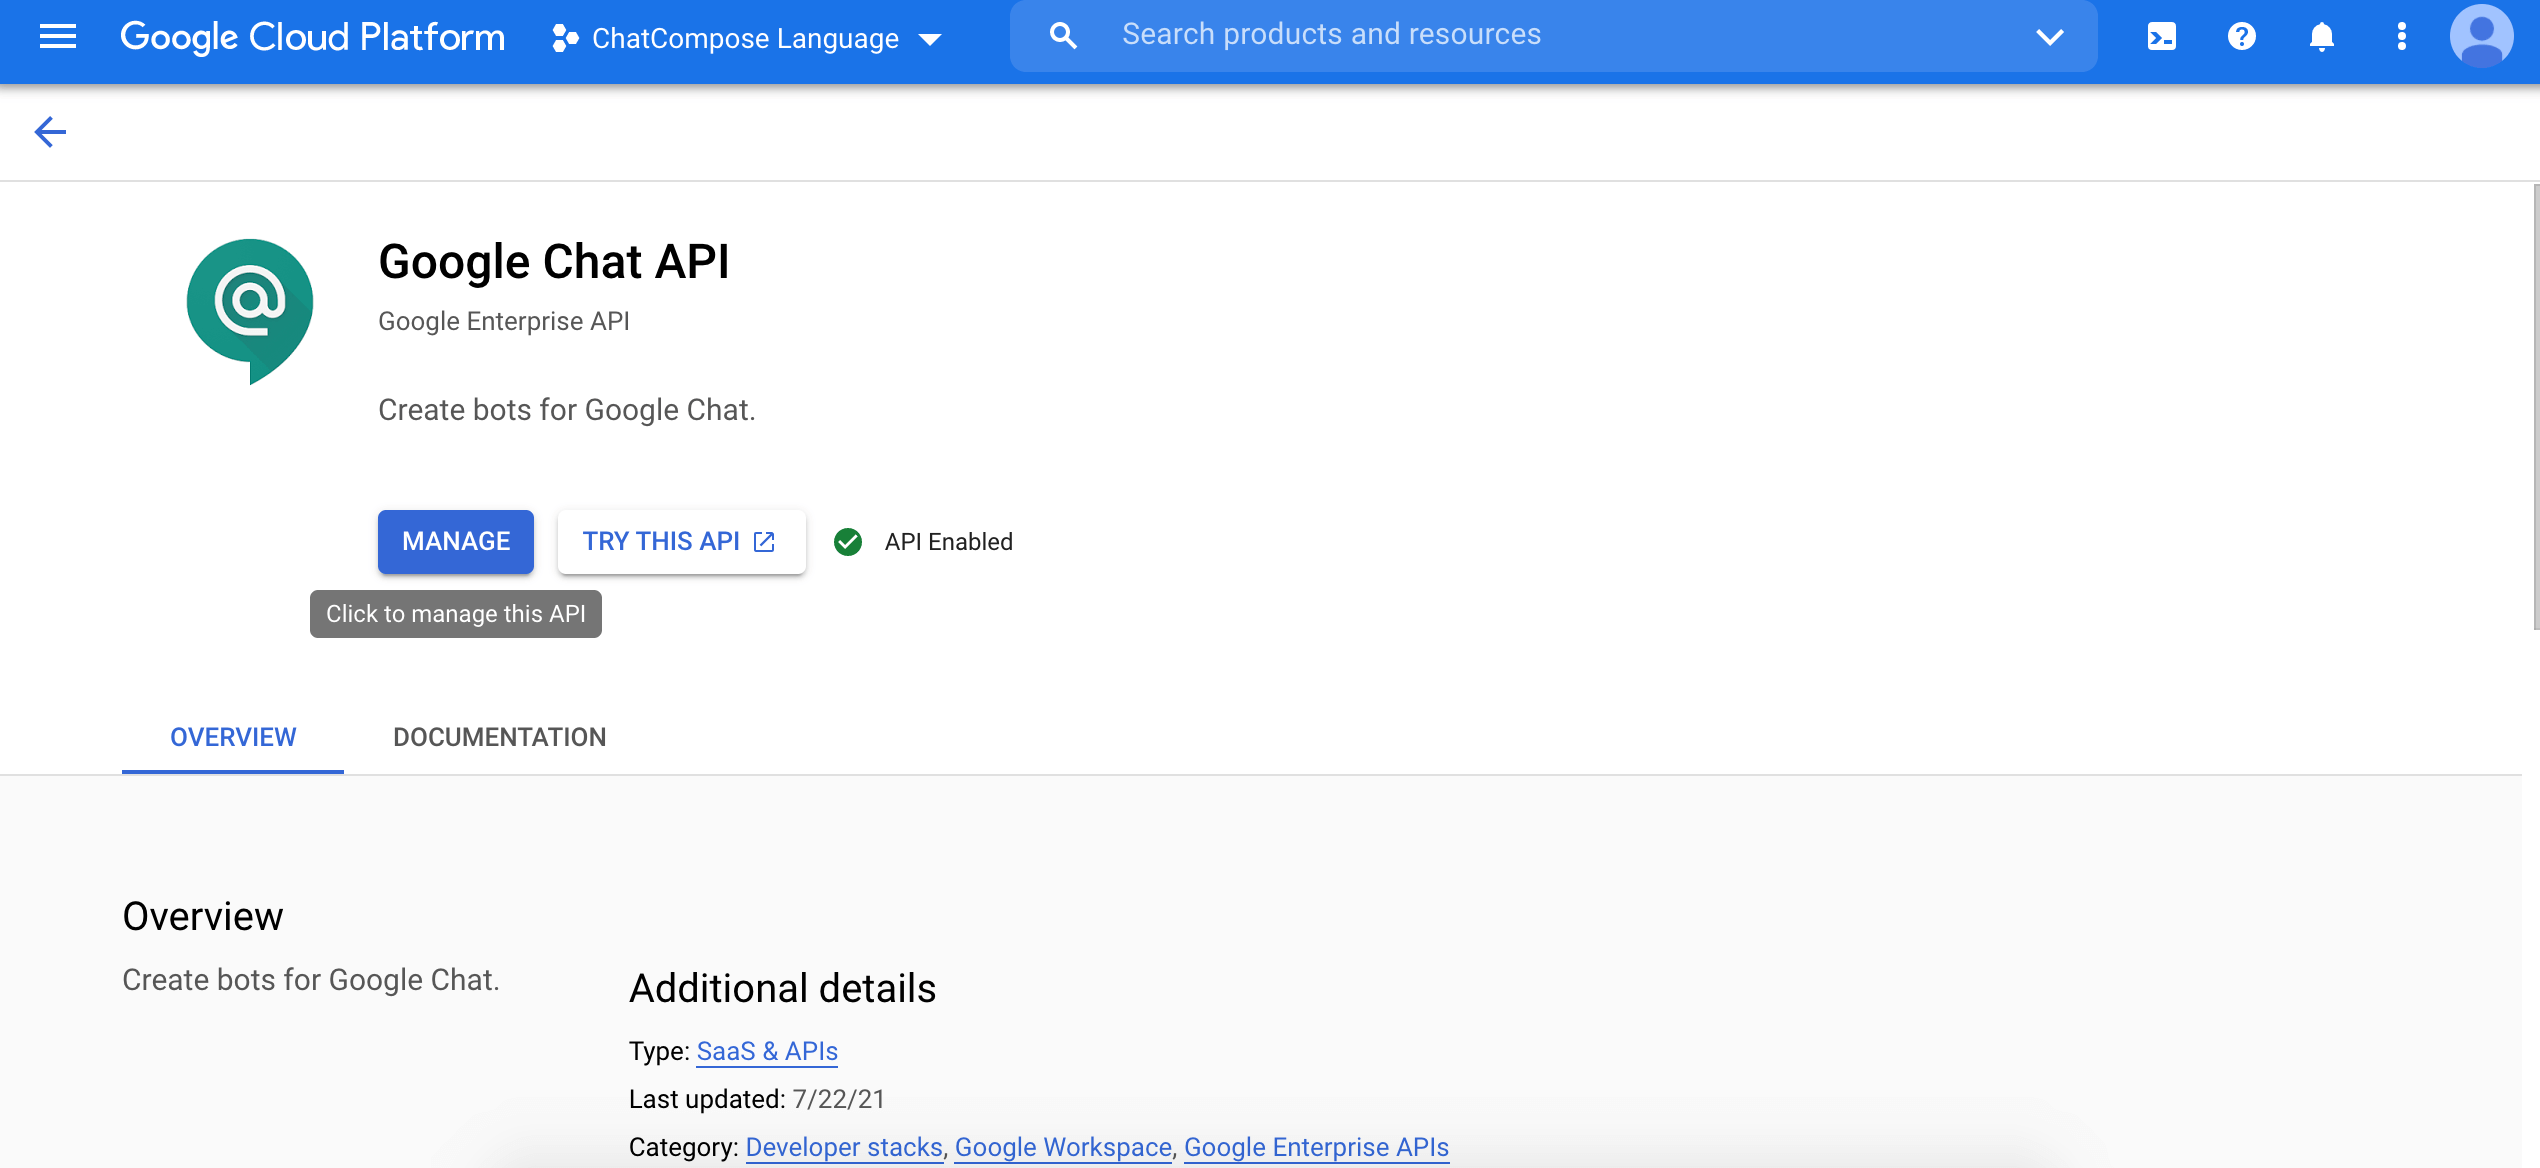
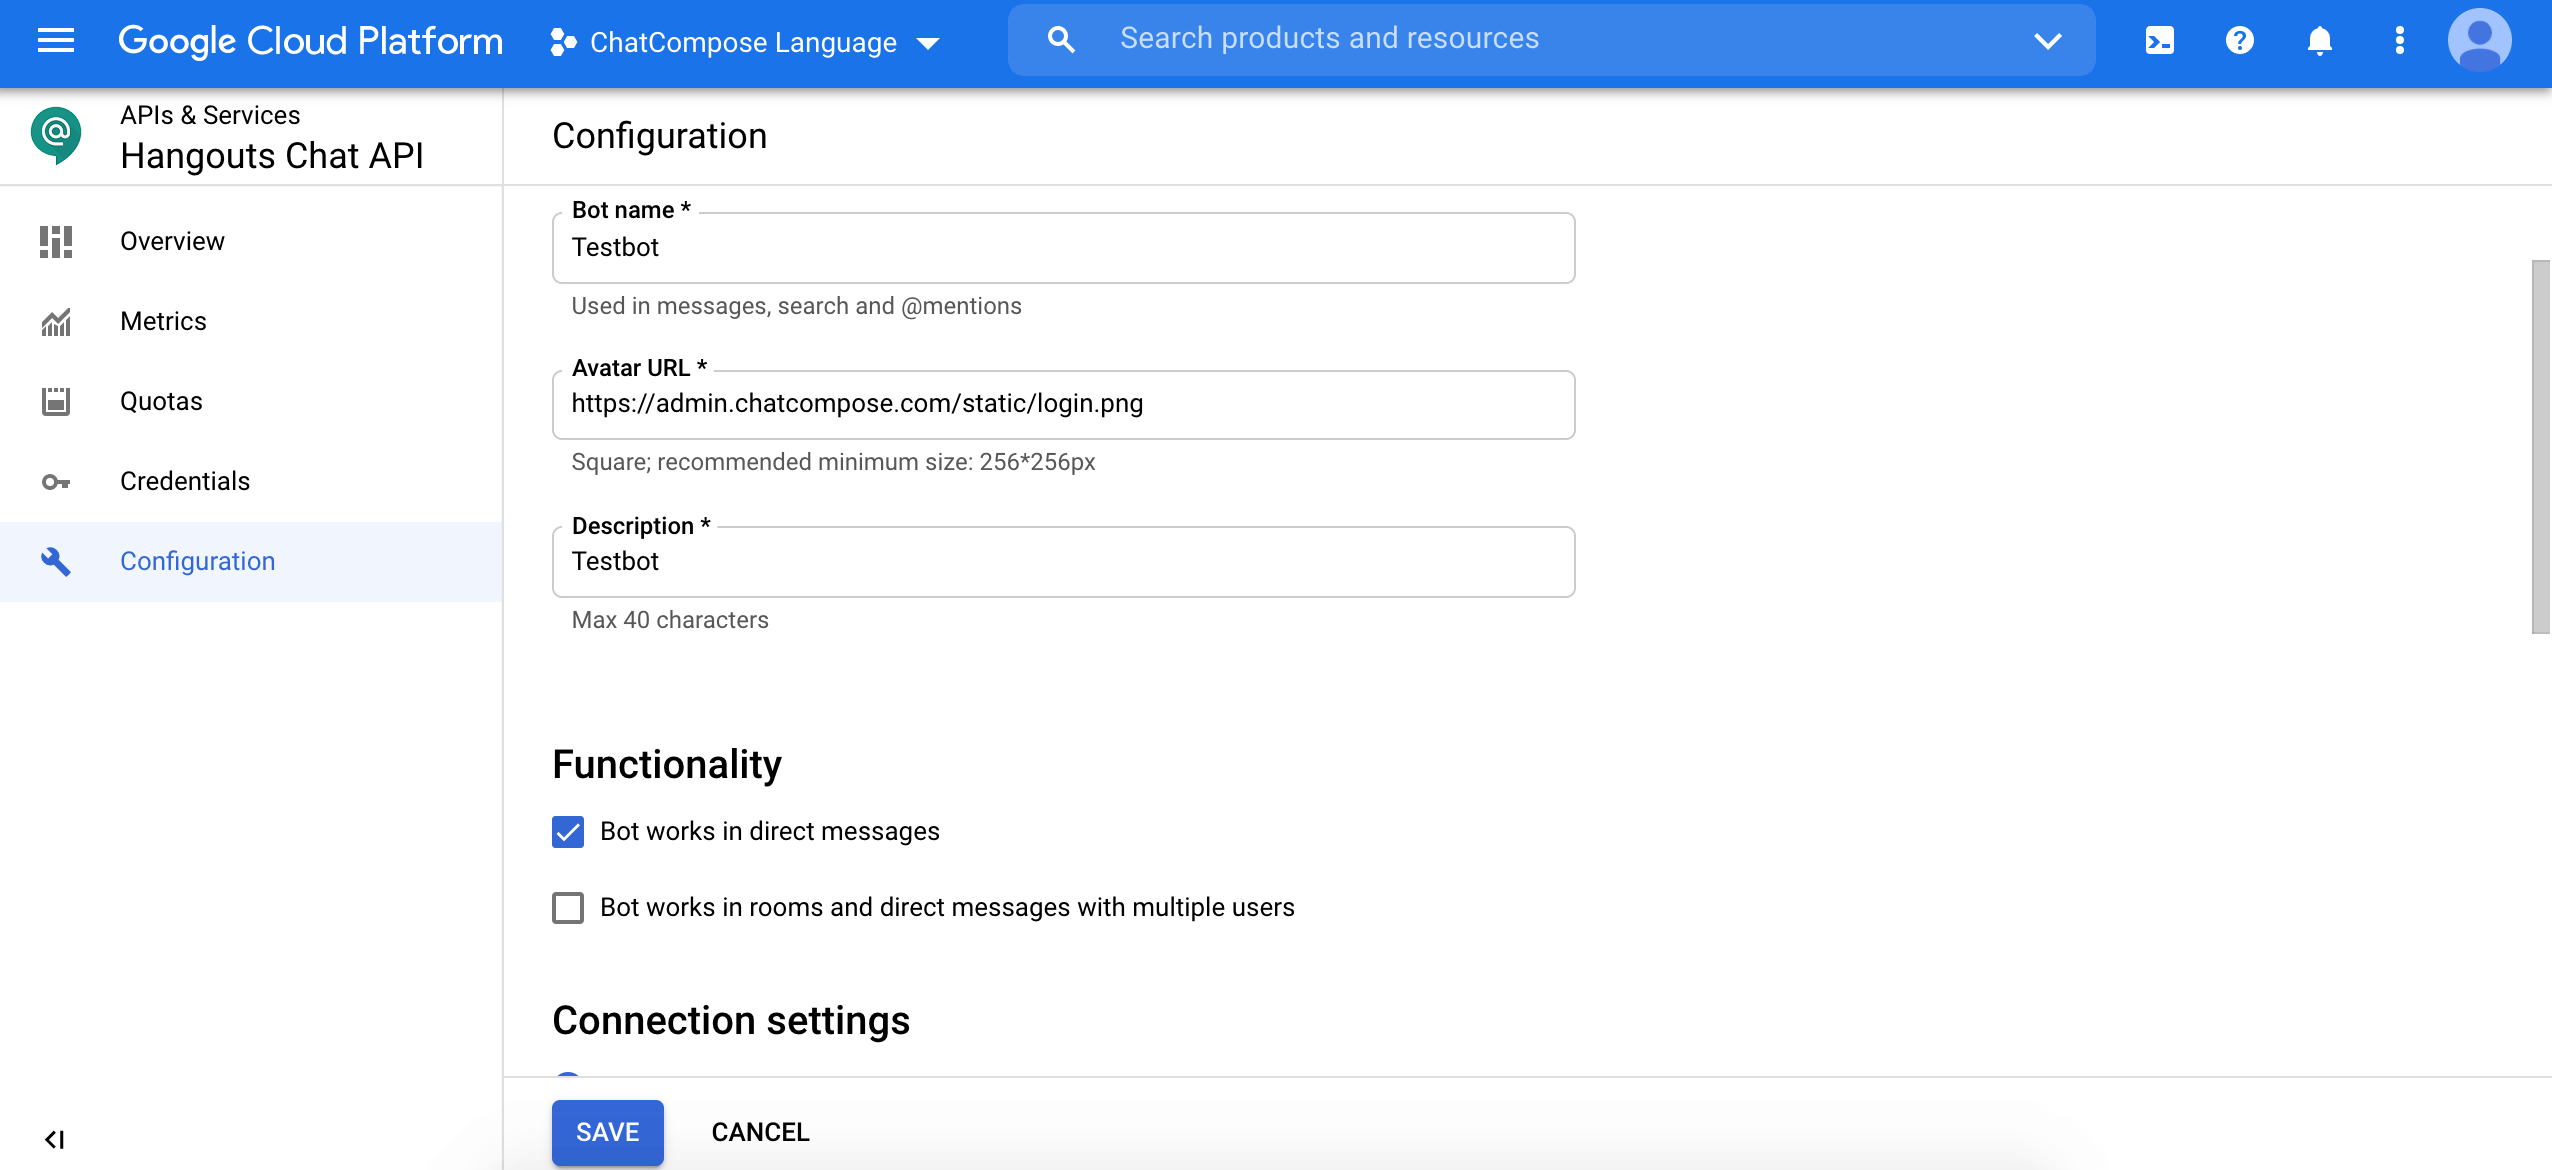
Select the Configuration tab and enter the information for the bot, as described below.
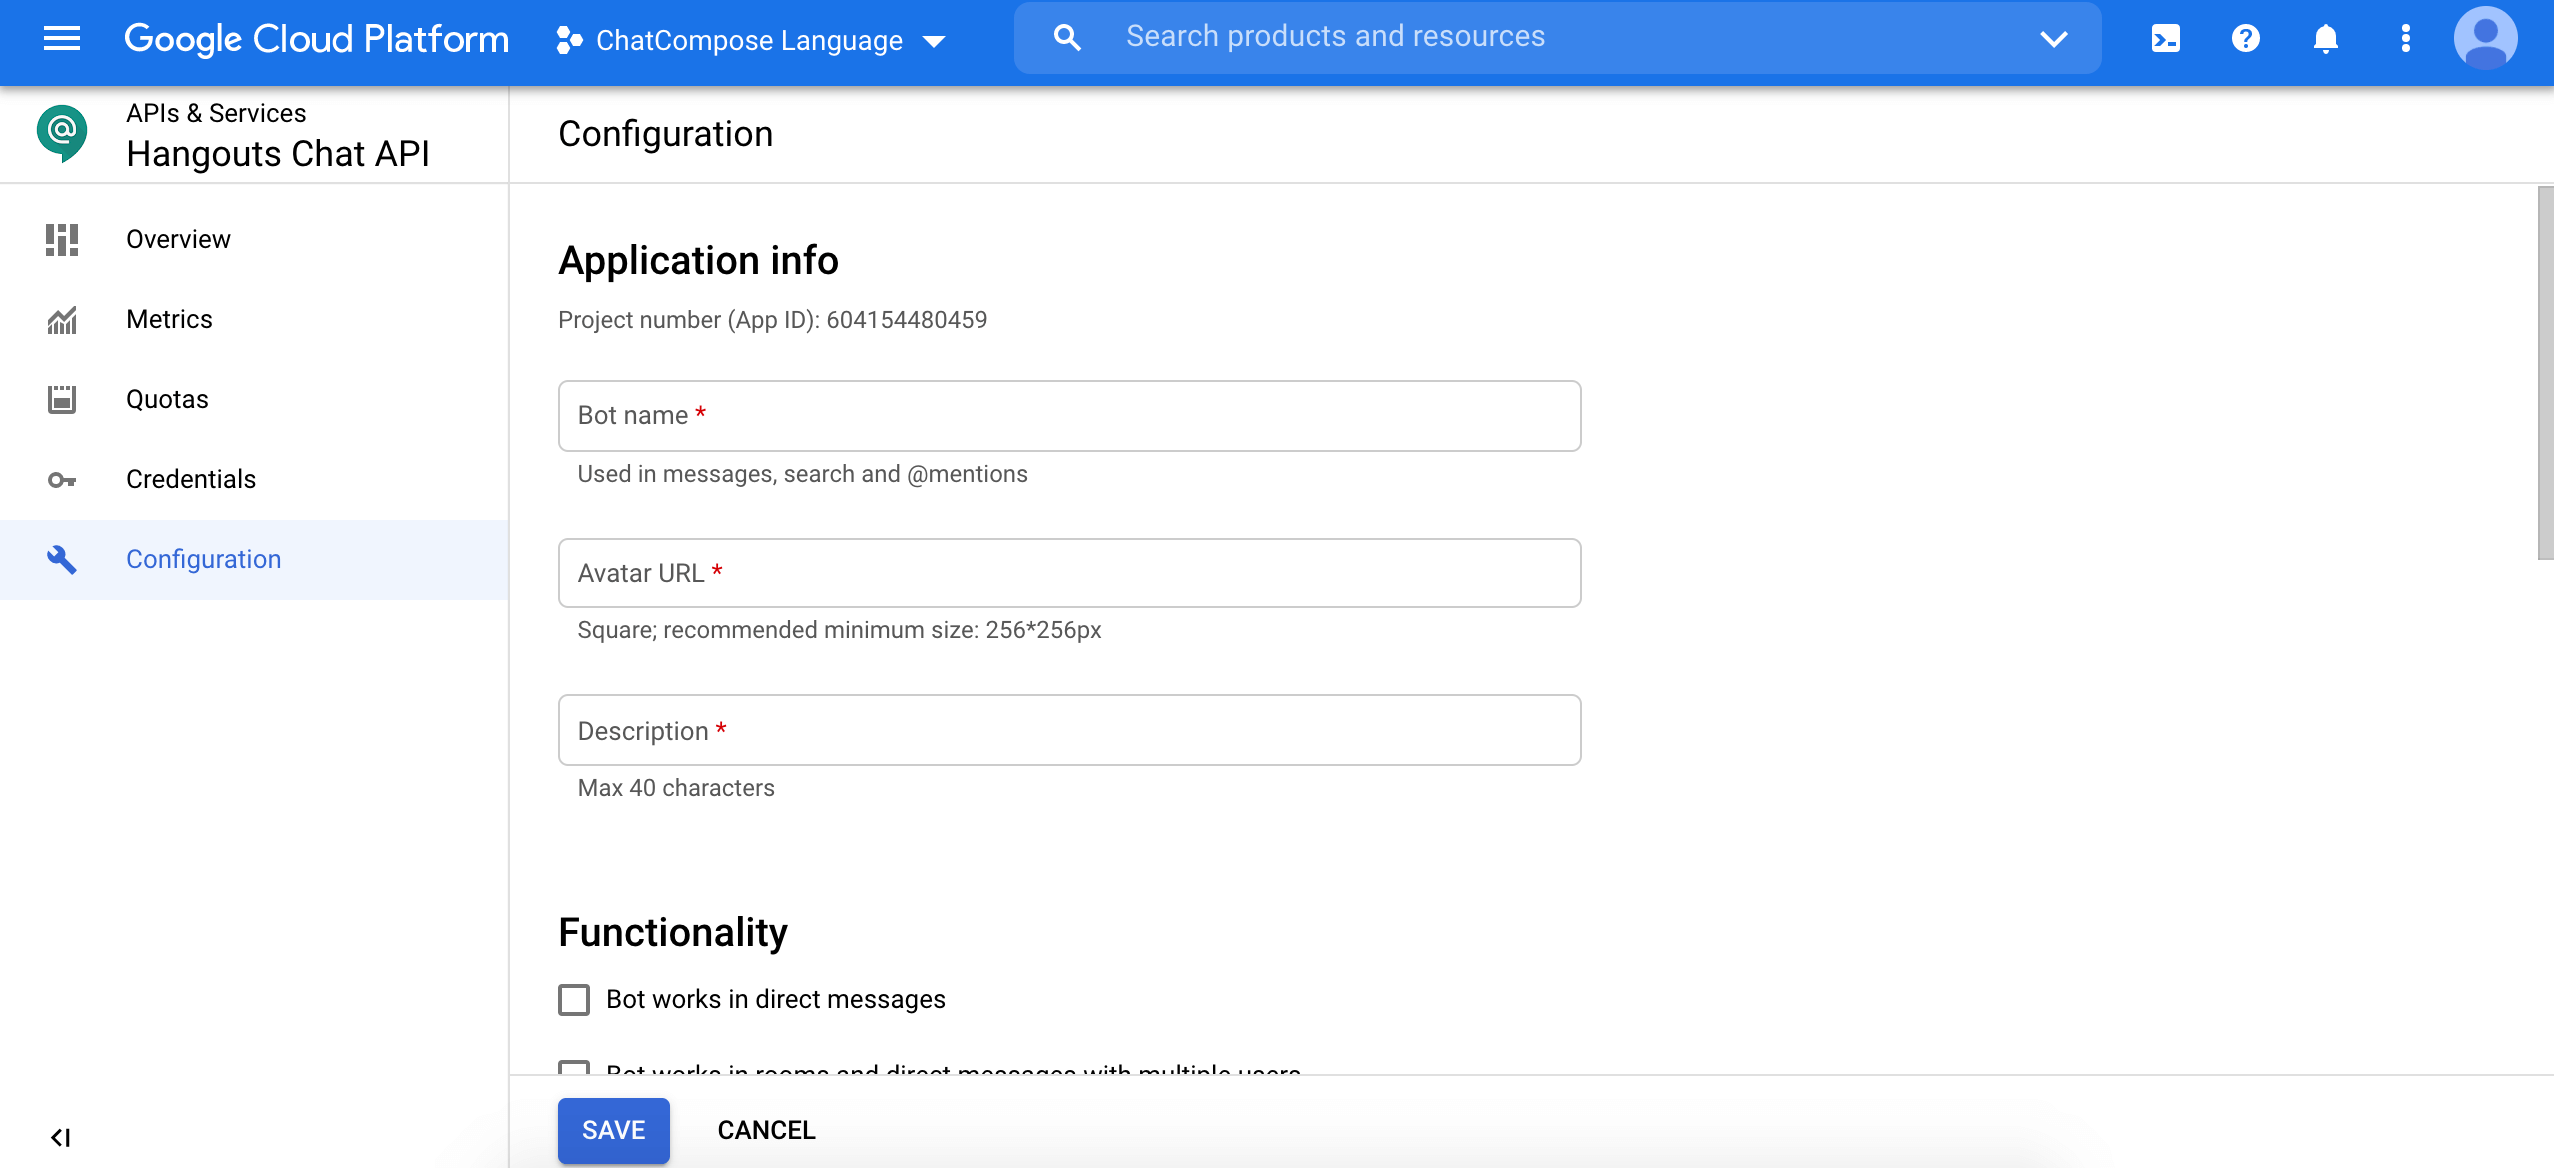
When you save the bot configuration, your bot becomes available to the specified users in your domain.
Enter some basic information such as the name, and the avatar you are going to givo to your chatbot.
To get the Url of the chatbot login to your ChatCompose Account and go to Install>Integrations.
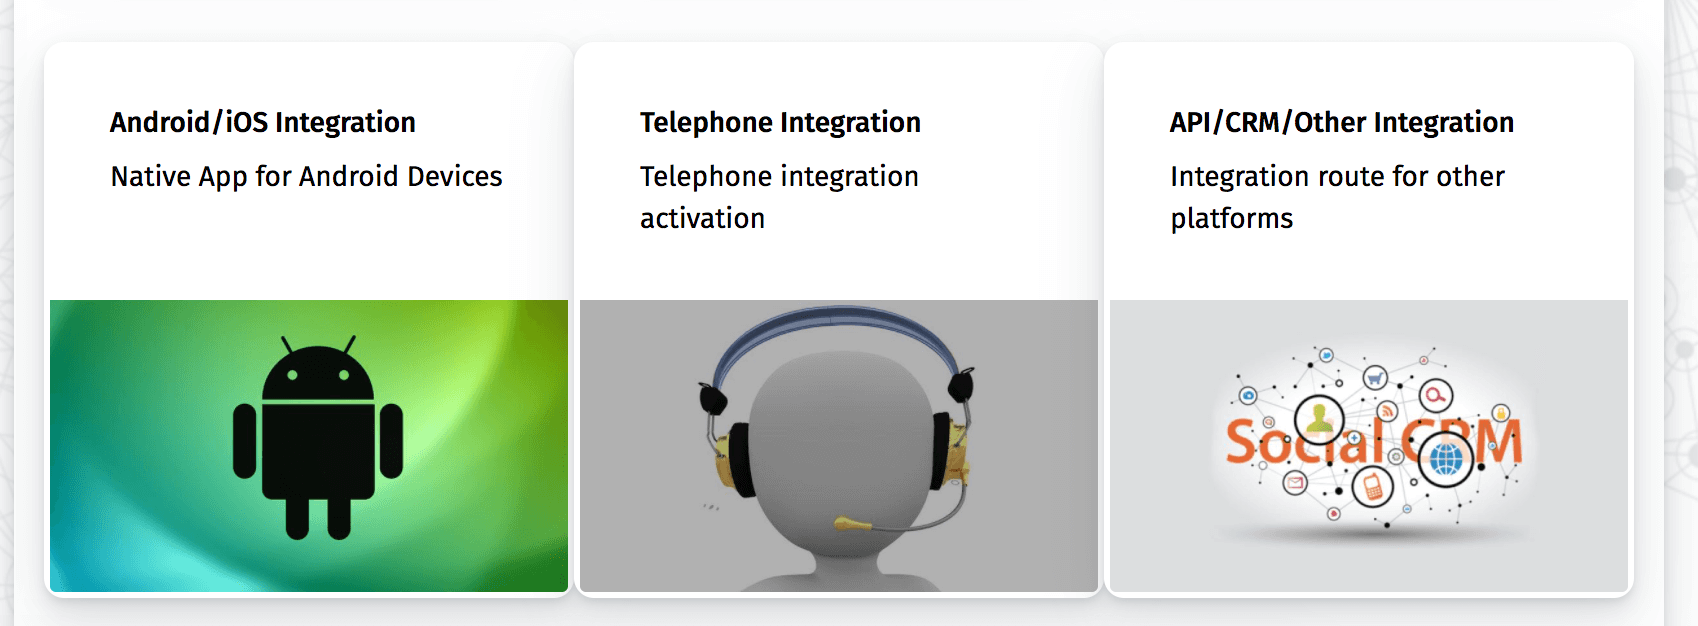
Click on Other Integrations or navigate to the bottom of the page.
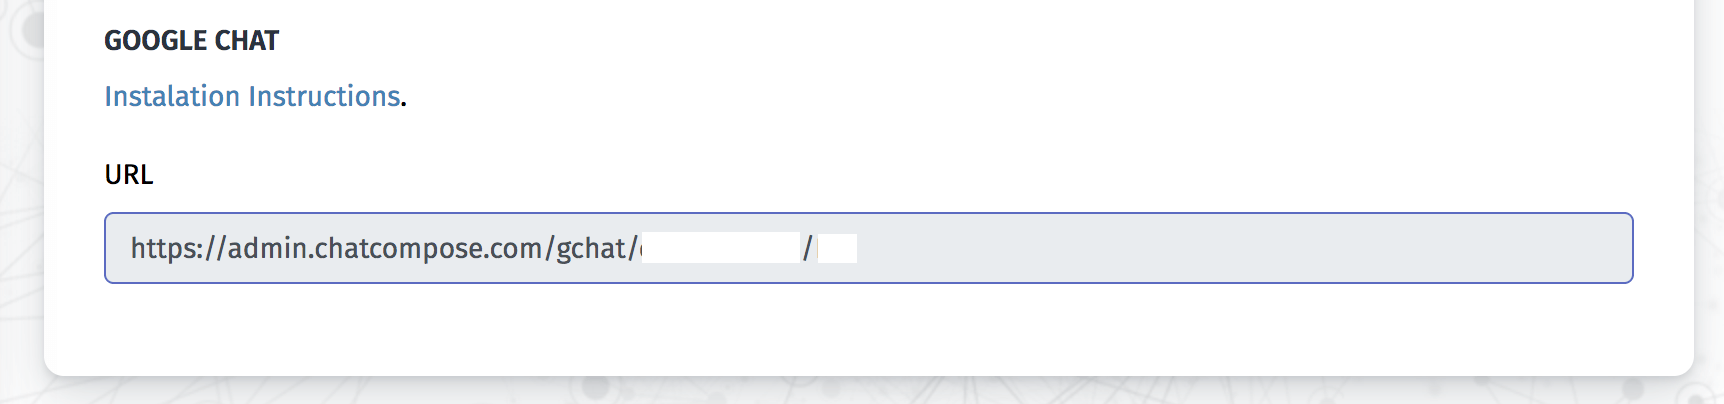
On the las section you will find your Google Chat url. Copy the url (it will include your user name and language).
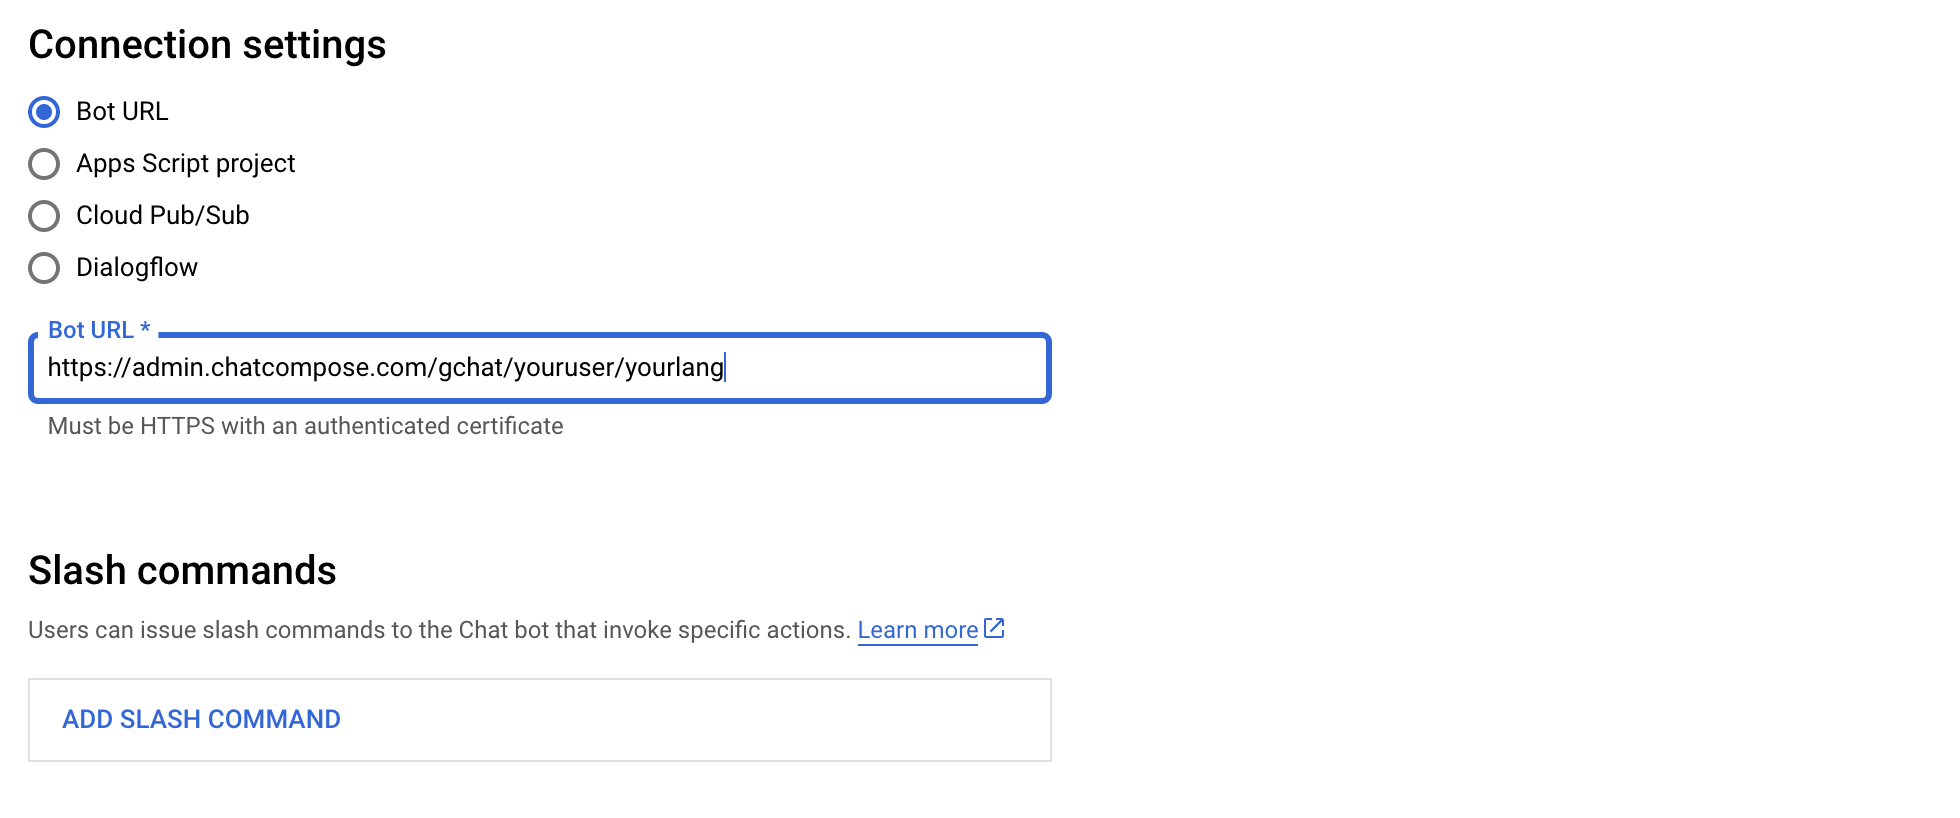
Back on Google Cloud console, navigate to Connection settings on the Configuration Tab. You will need to enter your ChatCompose URL here.
In this step you will be publishing the chatbot on your workspace. Navigate to Bot Status and select the option "LIVE - Available to users". Press Save to finish.
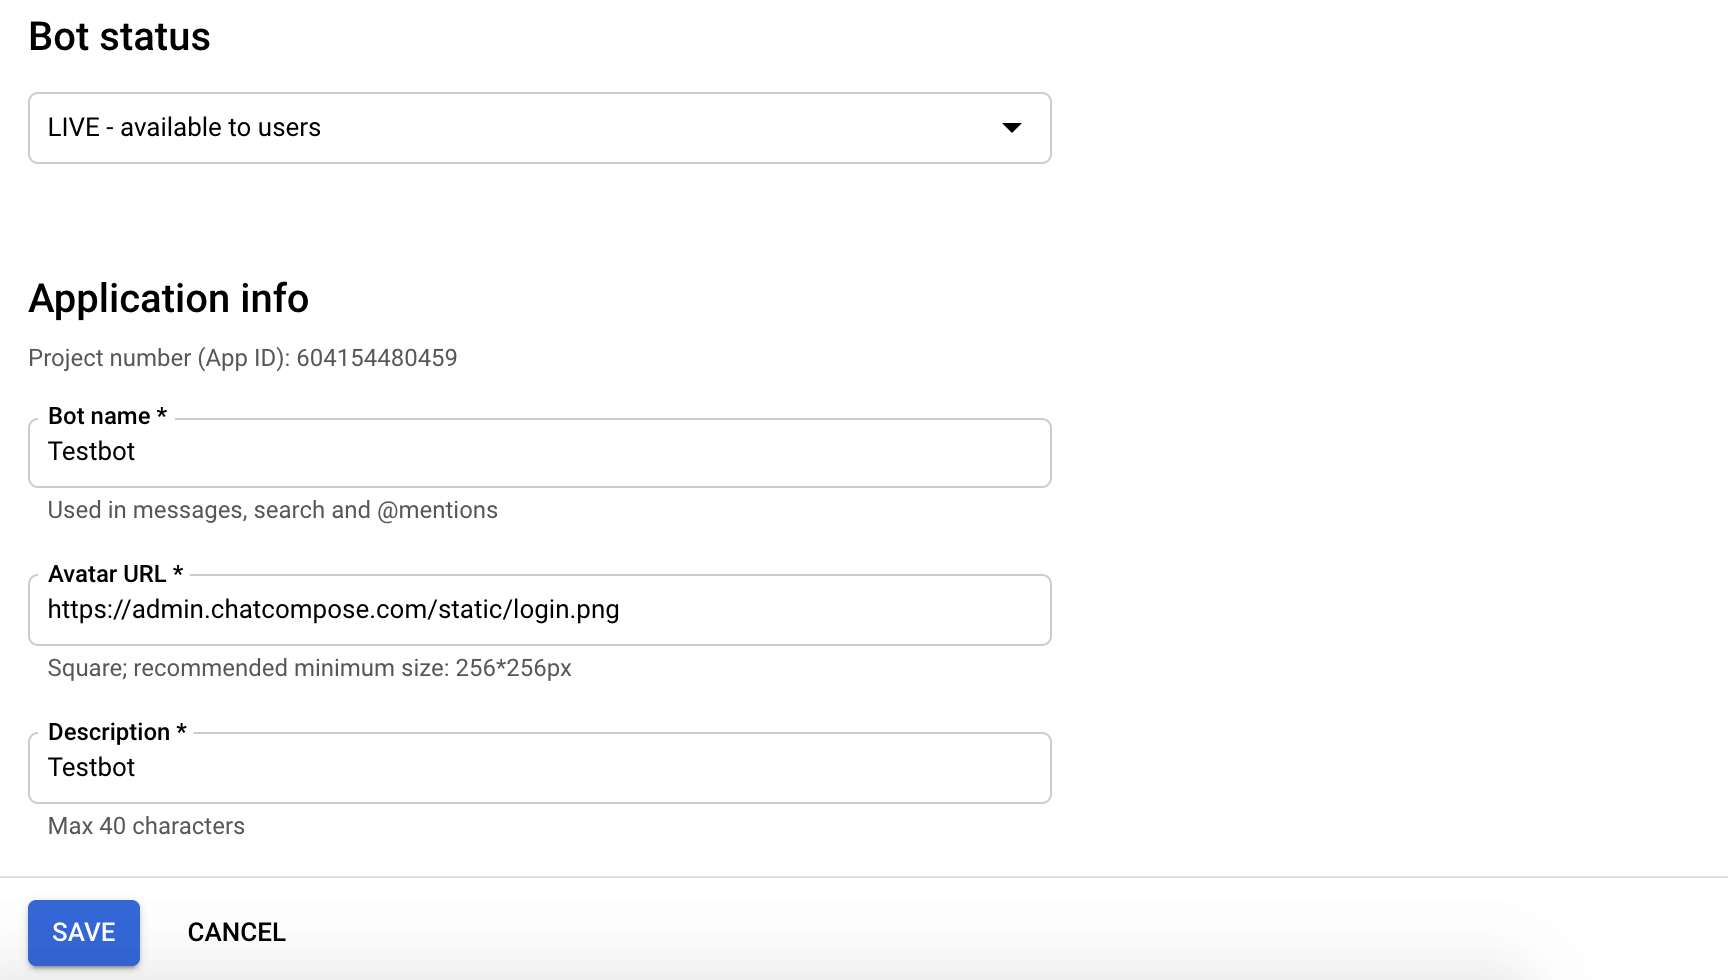
This action will make your chatbot visible for all the users on you workspace.
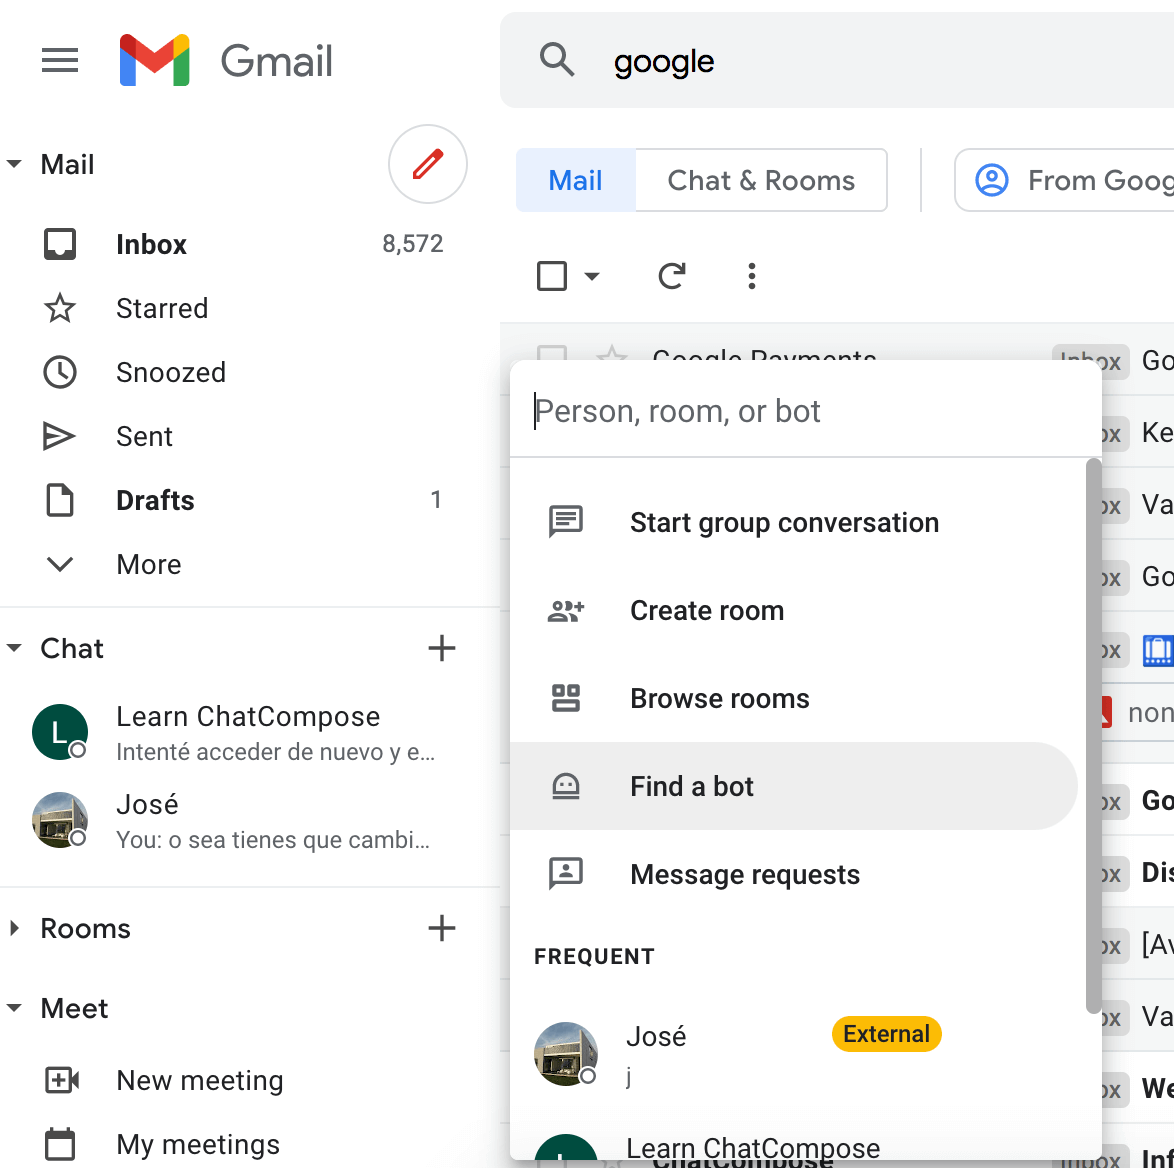
You can Add the chatbot in Gmail by clicking the plus sign at the Chat Section.
Click Add, and select Find a Bot.
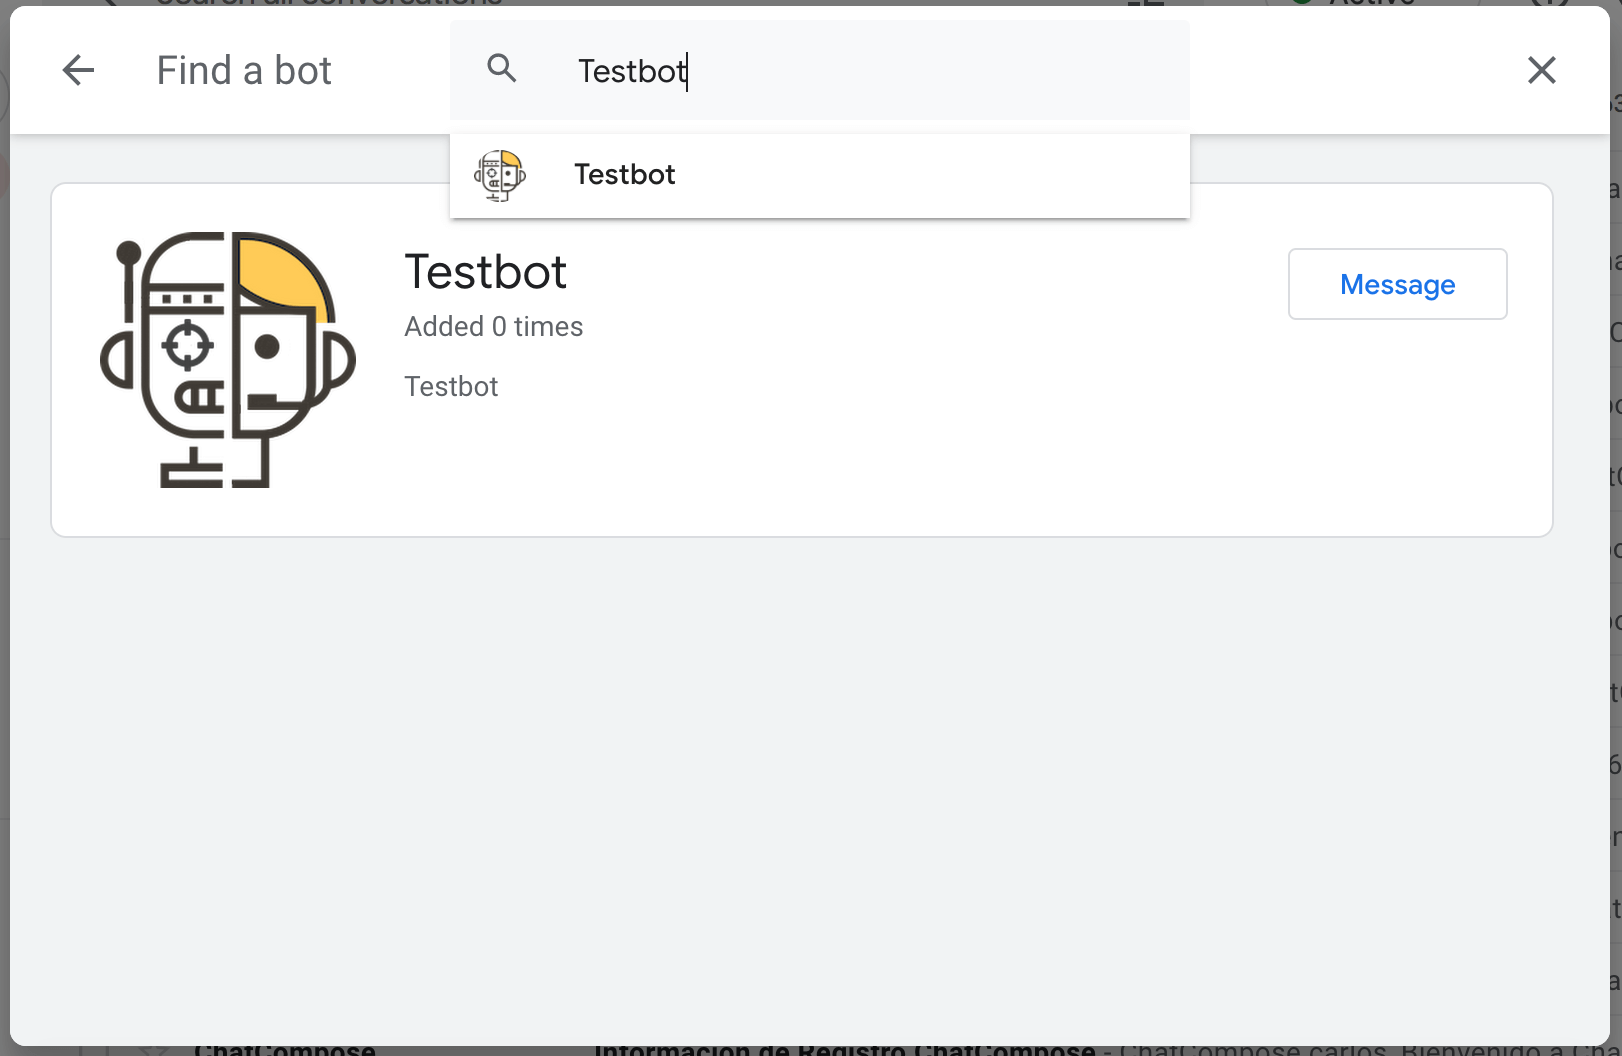
On the Find a bot section, enter the name of your bot. Click "Message" to start interacting with it.
The HTML component cannot be rendered on Google Chat.