To enable context you need a ChatCompose Premium account. Enabling different contexts will allow you to show different set of responses based on the intent and previous messages received. The chatbot will take into account the history of the conversation before providing a response.
This is a good method to increase the complexity of your chatbot without losing your current settings.
For example, let's imagine we have trained a chatbot for a car dealership. The responses of the chatbot should vary depending on the car brand and model a client is interested in.
A scenario could go like this. The user starts a conversation, and asks for an Audi car. By asking for this specific car, the chatbot can switch to a context ("Audi") and show responses only related to that product.
By setting contexts you can provide better interactions and use specific responses only related to a particular subject.
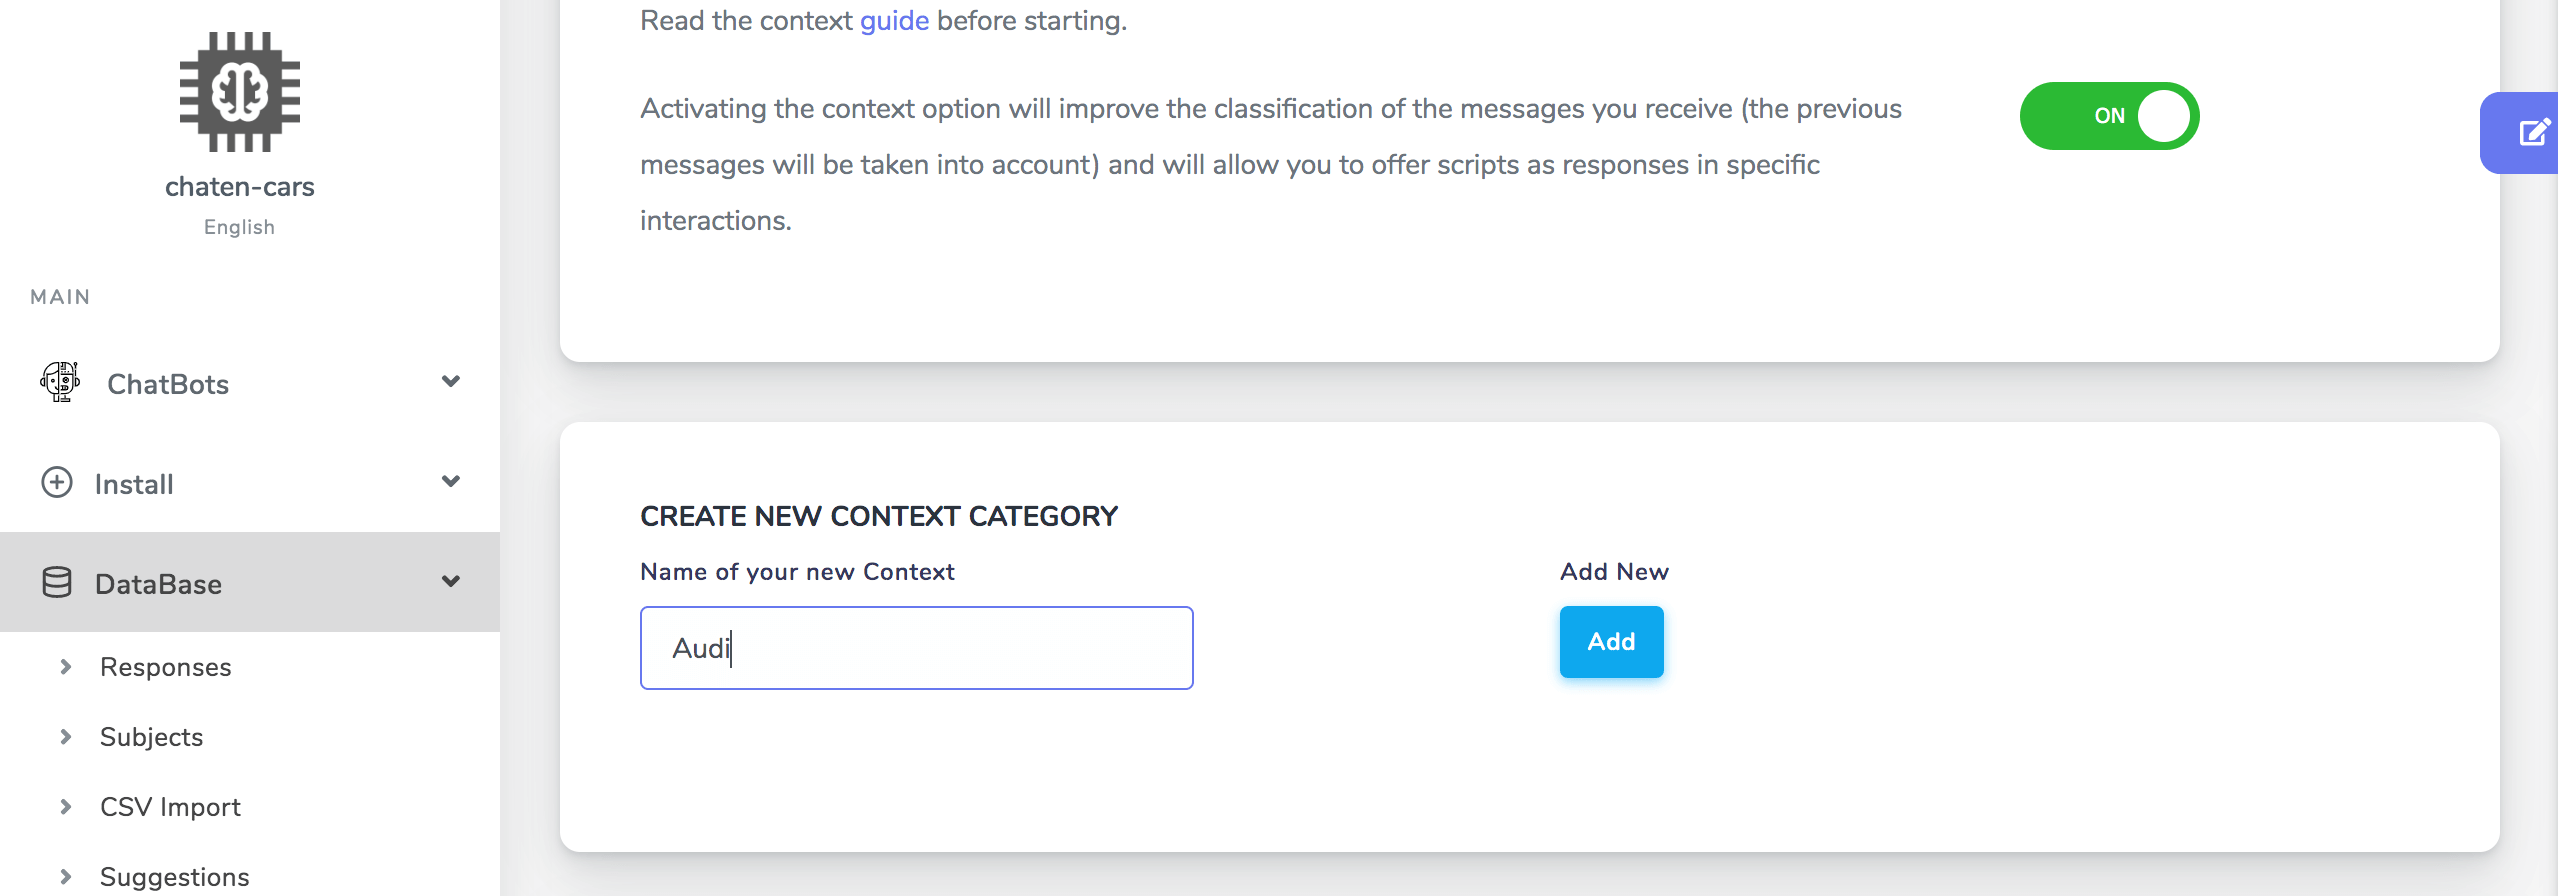
To create a context navigate to DataBase > Context. In this section you will find all settings related to setting and triggering specific actions for certain contexts.
Scroll to Create new Context Category, enter your new context name and press Add.
Creating a new context will take you to the "Tag" section. Here you can tag your current responses to trigger the context you just created.
Let's take the car dealership example. To tag questions to trigger the "Audi" context mark your current questions by searching them on the table and pressing "Tag".
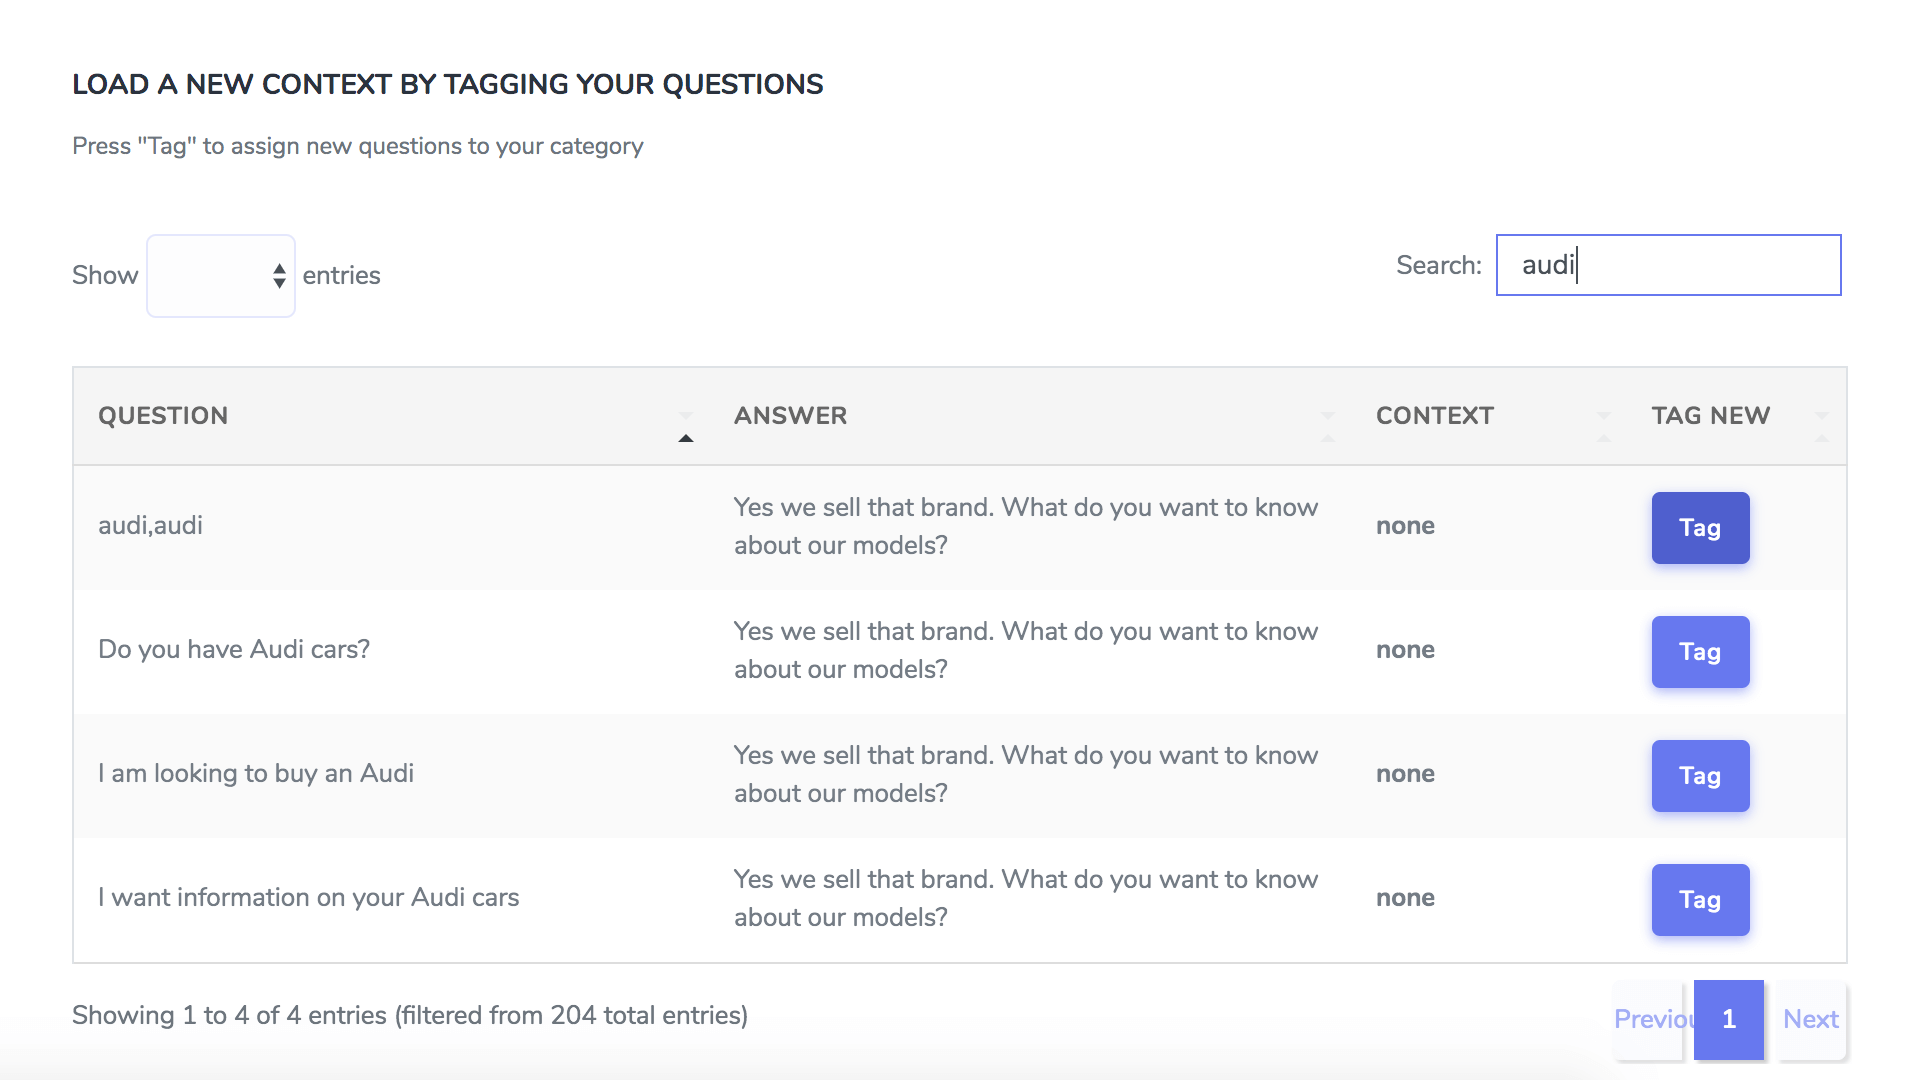
These messages will trigger the context "Audi"
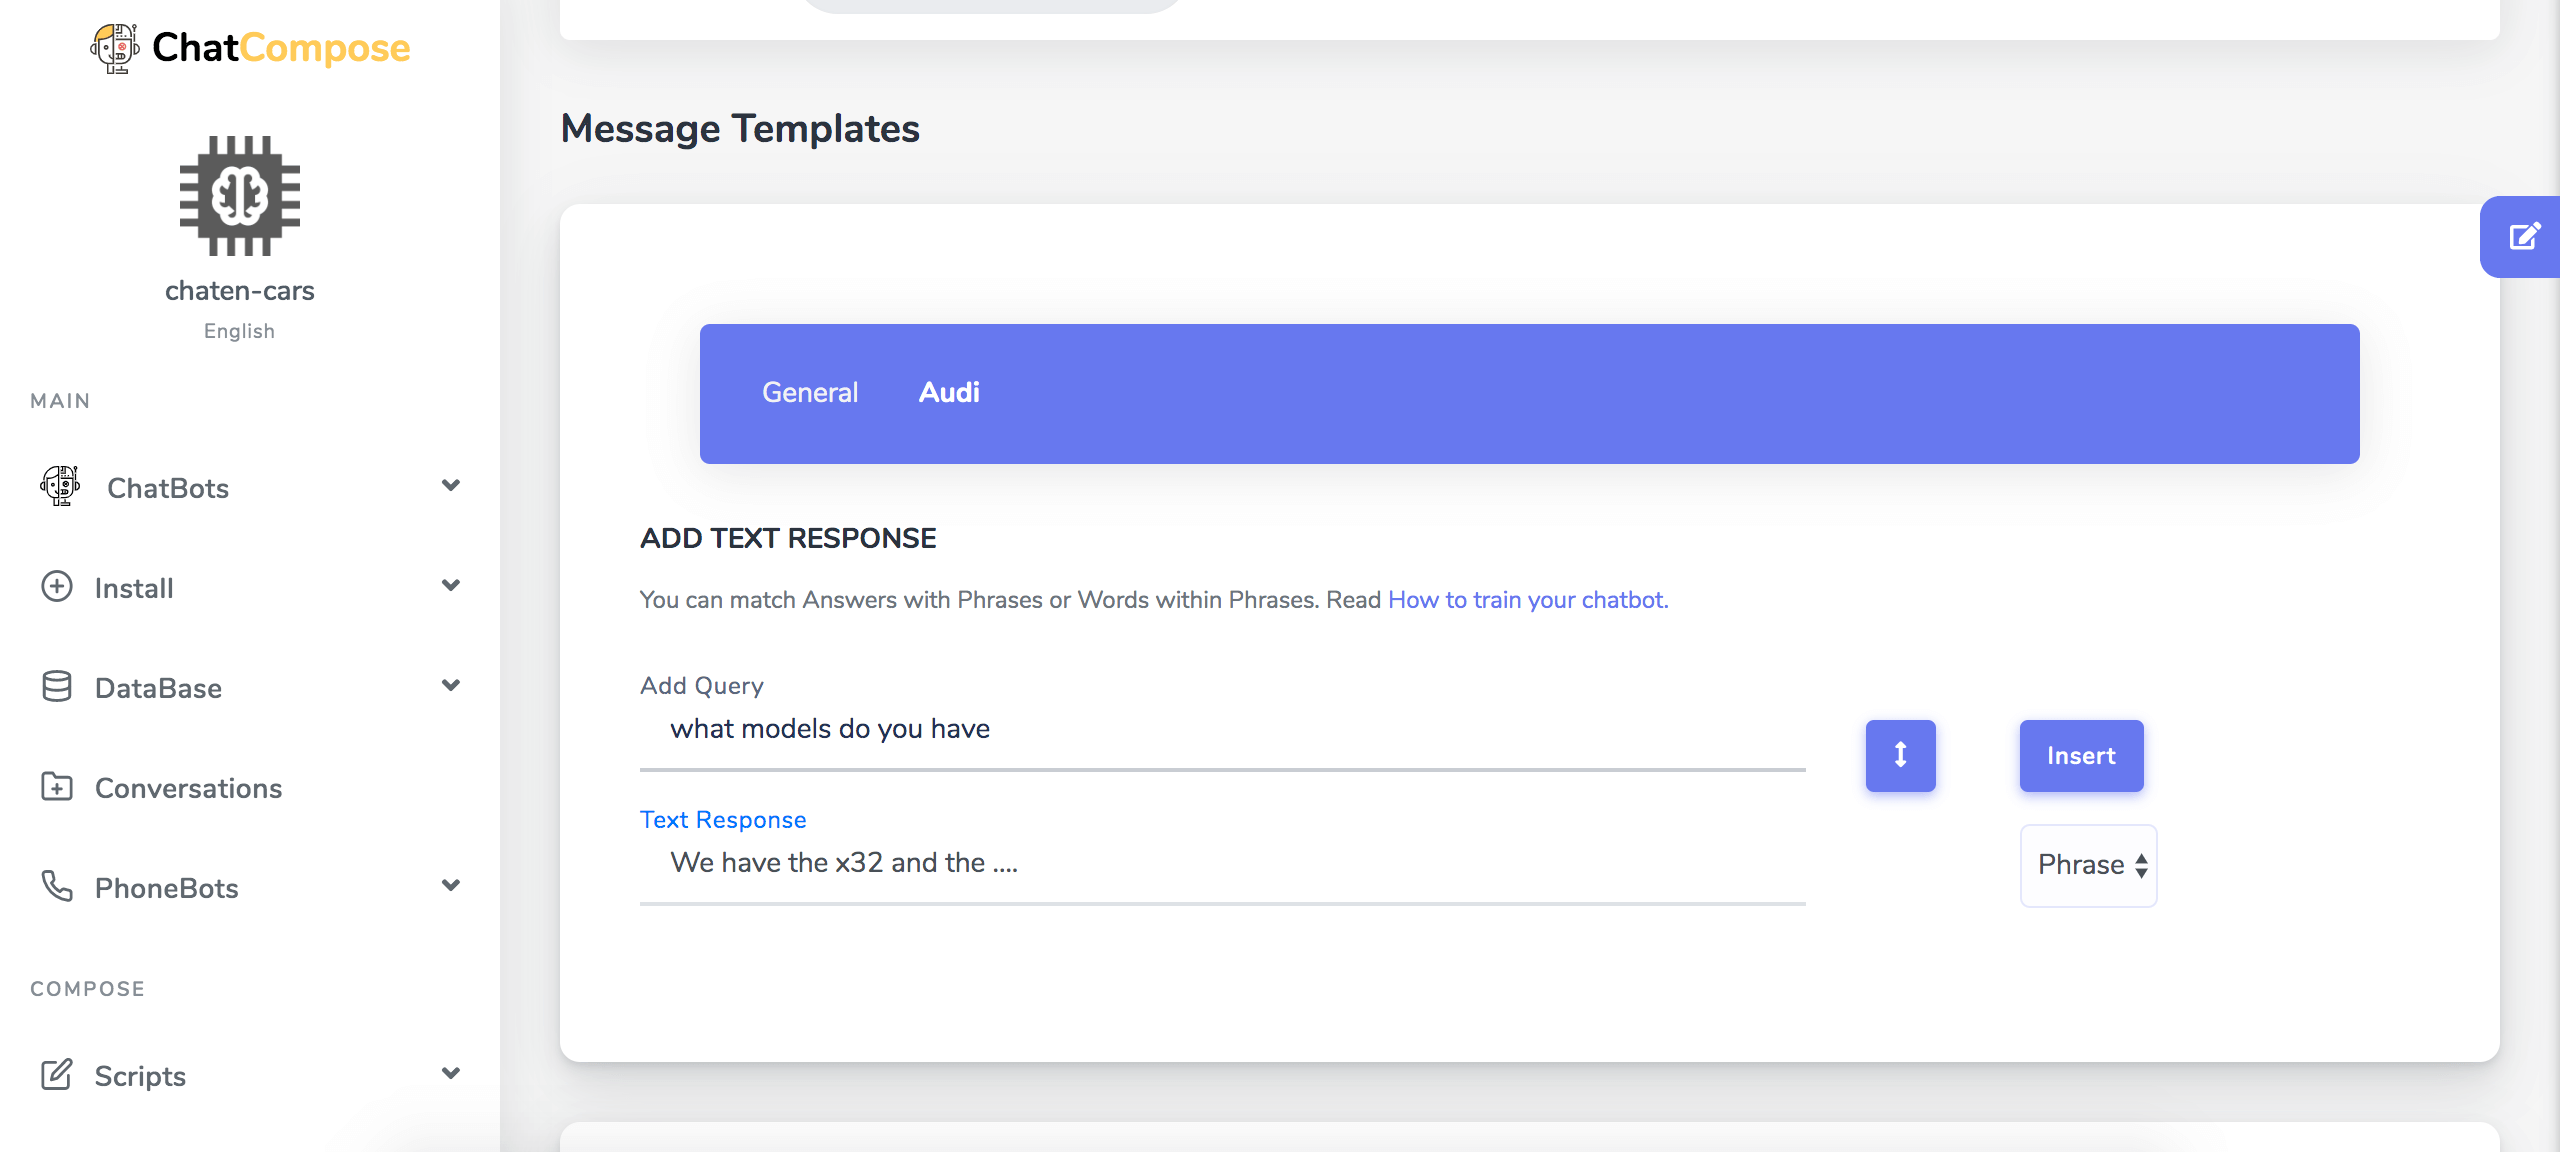
Now navigate to DataBase>Responses. Here you will find your current response templates. A new navigation bar will appear on top with all your context categories.

Click on your context to start adding responses for that context. This will take you to a similar page but with your context highlighted on the navigation bar.
This page will have a new set of response templates for your context. Start adding new messages for the context "Audi" and save.
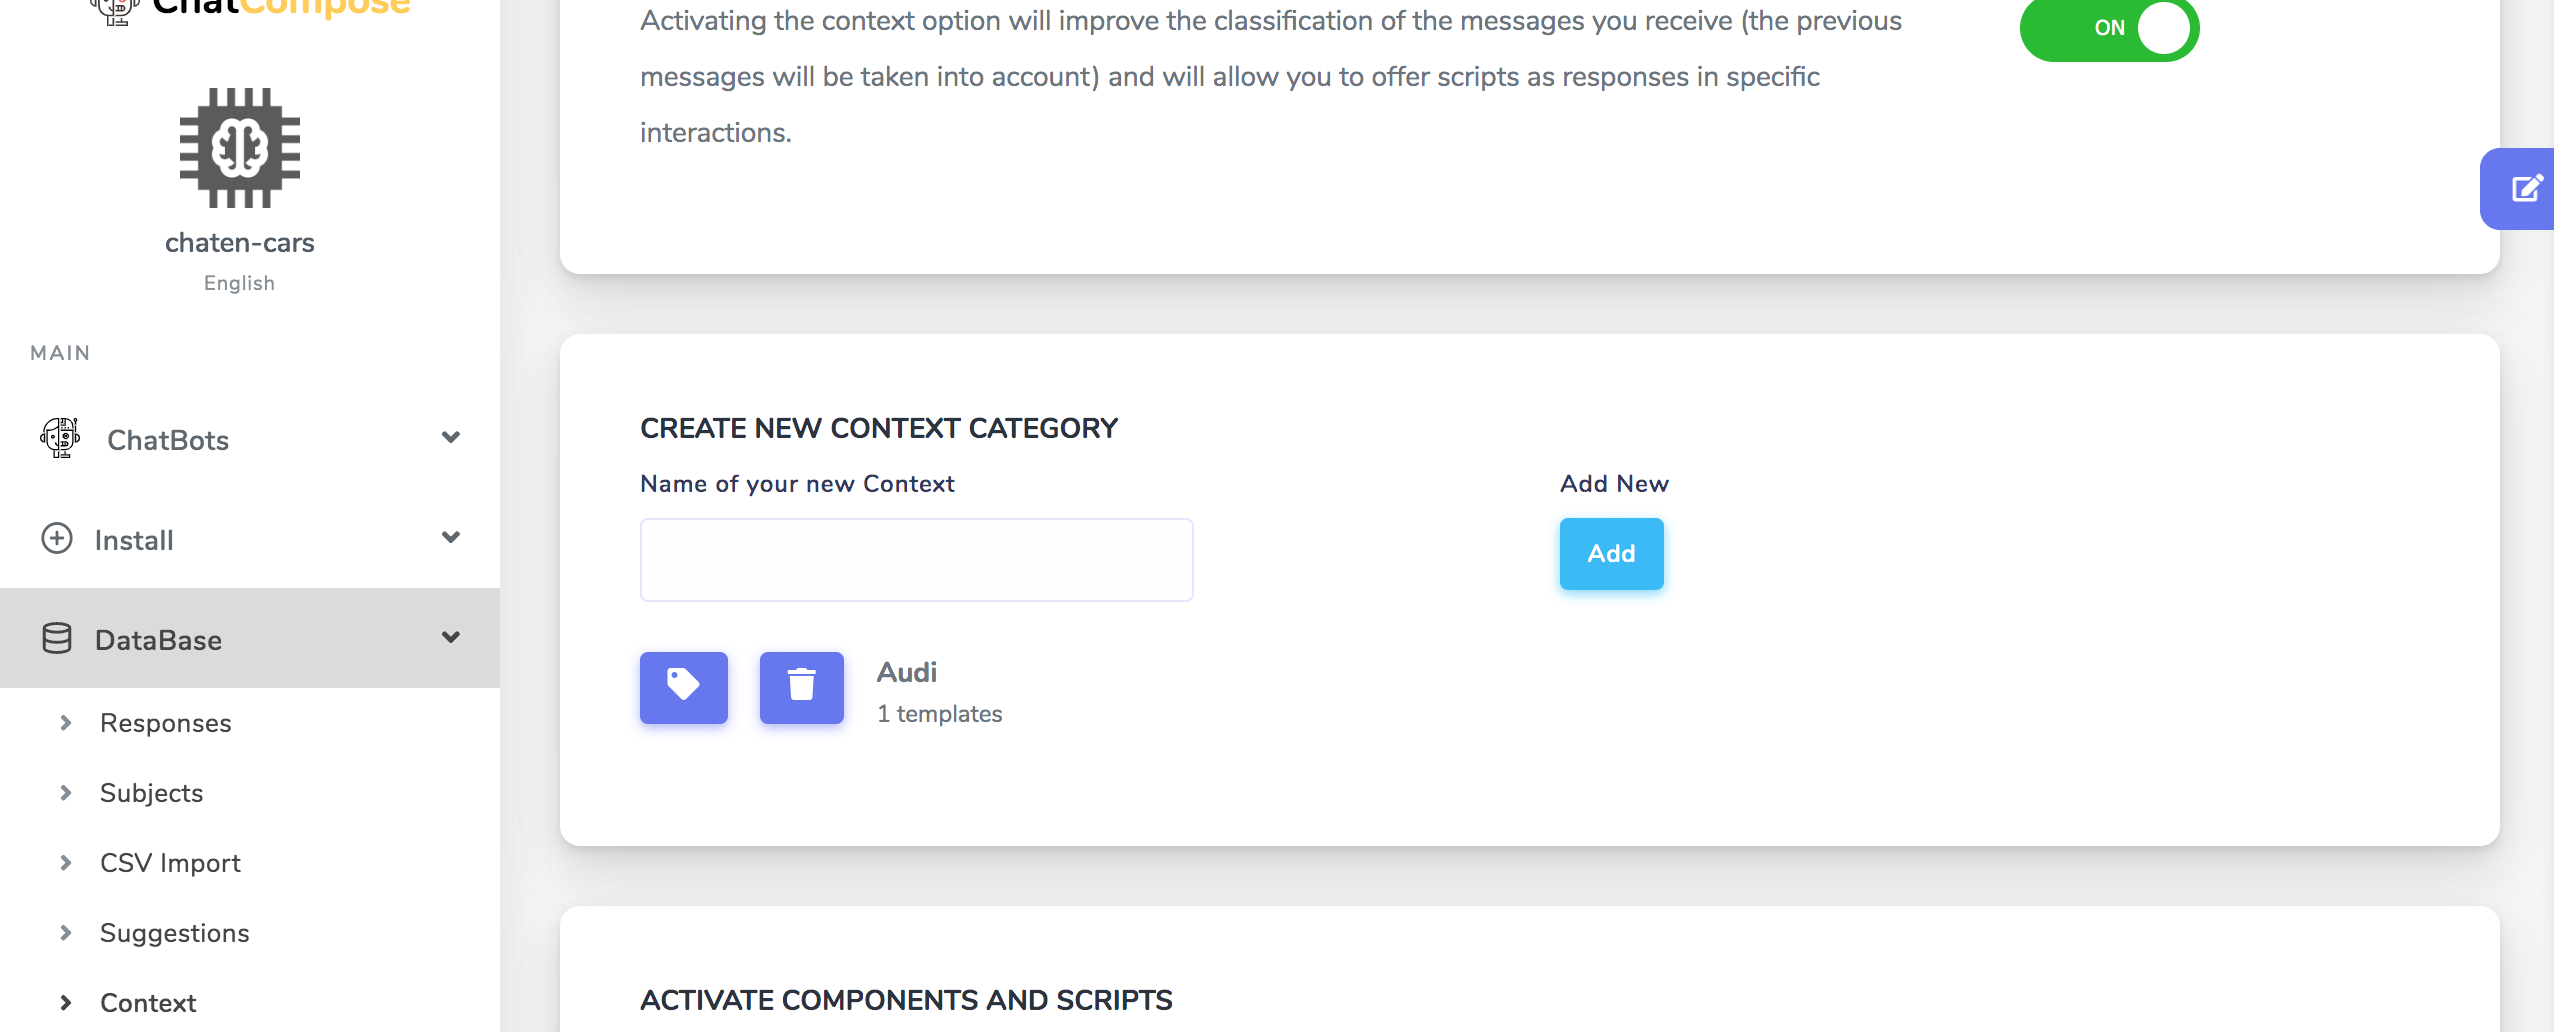
To edit a context go to DataBase > Context. A list of your current contexts will appear. Press the tag icon to add more triggers for that context or the trash icon to delete it.
The option activate component after a number of interactions allows you to start or direct the conversation towards some goal after having passively interacted with the user. For example, after answering 2 questions, you start a script to capture leads or to offer some of the options offered by your chatbot.
For messaging services like whatsapp or telegram you can activate a script after a user sends his first message by setting the number of interactions to 0. This will allow you to start a script at the beginning of any conversation.
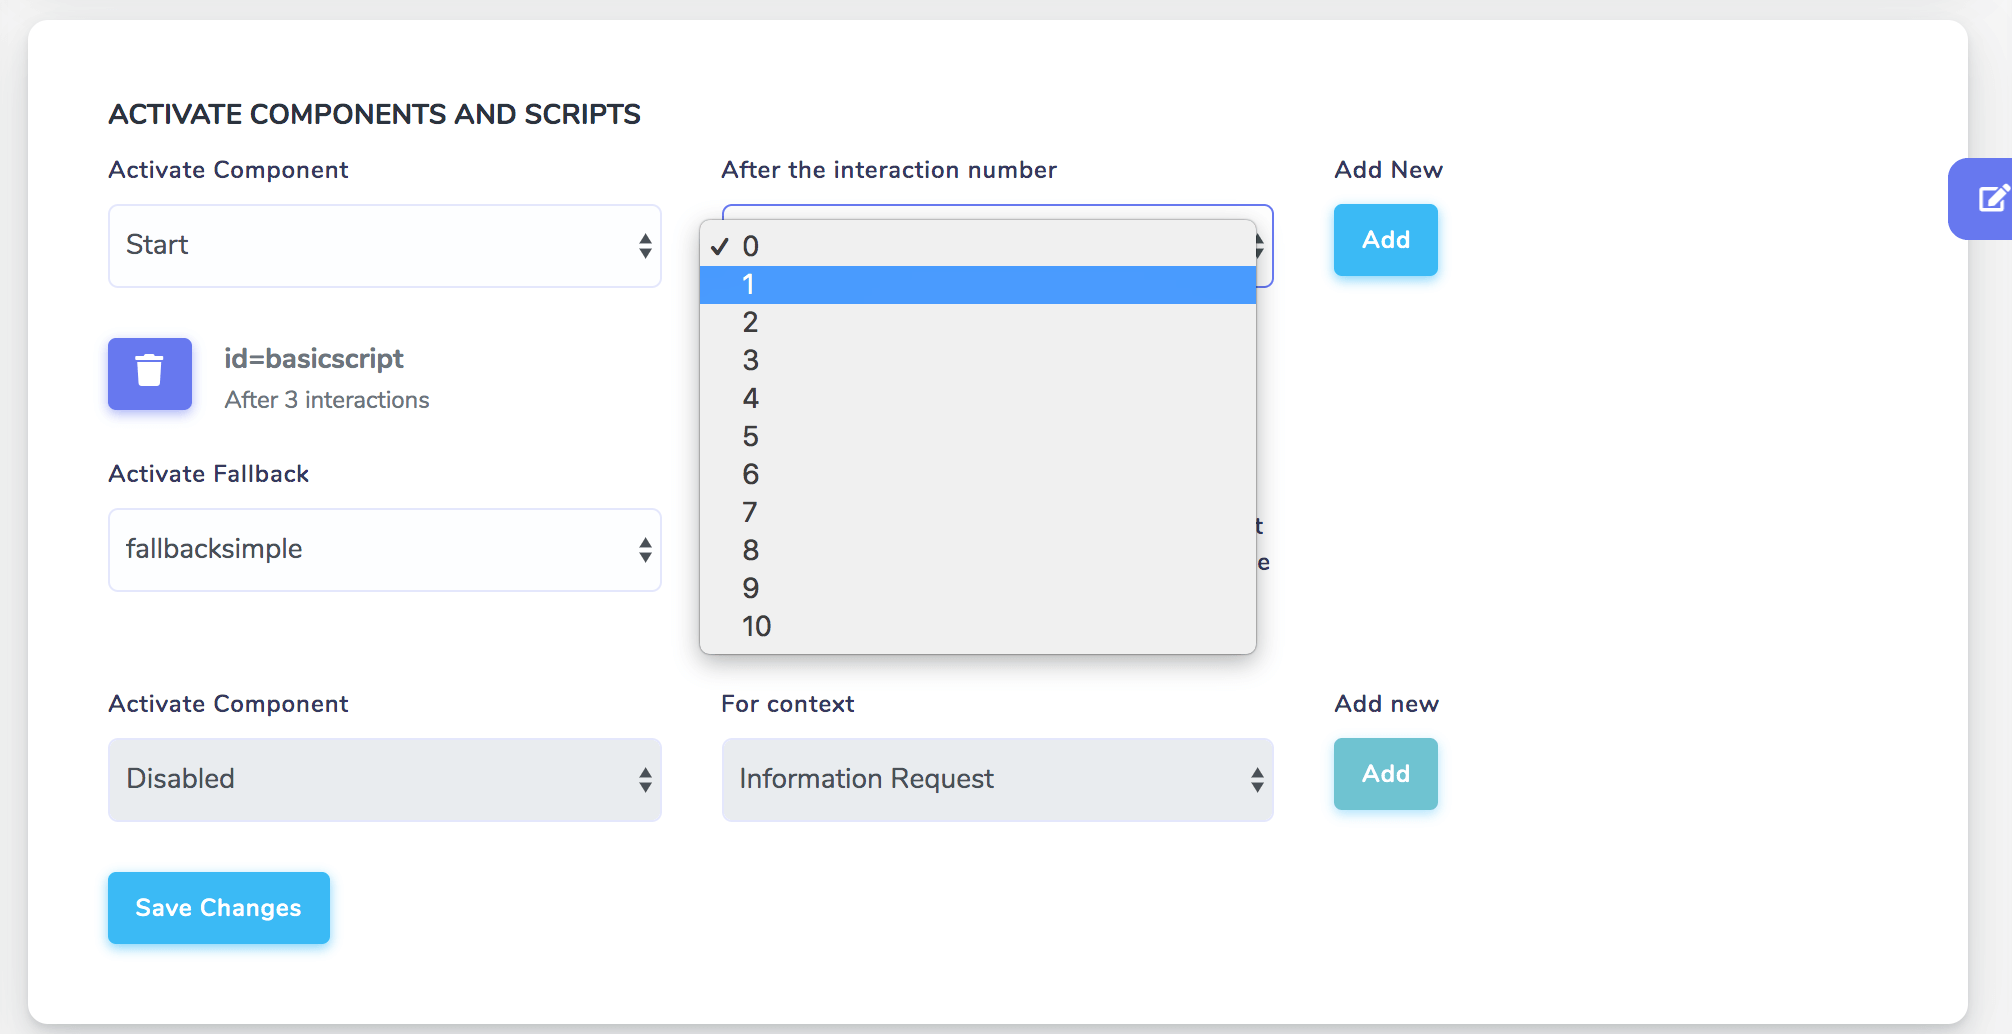
To add a script trigger select the name of your script, the interacion number, and press add. Your new trigger will appear in your configuration.
To delete the trigger press the trash icon.
Fallback refers to activating a script after a consecutive number of answers not found. Some users will misspell their messages on purpose or make random inquiries not related to your product or service.
In these cases it is useful to remind users that the chatbot has a specific purpose and that it is necessary to interact with it properly. Starting a script reminding the user of the purpose of the chatbot is a good idea in this case.
By default, fallback will start after 2 answers not found.
You can also activate a script after a given time of inactivity. With this function you can trigger a script if a user has stopped interacting with the chatbot for a period of time.
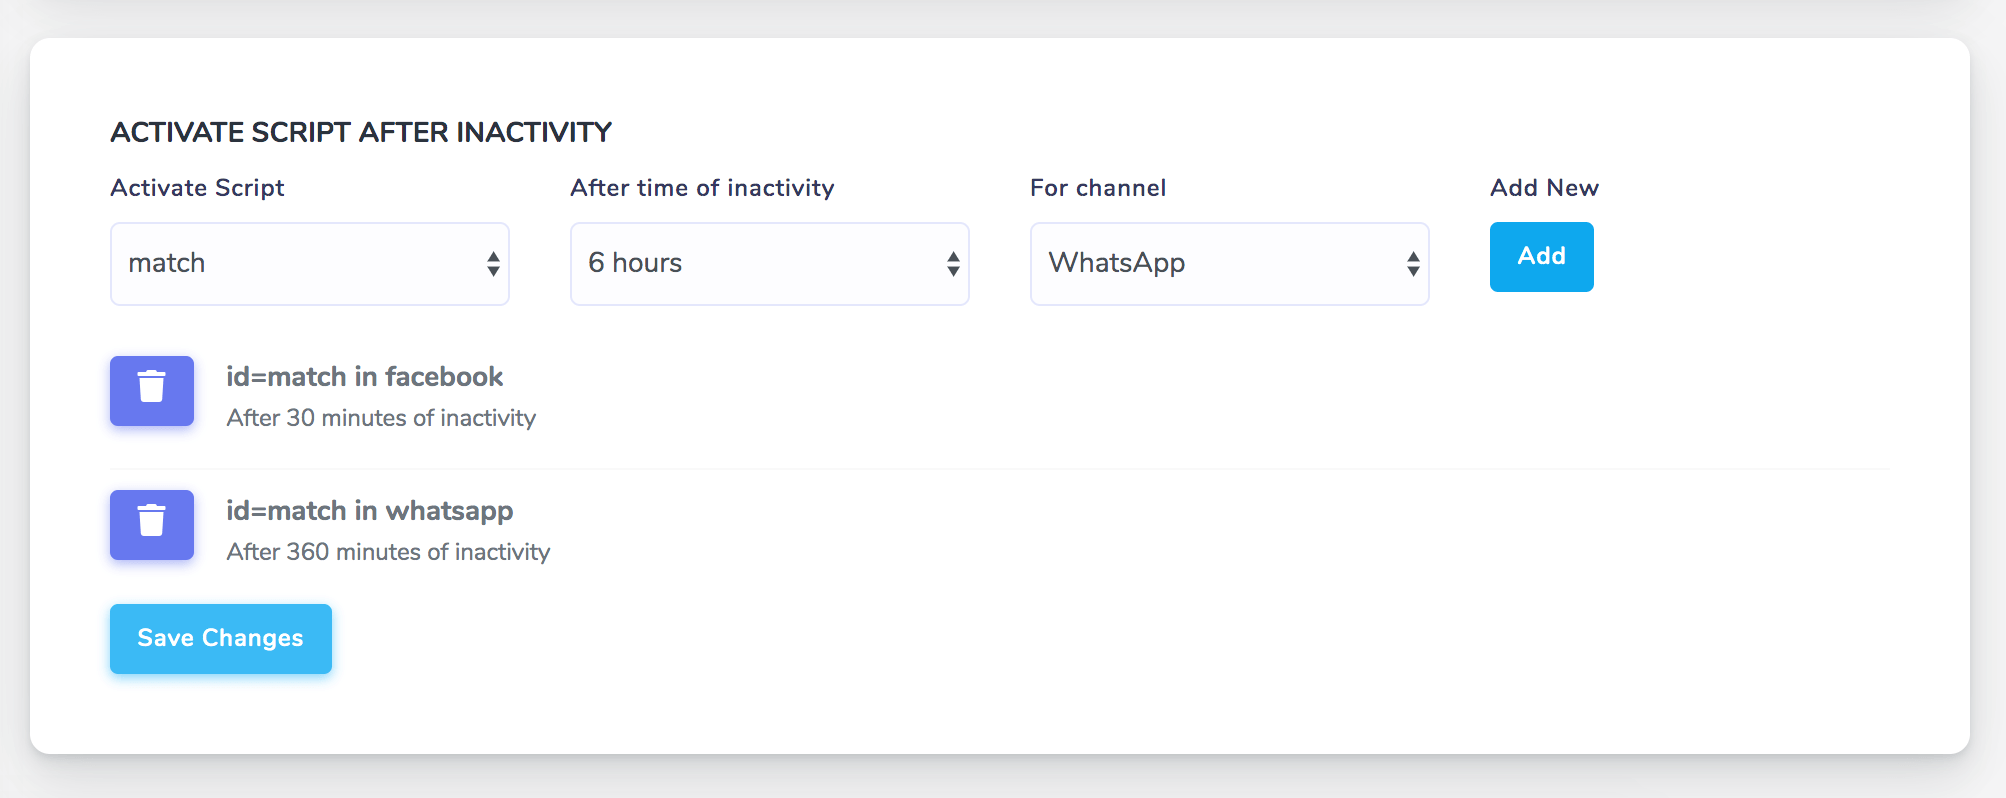
Available channels for this function are WhatsApp, Facebook and WeChat.