WordPress is a content generation and management system, used by all kinds of companies and businesses (with its WooCommerce tool) and it can also serve as a ecommerce platform.
There are more and more companies that only work through the internet, transferring their location from a physical space to a virtual one.
One of the great benefits that WordPress offers is that it is designed so that all kinds of users can obtain their web solutions with cutting-edge technologies and connect and enrich their website with the plugin system.
Precisely, ChatCompose chatbots can be integrated into WordPress through a plugin and some simple steps, which will not take more than a couple of minutes. No matter what the use case of your bot is, through the following steps they can be integrate it to your WordPress website.
You can create a chatbot for Worpress in the same way as you would create a bot for any other application. Define a use case and create a conversation strategy around that use case.
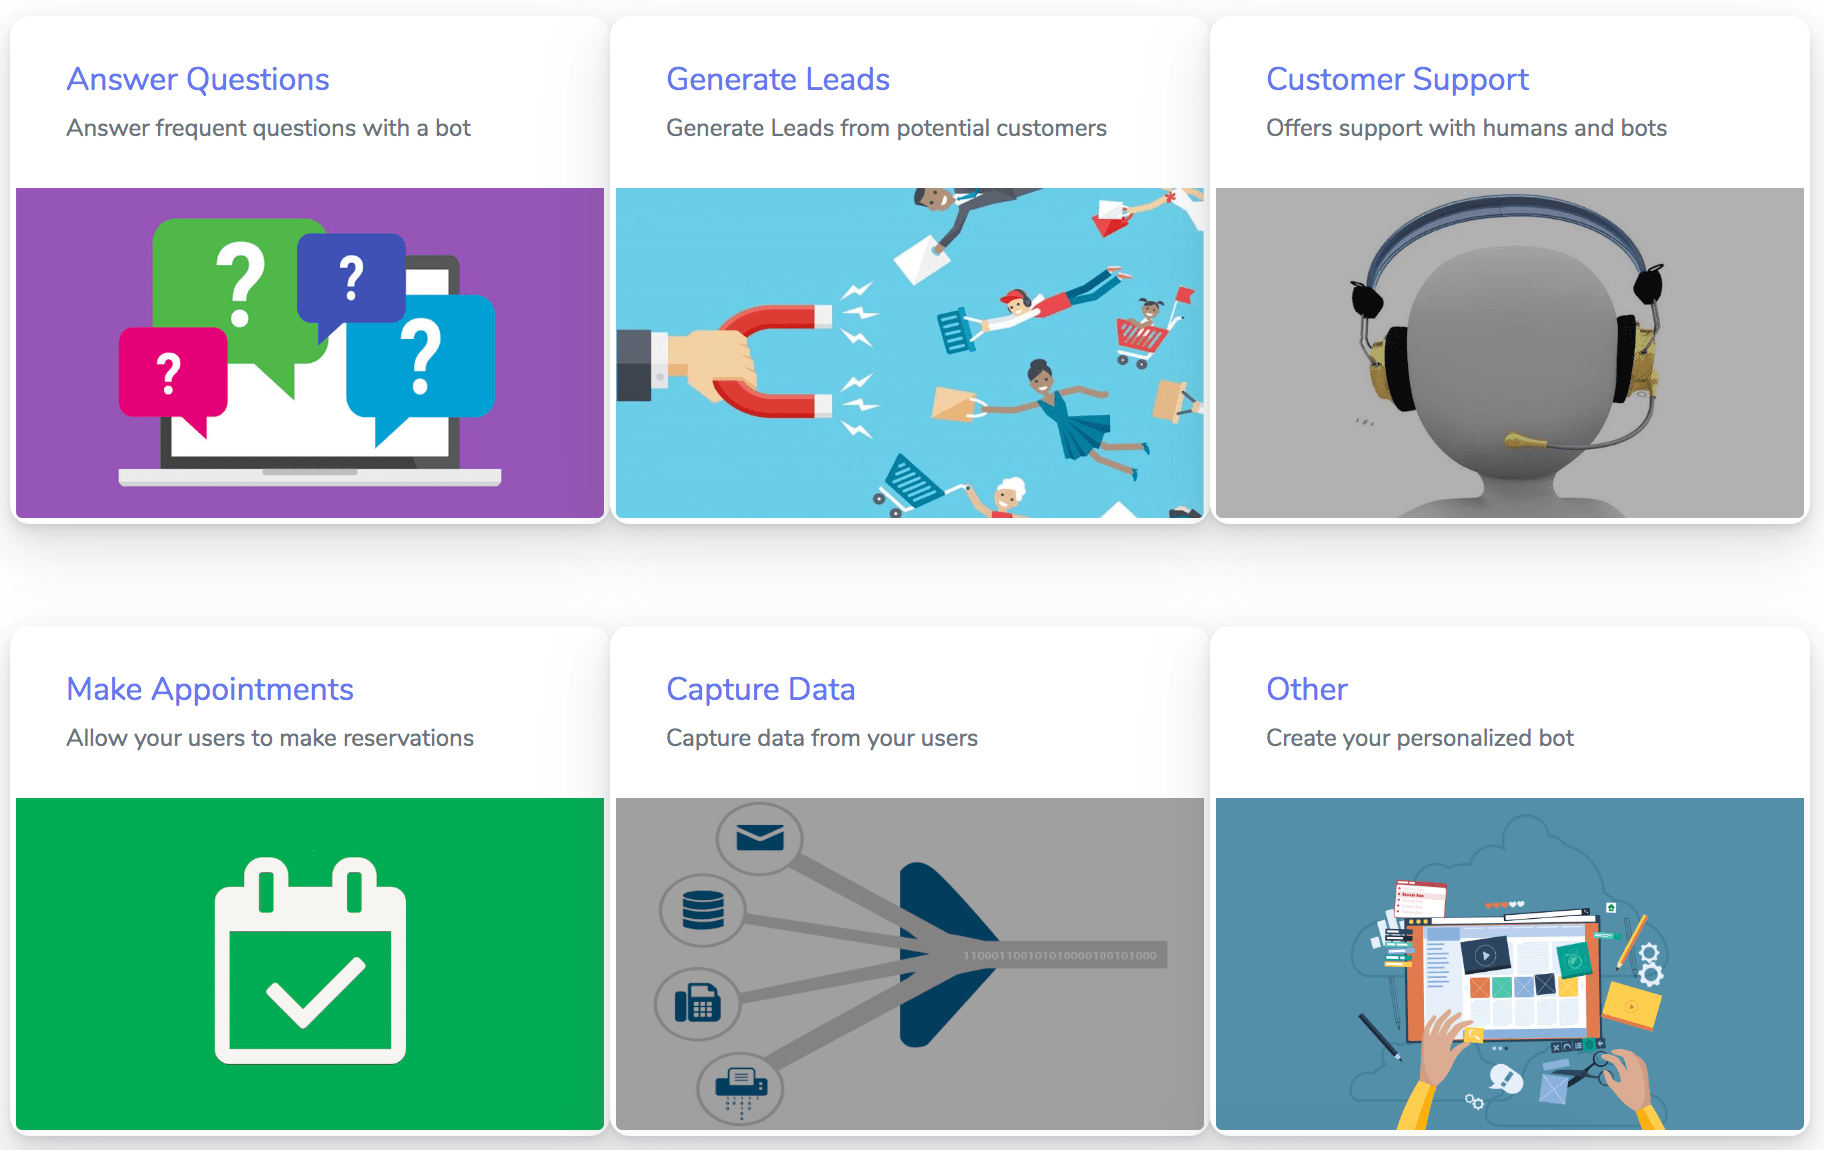
For example, if your use case is lead generation for your company, then configure a conversation in which the bot asks, in a friendly way, for contact information and other relevant information to users.
In ChatCompose you can create a bot through scripts with programmed conversation diagrams and / or training them with the question and answer function. You can create a simple bot or a robust conversation solution, it depends on the time you want to invest and the goals you plan to achieve.
To create scripts, just navigate to Scripts> Create scripts. There you can organize the flow chart at ease, with all the components you want to include. To train the bot with questions and answers, navigate to Database> Answers.
Once you have your bot armed with the answers, options, skills and more, you are ready to install it on your WordPress site. However, make sure you have the bot you want to install previously configured.
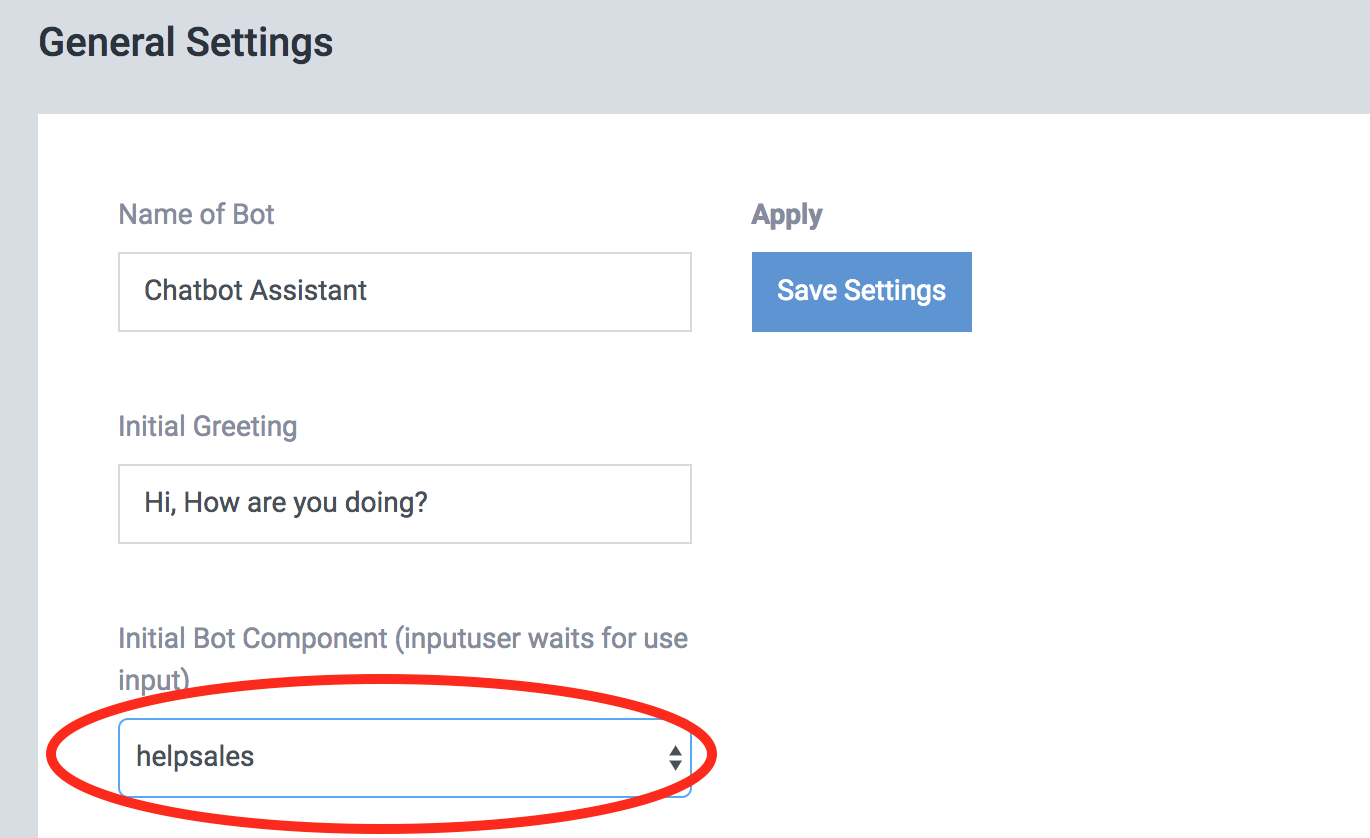
To do this, navigate to Settings> General. Once there, you can set the name of the bot, the initial message that it will deliver to users and if you like a short message that will appear in the bubble, in the WordPress interface. But the most important thing is that in Initial Component, you select the script or command you want to have installed in WordPress.
Having done all the tests and the relevant configurations, let's see step by step how to install your bot in WordPress.
ChatCompose chatbots are easily installed on any Wordpress site. Just follow the steps below.
To download the plugin, you just have to navigate to Install> Web, once there choose the WordPress option and click on the phrase "this plugin", a compressed file will be downloaded automatically and then you must upload it to your WordPress site.
Then go to your Wordpress website. Navigate to the Plugins section and select Add new from its options. At the top you will see a button with the phrase Upload Plugin.
Click there and in Select file, upload the plugin files that you previously downloaded. Once you upload the files, click the Install Now button.
All right, the plugin is already installed, however now you will need to activate it. Automatically you should see a button that says Activate Plugin, but if you couldn't through that simple step, there is another way to activate it.
To do this, go to Plugins> Installed Plugins and look for the ChatCompose plugin in that panel. Under the name of the plugin you will see the option to Activate or Deactivate the plugin. It must be activated.
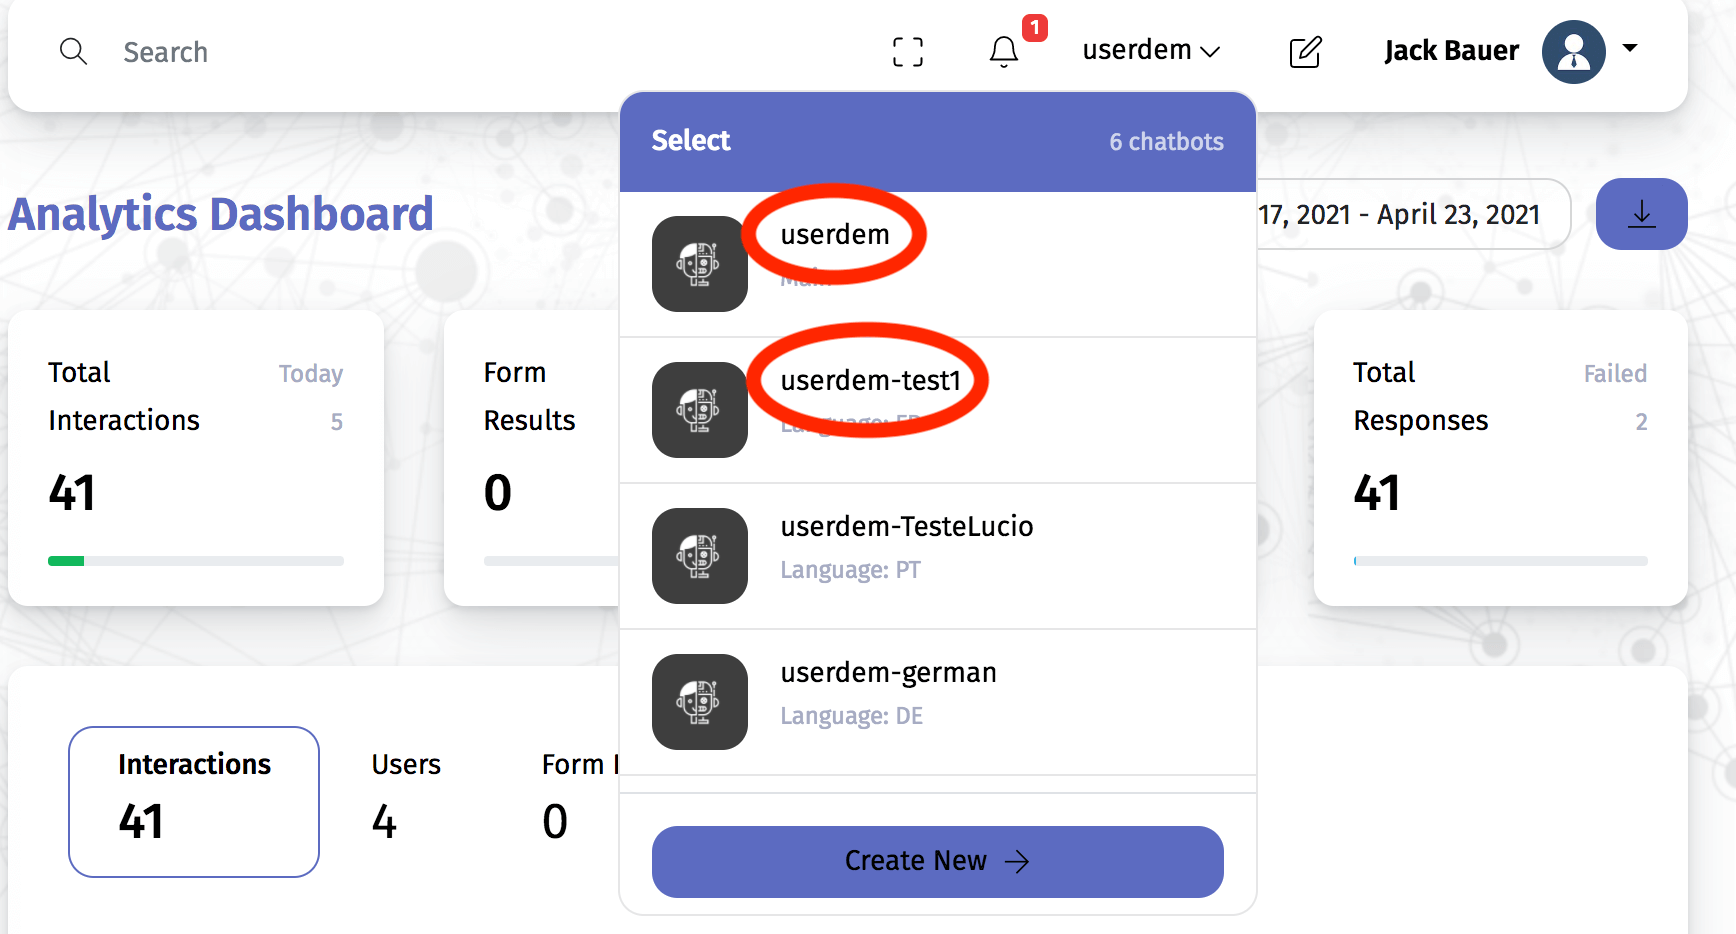
In the plugin settings you will be asked for your ChatCompose ID. Your ID is nothing other than your username and name of your chatbot, the same one that appears in the upper left of the ChatCompose panel, and the one you also used to register your account. Copy it and paste it in the text box where you are asked. Then save the changes.
Once you save the changes, the bot should appear on your website exactly as you installed it. As you can see, you only need four easy steps to install your chatbot in WordPress.
If the plugin is properly installed and activated, you have nothing to worry about. It is likely that you will not be able to see the chatbot from your computer, at least during the first few minutes, but that does not mean that it is not visible to other users. You can enter your WordPress website from another computer and check it.
You can also access your site from an unknown window, pressing the Control + Shift + N keys. There you should be able to see the bot. But if after a few hours you can not see your bot, clear the cache of your computer.
Another frequent problem is that people don't see the bot they wanted to install or the dialog changes they have made. If you have already cleared the cache on your computer, go to the ChatCompose panel and verify that you have the bot you modified and that you want to run as the initial Component. If not, set it up, change the ID to the correct chatbot, and it should run properly on your site.
Creating a WordPress chatbot can bring you great benefits, as these little robots can automate many functions that would take you a lot of time and money. While you sleep, eat or socialize, not only do you have an online website that attracts customers, but you have a bot that can serve them for anything they need.
ChatCompose's interface for creating bots is quite intuitive and as you can see, the installation is not complicated at all.